Adjusting the sample probe horizontal position – Luminex 100 User Manual Version 1.7 User Manual
Page 91
x
MAP Technology
Maintenance and Cleaning
PN 89-00002-00-063 Rev. A
7 - 11
11. Use a 3/32 inch hexagonal allen wrench to tighten the height
adjustment locking screw.
12. Click Test to raise the sample probe, then click OK to close the
dialog box.
13. Replace the clear plastic shield that covers the sample probe
area.
Adjusting the Sample
Probe Horizontal Position
Luminex aligns the sample probe on your Luminex 100 analyzer
prior to shipping, but you may need to adjust the horizontal position
after installing the Luminex XYP. Adjust the sample probe’s
horizontal position if it rubs or scrapes against the side of the
alignment guide. Some rubbing is acceptable, as long as the probe
movement is smooth.
Note:
Improper placement of the Luminex 100 analyzer on the
Luminex XYP may cause horizontal misalignment. Verify that they
are stacked squarely before proceeding.
To adjust the horizontal position of the sample probe:
1. Turn on the Luminex XYP and the Luminex 100 analyzer. Start
the Luminex Data Collector software.
2. Use a 3/32 inch hexagonal allen wrench to loosen the arm pivot
locking screw.
3. Move the sample arm to the left or right until the sample probe is
in the center of the alignment guide.
4. Tighten the arm pivot locking screw.
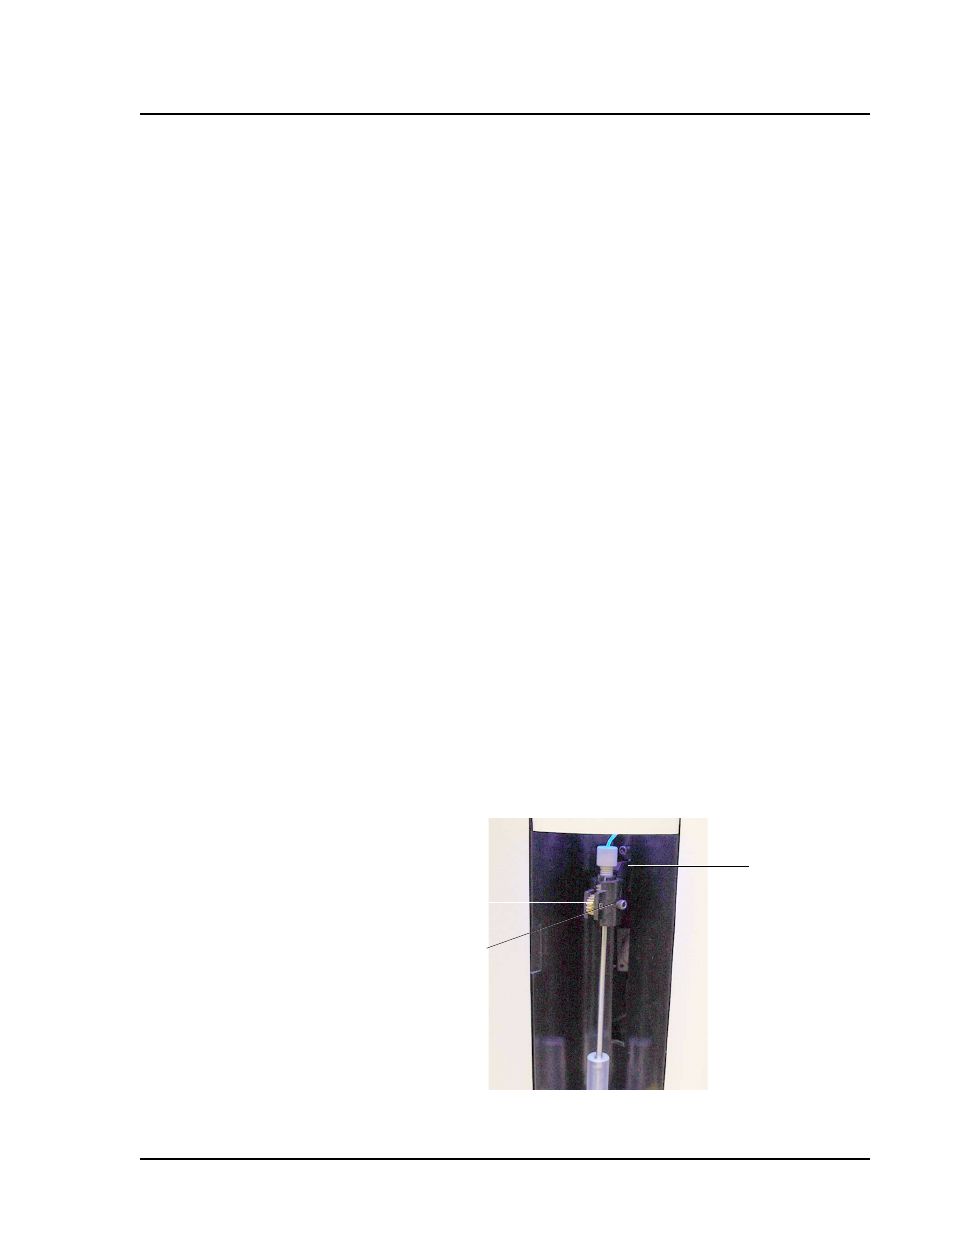
Figure 7-9. Sample Probe
Height
Adjustment
Locking
Screw
Thumb
Wheel
The arm pivot
locking screw
is behind the
probe arm.