Luminex 100 software setup – Luminex 100 User Manual Version 1.7 User Manual
Page 37
x
MAP Technology
Installation
PN 89-00002-00-063 Rev. A
4 - 3
Luminex 100
Software Setup
After performing the Luminex 100 system assembly, ensure that the
proper interface between the analyzer and PC is in place.
To set up the software:
1. Turn on the Luminex 100 analyzer, then turn on the PC. The
Luminex software launches automatically.
2. Click Yes to accept the End-User License Agreement. If the
system does not prompt you to accept this agreement, read the
agreement shown after the title page of this manual. If you reject
the agreement, you cannot use the Luminex 100 system. Contact
Luminex Technical Support if you reject the agreement.
3. Verify that the analyzer status, shown in the System Monitor box
on the Luminex Main window, is at “Standby.” If the status is
“Bad Link,” exit the Luminex software and start it again.
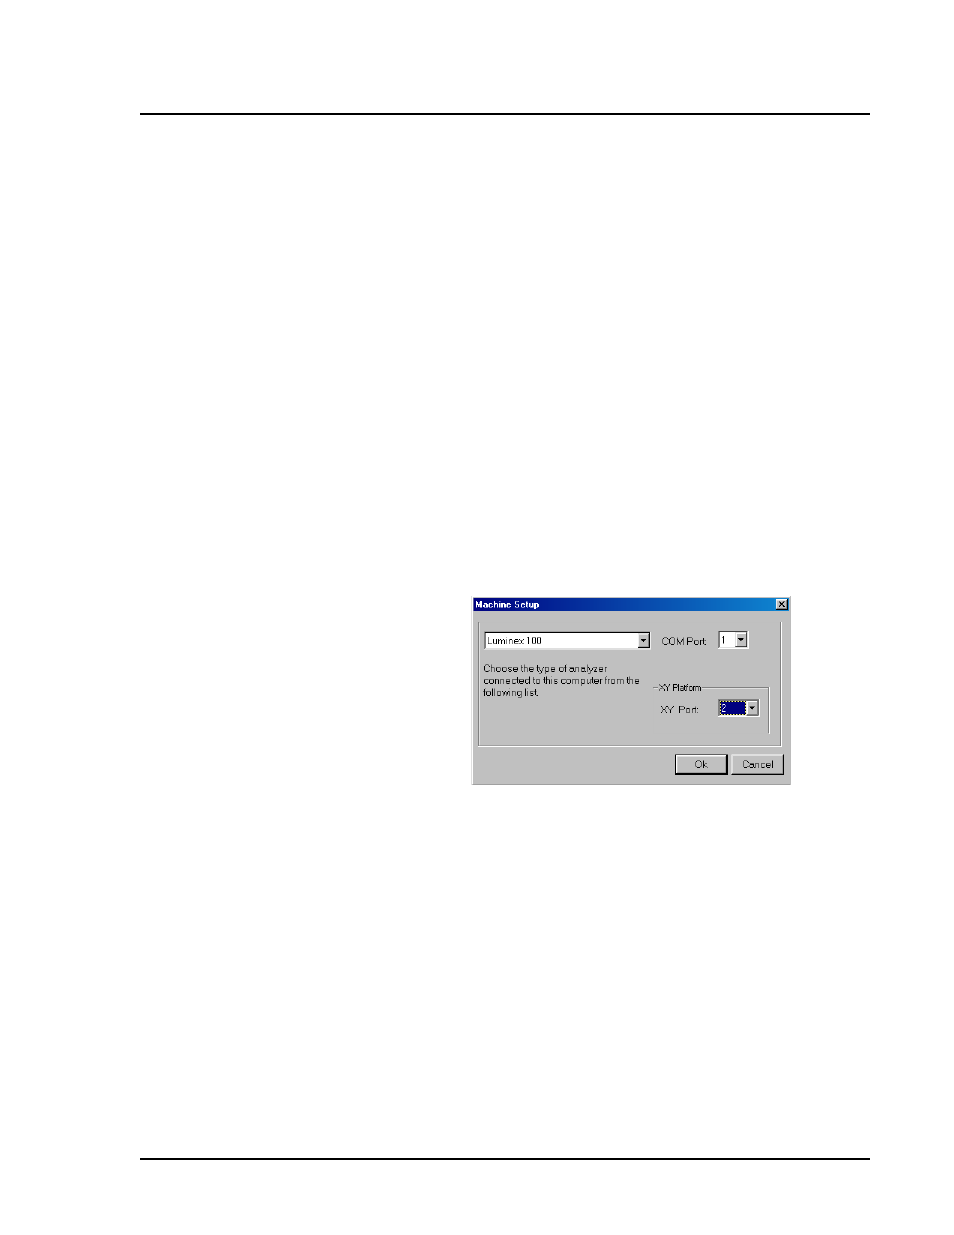
4. On the Analyzer menu, click Setup. The Machine Setup dialog
box opens.
Figure 4-3. Machine Setup Dialog Box
5. Ensure that the analyzer type shown is Luminex 100.
6. Make sure that COM Port is set to 1. This setting refers to the
port on your computer, not on the Luminex 100 analyzer.
7. Make sure that the XY Port is set to 2. If communication
between the Luminex 100 analyzer and the Luminex XYP
instrument fails, switch ports so that the Luminex 100 analyzer is
on COM port 2 and the XY Port is set to 1. This task enables you
to check if the serial cable is the cause of the communication
errors.