Calibrate the luminex 100 analyzer – Luminex 100 User Manual Version 1.7 User Manual
Page 45
x
MAP Technology
System Startup
PN 89-00002-00-063 Rev. A
5 - 5
Calibrate the Luminex 100
Analyzer
In addition to calibrating the analyzer after installation, you can
enhance optimal performance by calibrating the instrument daily as
part of your startup routine and whenever the d Cal Temp
temperature shown on the system monitor panel indicates a change
of more than 3 degrees Celsius (
°
C).
To calibrate the Luminex 100 analyzer:
1. Turn on the Luminex 100 analyzer. Click Warmup on the main
screen, then click OK on the dialog box that appears. After the
30-minute warmup, go on to the next step.
2. Click Prime on the main screen. Click OK when you want to
begin the prime cycle.
3. Click Options on the toolbar and ensure that the default settings
for alcohol flush is set to Reservoir, and that the wells selected
for CAL1 and CAL2 correspond to the wells in the plate that you
want to use for calibration.
4. Vortex the xMAP calibration microspheres (CAL1 and CAL2).
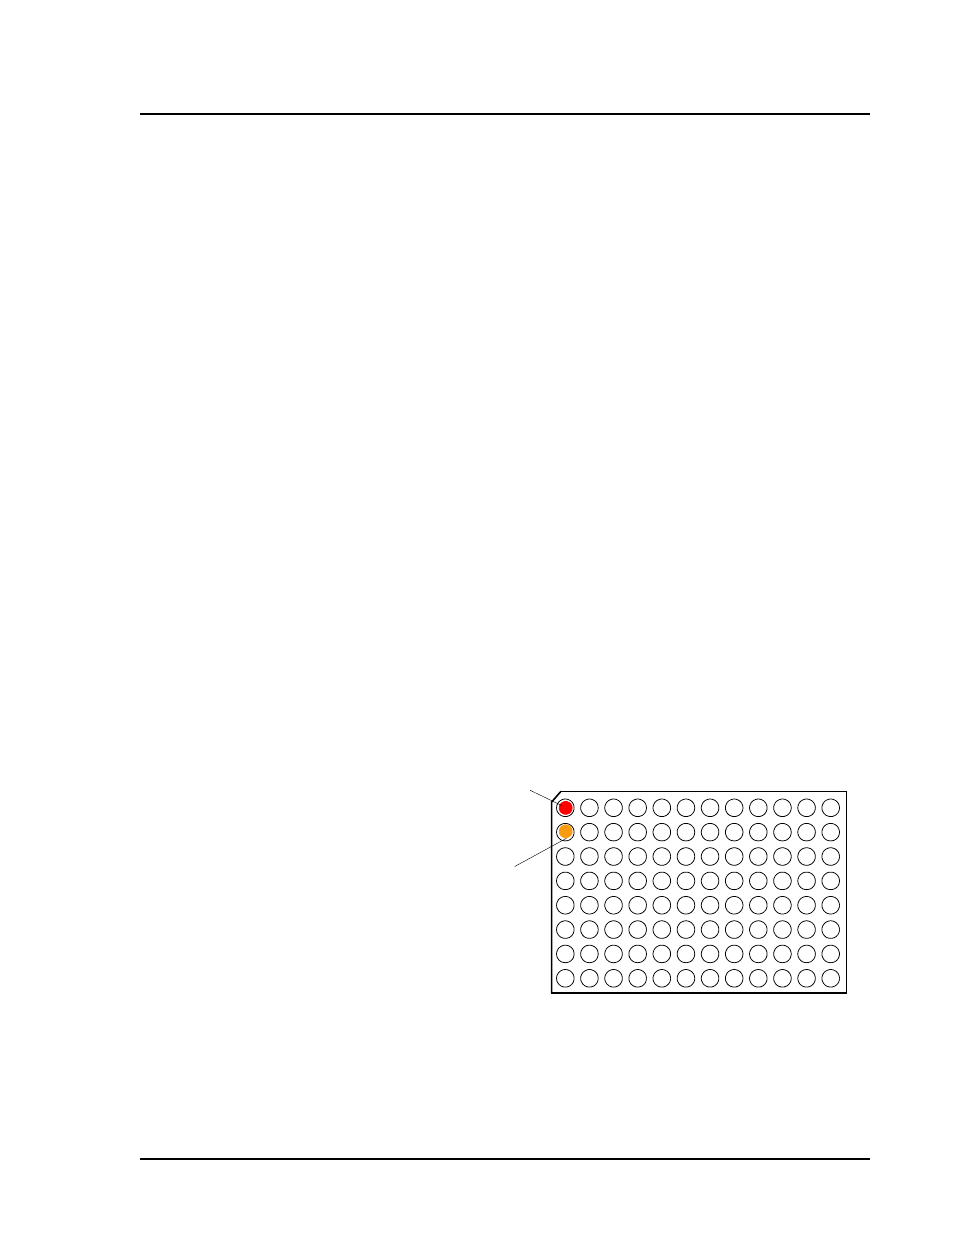
5. Dispense 5 drops (~ 200 µL) of xMAP classification calibration
microspheres (CAL1) and 5 drops of xMAP reporter calibration
microspheres into the wells you designated in the Setup XY tab
of the options menu.
Figure 5-6. 96-well Plate. Well A1 and B1 Filled
6. Click Eject on the toolbar and place the plate on the plate holder
with well A1 in the top, left-hand corner.
Note:
Do not dilute the xMAP
calibration microspheres. Limit
exposure to light!
A
B
C
D
E
F
G
H
1 2
3 4
5 6 7 8
9 10 11 12
Place reporter
calibrator in a
well (i.e., B1).
Place classification
calibrator in a well
(i.e., A1).
(You may assign
different well
locations, if