Section 3, Smart touch basics – Controlled Products Systems Group 222EX43 User Manual
Page 36
18
© 2012 Installation and Reference Manual D0119 Rev. J
Section 3
— Smart Touch Basics
You must learn to navigate and change menu settings with the Smart Touch Controller before an installation can be
completed or any control settings or function changes can be
made. This page describes how to use the Smart Touch
Controller keypad and access the User and Installer Menus.
NOTE: Until a new operator has been configured, the controls are
not functional and the display is locked in the menu mode until the
usage class and handing have been selected. See the page 19 for
instructions on how address these settings.
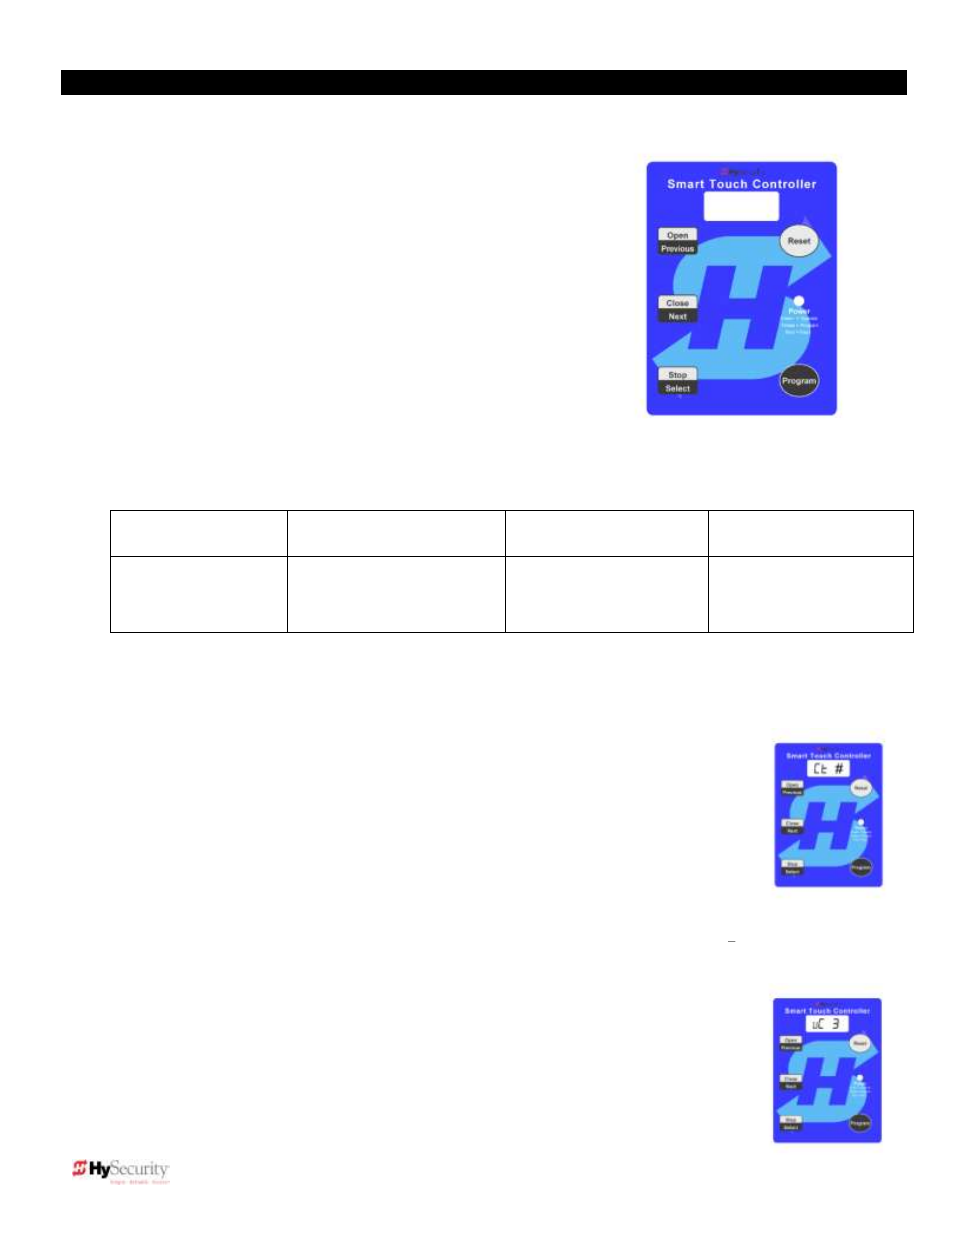
1.
Five buttons on the membrane switch pad provide total
operator control. The OPEN, CLOSE and STOP buttons
serve as a three-button control station, but in programming
(Menu Mode), they become PREVIOUS, NEXT and
SELECT buttons. The PROGRAM button is used to both
enter and exit Menu Mode. The RESET button clears all
errors and faults and returns the operator to its normal
functioning state.
2.
When in a Menu Mode, programming the operator is accomplished by pressing the PREVIOUS, NEXT and
SELECT buttons as described in the chart below:
To edit the display
To navigate through the
selections
To choose what appears
on the display
To navigate between
menus
1. Press SELECT
Two characters
blink.
2. Press NEXT
Continue to press NEXT to
view all selections.
3. Press SELECT.
Blinking characters
become static.
4. Press NEXT or PREV
Advance = press NEXT
Previous = press PREV
3.
Once configured, the operator is in the Run Mode. To gain access to the User Menu or the Installer Menu from
the Run mode, follow these steps:
NOTE: The PROGRAM button only works when the gate is at rest, when no open or close inputs are active, and
when no faults, alerts or errors appear on the display.
a.
Verify system status by viewing lighted (active) inputs. Active inputs are lighted
on all
“New Generation” (post September 2006) Smart Touch Controller
operators (other than DC operators without AC power). NOTE: To verify active
inputs on New Generation DC operators (running without AC power) and
“Classic” pre-September 2006 operators, press the tact button on the Smart
Touch Controller (see page 20).
b.
Press the PROGRAM button and watch the operator status displays scroll past.
Press the PROGRAM button a second time to skip the scroll. The operator
status displays are described on page 24.
c.
The scrolling displays stop at the menu item for the automatic close timer setting [
#
]. This is the first item in the User Menu. Note that the number (#) symbol in the
example can be any number from 0 to 99. You can access the Installer Menu when the
close timer display appears.
d.
To access the Installer Menu, press and hold the RESET button and, while
holding, press the OPEN button. The display changes to the usage class menu
item [
] or item [
]. This is the first item in the Installer Menu.
4.
Pressing the PROGRAM button from any menu item returns the system to Run
Mode.
NOTE: The PROGRAM button does not function if the characters in the menu
display are blinking.
NOTE: The #
symbol shown in
the example display
will appear on your
operator as a
number (0 to 99).