Table 86 menu 11.8 advance setup options – ZyXEL Communications Prestige 2602R Series User Manual
Page 258
Prestige 2602R Series User’s Guide
258
Chapter 25 Remote Node Configuration
Figure 135 Menu 11.1 Remote Node Profile
Move the cursor to the Edit Advance Options field, press [SPACE BAR] to select Yes, then
press [ENTER] to display Menu 11.8 – Advance Setup Options.
Figure 136 Menu 11.8 Advance Setup Options
The following table describes the fields in this menu.
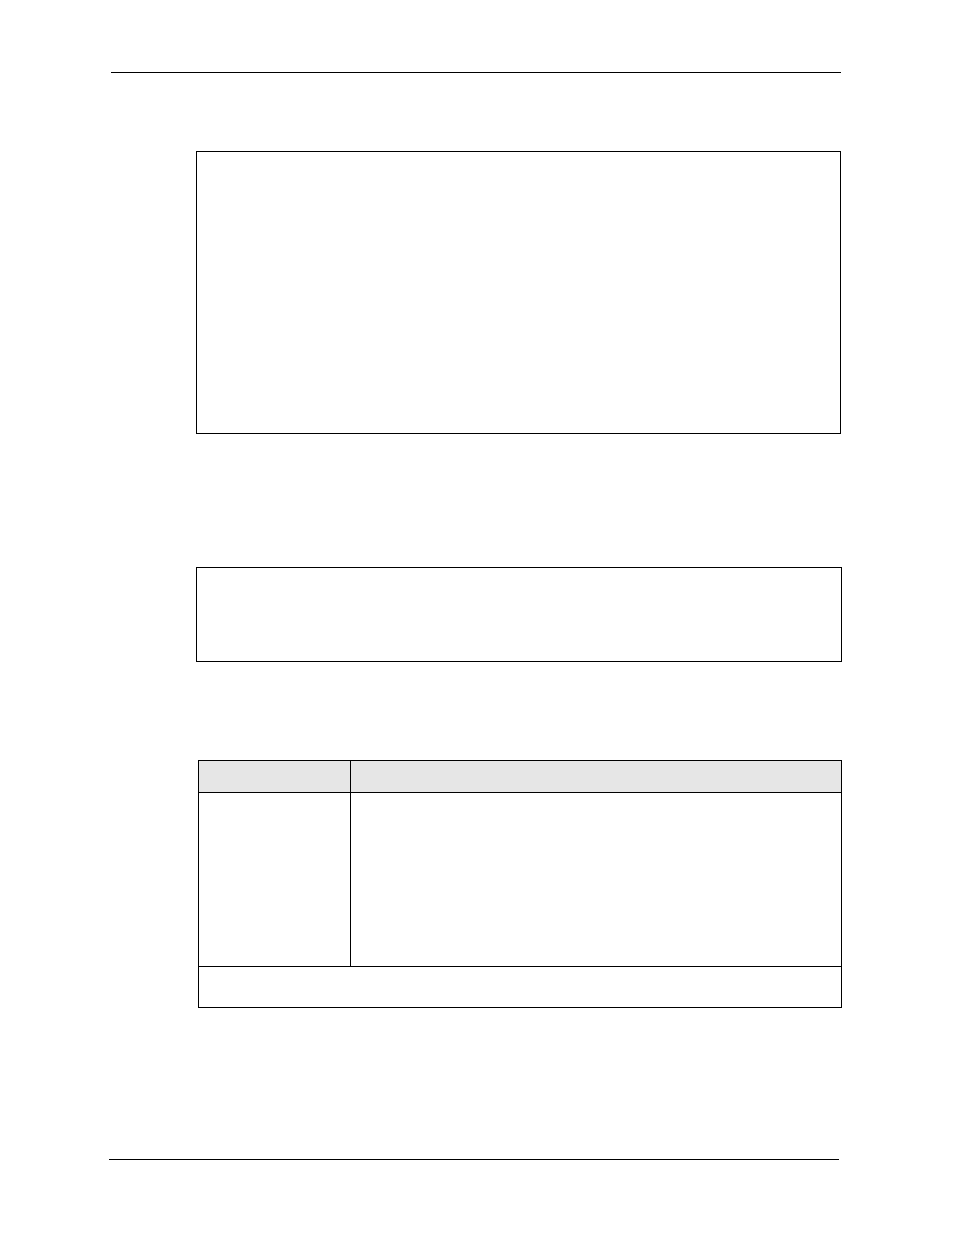
Menu 11.1 - Remote Node Profile
Rem Node Name= MyISP Route= IP
Active= Yes Bridge= No
Encapsulation= PPPoE Edit IP/Bridge= No
Multiplexing= LLC-based Edit ATM Options= No
Service Name= Edit Advance Options= Yes
Incoming: Telco Option:
Rem Login= Allocated Budget(min)= 0
Rem Password= ******** Period(hr)= 0
Outgoing: Schedule Sets=
My Login= ? Nailed-Up Connection= No
My Password= ? Session Options:
Authen= CHAP/PAP Edit Filter Sets= No
Idle Timeout(sec)= 0
Press ENTER to Confirm or ESC to Cancel:
Menu 11.8 - Advance Setup Options
PPPoE pass-through= No
Press ENTER to Confirm or ESC to Cancel:
Table 86 Menu 11.8 Advance Setup Options
FIELD
DESCRIPTION
PPPoE pass-through
Press [SPACE BAR] to select Yes and press [ENTER] to enable PPPoE pass
through. In addition to the Prestige's built-in PPPoE client, you can enable
PPPoE pass through to allow up to ten hosts on the LAN to use PPPoE client
software on their computers to connect to the ISP via the Prestige. Each host
can have a separate account and a public WAN IP address.
PPPoE pass through is an alternative to NAT for applications where NAT is
not appropriate.
Press [SPACE BAR] to select No and press [ENTER] to disable PPPoE pass
through if you do not need to allow hosts on the LAN to use PPPoE client
software on their computers to connect to the ISP.
When you have completed this menu, press [ENTER] at the prompt “
Press ENTER to Confirm
or ESC to Cancel:
” to save your configuration, or press [ESC] at any time to cancel.