12 - pc features, Phaser 3100mfp/x – Xerox Phaser 3100MFP/X User Manual
Page 79
Phaser 3100MFP/X
- 74 -
12 - PC Features
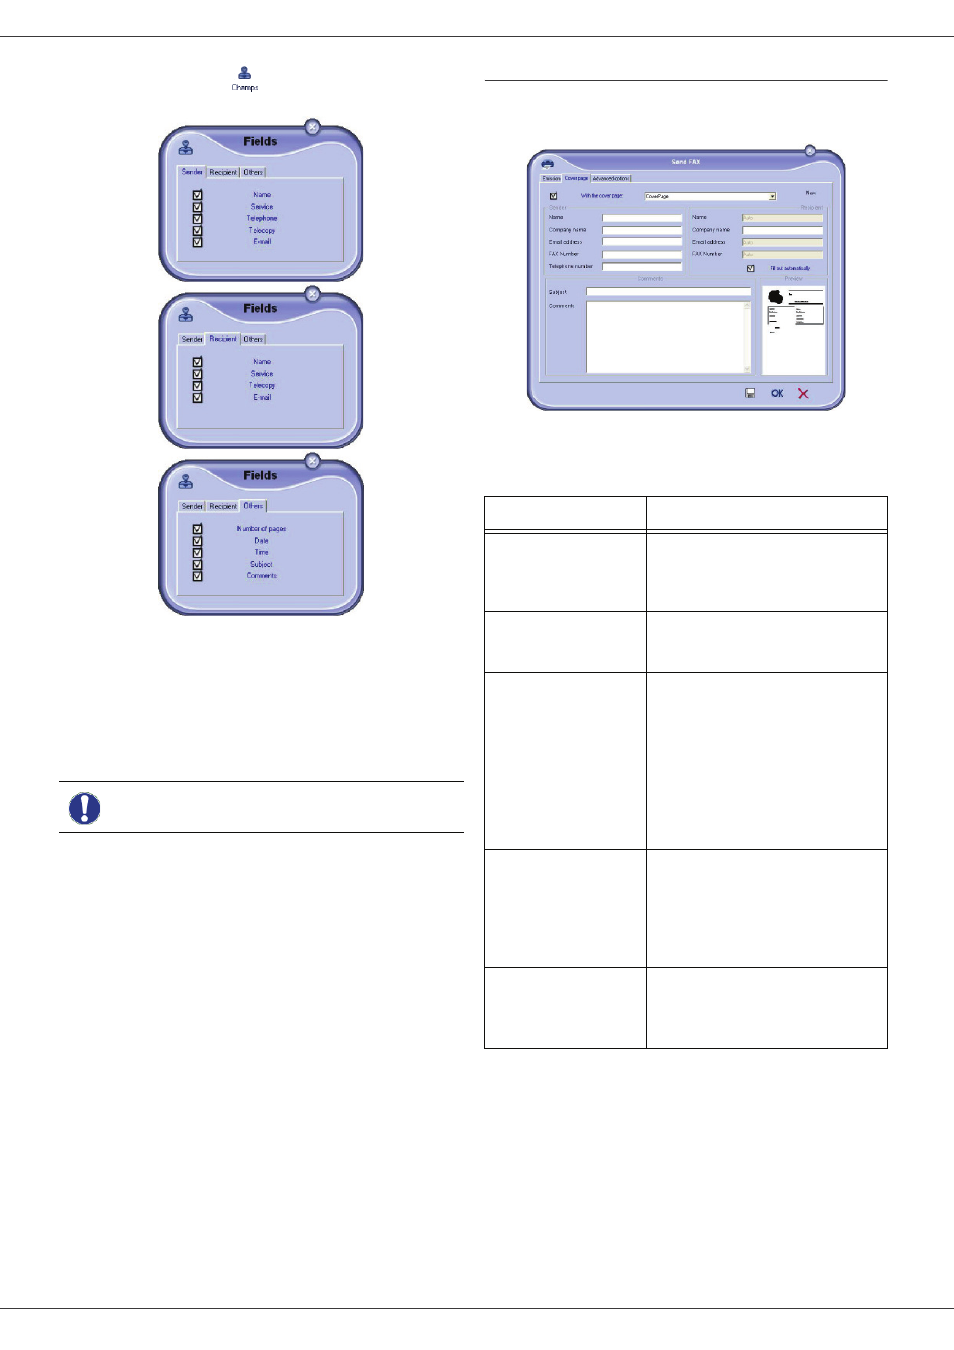
3 Click on the icon
to display the available
fields.
To add a field, proceed as follows:
- Select the field you want to insert by clicking the
field palette. A stamp replaces the cursor of your
mouse.
- Click the location where you want to put the field
on the model. To delete a field you have just added,
select it and press the delete key on your keyboard.
- You can move or enlarge the field as you like.
4 As soon as fields are inserted, save the cover
page.
This cover page can be selected in the tab C
OVER
PAGE
of
the fax send window.
Description of the tab C
OVER
PAGE
Important
Adjust the size of your field so that
the text is readable.
Field
Description
Name of the cover
page
Either the name of the page
selected by default or the page
you have selected to use.
Sender
You can enter information
concerning the sender.
Recipient
You can enter information
concerning the recipient.
If the word Auto is entered in
one of the fields, the field is
updated during sending if the
recipient is listed in the address
book, favourites, a group or a
distribution list.
Comments
This is an editing window with
all the basic functions of a text
editor so that you can enter a
text which will be sent in the
cover page.
Preview of the
model
The preview enables you to
see the cover page you are
going to send.