Tandberg Data T40 User Manual
Page 79
StorageLibrary Installation and User Guide
71
The following components of the library have LEDs:
Library
Ethernet status LED
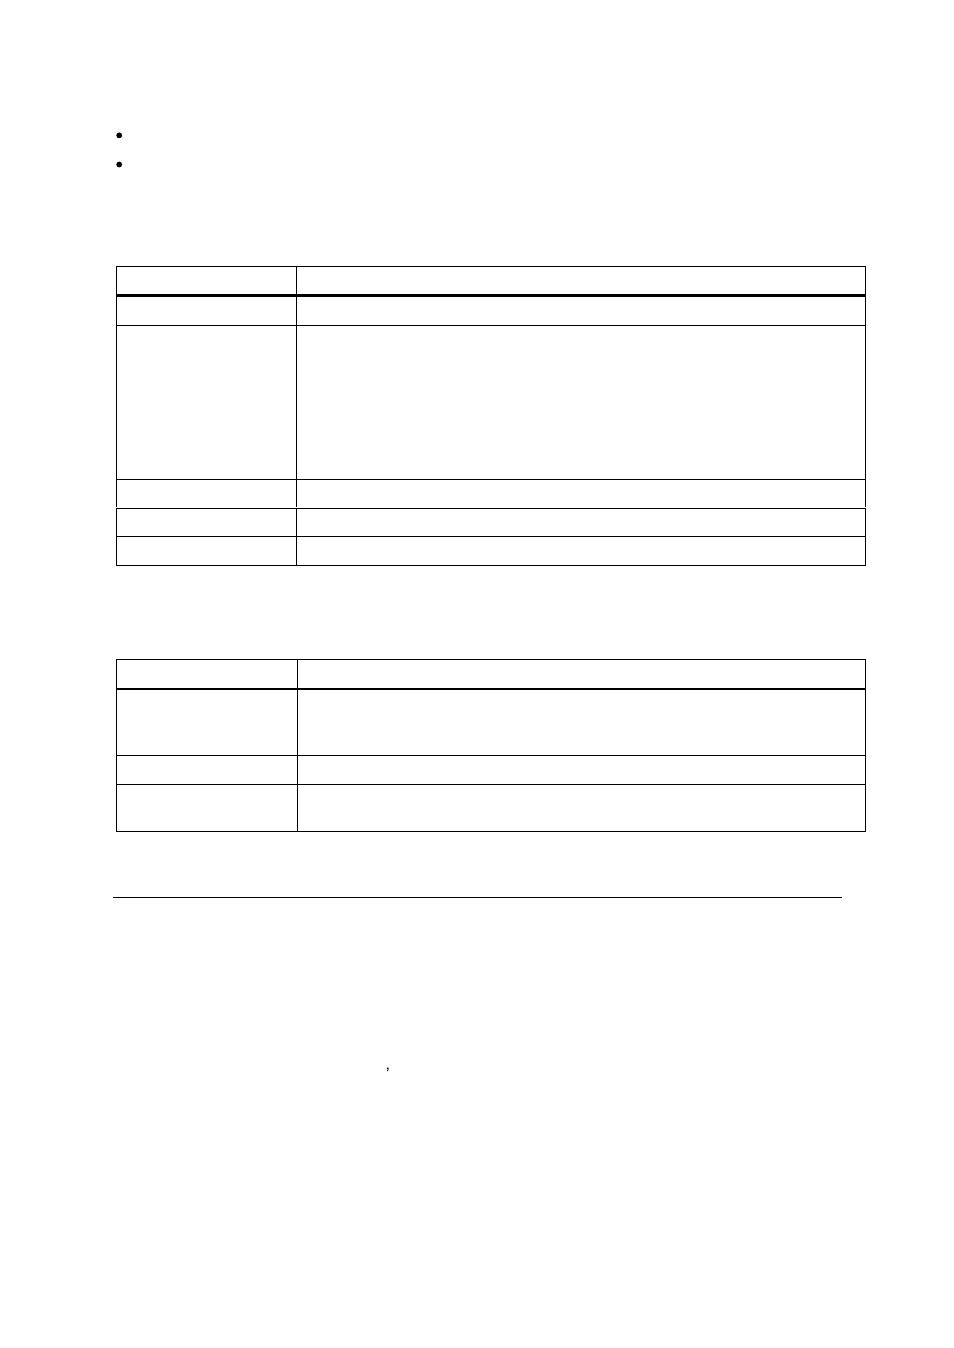
The Maintenance Menus
Table 7. Maintenance Menus - Item Name and Description
Item name
Description
Library FW upgrade
Upgrades the library FW through RMI
Prepare to Ship
When selected, the robotics is positioned for installing the transport locking
screws.
The magazines are ejected to facilitate the installation.
The library cannot be safely shipped with cartridges in the magazines.
The Prepare to ship command must be run before the library is transported to
reinstall the transport locking screws and to remove all cartridges in the
library.
Reboot
Performs a hard reset of the library.
Restore default
Sets the library settings to their factory default values.
Clear WEB password
Clears the WEB password (from FPI only)
The Diagnostics Menu
Table 8. Diagnostics Menu - Item Name and Description
Item name
Description
Capture logs
Displays a log that contains information about library and drive configuration,
event log and error log. This log can be saved to a file or sent via e-mail to
technical support.
System test
Runs a test of the library hardware.
Cycle test
Starts a test where cartridges are moved randomly between magazine slots
and between the drive and the magazines.
Verifying Hardware
1. The library uses one SCSI ID for each SCSI tape drive. Verify that the drive SCSI IDs are set to
unique SCSI IDs that are not used by any other SCSI device on the same bus. Depending on
other devices attached to the same SCSI bus and their SCSI IDs, you may need to change the
SCSI ID of the tape drive(s) before you can use the library.
2. Verify that the system recognizes the tape drives during the boot process.
3. Verify that the SCSI host adapter recognizes the tape drives during its initialization.
4. Verify that the status on the library s front panel interface is OK.
5. Verify that the power cable is inserted correctly.
6. Verify that the SCSI cables are properly connected at both ends. Check that the cables are not
damaged, and verify the lengths of your SCSI cabling. The length of the internal SCSI cabling
inside the library is 30cm. This length must be included in any calculation of cable length.
7. Verify that the SCSI bus is properly terminated. Only the devices physically at the beginning and
end of the cable must be terminated.