Ricoh AP2610N User Manual
Page 57
Ethernet Configuration
43
3
GGGG
If you use TCP/IP, assign the IP
address to the printer.
Note
❒ To get the IP address for the
printer, contact your network
administrator.
A Press {{{{U
U
U
U}}}} or {{{{T
T
T
T}}}} until the fol-
lowing message appears.
B Press {{{{Enter #}}}}.
The current IP address appears
on the panel display.
C Press {{{{U
U
U
U}}}} or {{{{T
T
T
T}}}} to enter the
left most entry field of the IP
address.
D Press {{{{Enter #}}}}.
The pointer (
k) moves to the
next entry field automatically.
Note
❒ The value moves by 10 if {{{{U
U
U
U}}}}
or
{{{{T
T
T
T}}}} is kept pressed.
❒ You can return the pointer
(
k) to the previous (left) entry
field by pressing
{{{{Escape}}}}.
❒ If you press {{{{Escape}}}} when
the pointer (
k) is on the left-
most position, the selected IP
address is reset.
E Repeat steps C
D to enter
the IP address.
Check if the pointer (
k) is at the
rightmost position, and press
{{{{Enter #}}}} to register the IP ad-
dress you selected.
HHHH
If you use TCP/IP, assign “Subnet
Mask” and “Gateway Address”
following the same procedure for
entering the IP address.
IIII
If you use TCP/IP, you can make
settings for “Network Boot”.
You can select how to assign the
printer's address using the compu-
ter. Select one of the items below if
necessary.
• None (Default)
• DHCP
A Press {{{{U
U
U
U}}}} or {{{{T
T
T
T}}}} to display
“Network Boot”.
B Press {{{{Enter #}}}}.
The current setting appears on
the panel display.
C Press {{{{U
U
U
U}}}} or {{{{T
T
T
T}}}} to display the
method you want to use.
D Press {{{{Enter #}}}}.
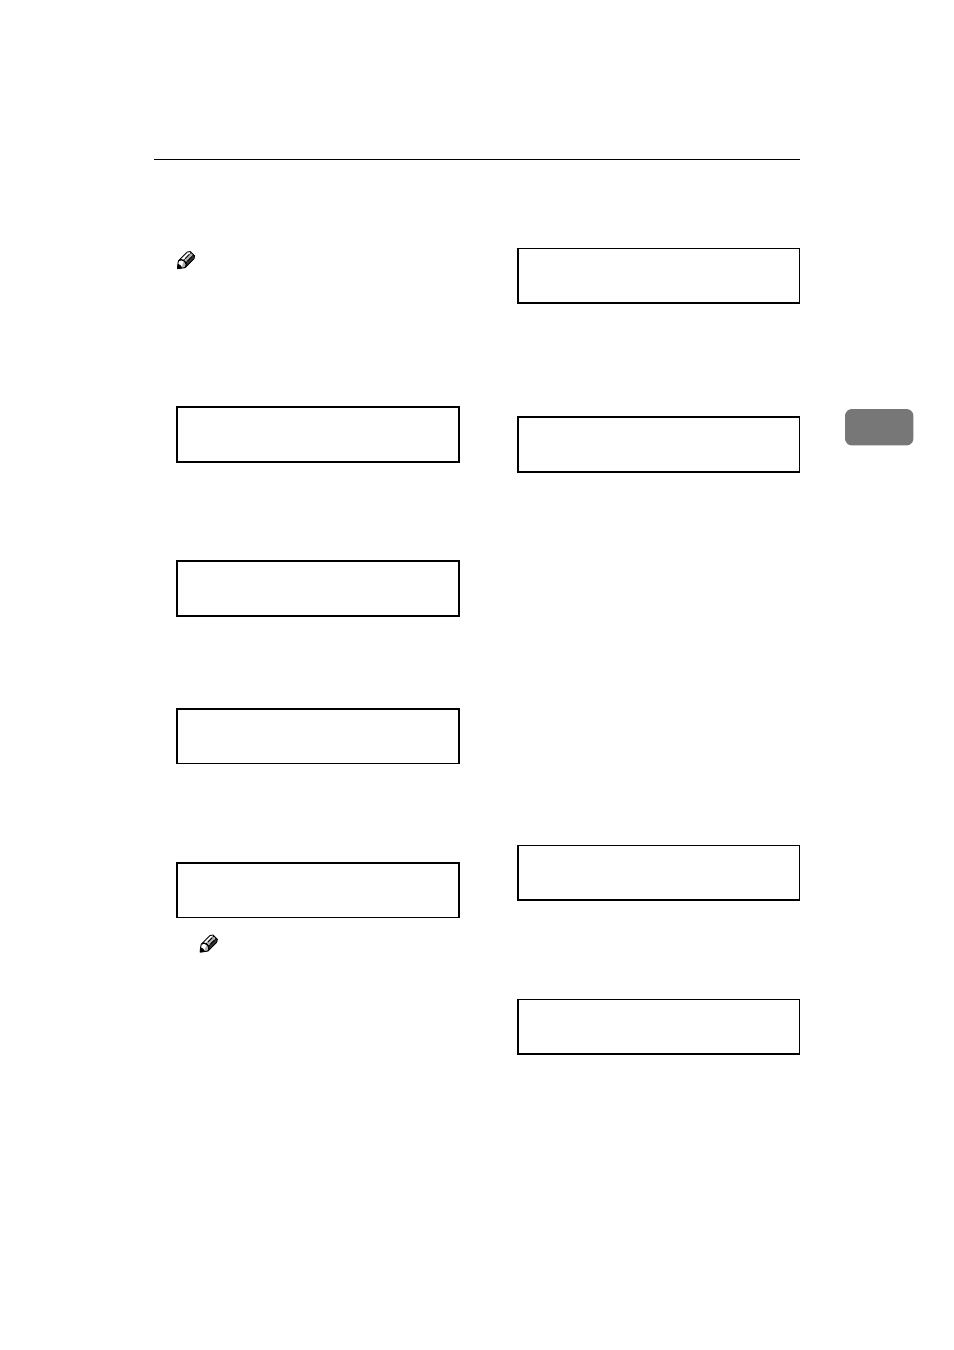
Network Setup:
IP Address
IP Address:
011.022.033.044
IP Address:
192.022.033.044
IP Address:
192.02k.033.044
IP Address:
192.168.000.011
Network Setup:
IP Address
Network Setup:
Network Boot
Network Boot:
*None