2 id check dialog, 7 programming the data to the flash rom – Renesas Single-Chip Microcomputer M306NKT3 User Manual
Page 56
40
Figure 3-24 E8 Target Power Supply Selection
3.6.2
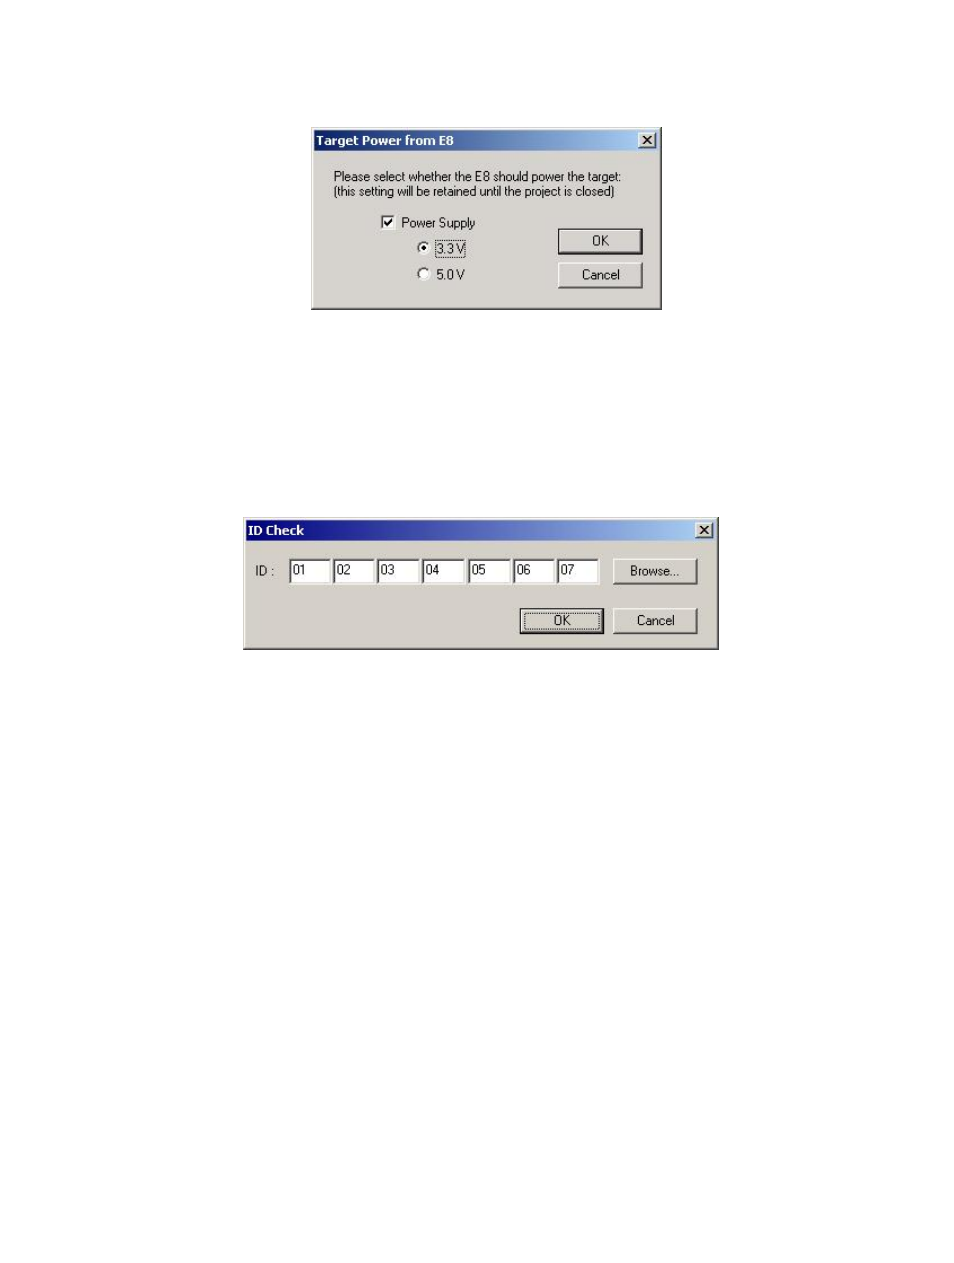
ID Check Dialog
For devices which support the ID Check for unlocking the device, the ID check dialog will be displayed
if the devices are not unlocked with automatic unlocking. The Browse button allows selection of a mot
or an ID file to collect the ID codes from.
Figure 3-25 ID Check Dialog
3.7
Programming the Data to the FLASH ROM
3.7.1
Programming an individual file to the User Area (normal flash area)
1. Select [Project->Add Files...] or press the INS key to add the file to be downloaded to the
project.
2. Click the right mouse button on the file displayed in the workspace window, and select
‘Download File’. Programming will be completed when ‘
Image successfully written to device
’
is displayed in the output window.
3.7.2
Programming multiple files to the User Area (normal flash area)
1. Add all the required target files to the project by selecting [Project->Add Files...] or pressing
the INS key. Note that multiple files can be added at once from the ‘Add File(s)’ dialog.
2. Build the device image for the User Area (create a file which is the result of merging all of the
included target files) by selecting the menu item:
[Project->Rebuild Image]
3. Click the right mouse button on the Device Image file (
workspace window, and select ‘Download Image’ (or select the menu item
[Project->Download Image] )