1 introduction, 2 loading software, Loading software – Multi-Tech Systems MTASR1-100 User Manual
Page 34: Common procedure, 1 introduction 4.2 loading software
MTASR1-100 Owner’s Manual
34
4.1
Introduction
This chapter covers procedures for loading the software and configuring your RouteFinder
100
. There are
several paths the software loading process can take depending on the protocol that you are using, whether the
WAN is a real port or one or many virtual ports used in frame relay. The first path that you will see is using
IPX as the protocol and the WAN device providing the access to public telephone service. The second path is
again using IPX, but changing the WAN device to virtual WANs. The third and fourth paths just change the
protocol and follow the same process with the WAN device and virtual WANs.
You will not have to go through all the procedures for any application. The software loading is organized so
that everybody uses the common procedures at the beginning. Then you break off depending on your
protocol. You break off again depending on how your WAN is used. Finally you come back to some common
procedures that every body has to use.
4.2
Loading Software
Common Procedure
1
Turn on your PC connected to the Command Port of your RouteFinder
100
and run Windows®.
2
Create a backup copy of your RouteFinder
100
software diskettes before you install the software. Store the
master diskettes in a safe place and install the RouteFinder
100
software using the backup copy.
3
Inset the backup disk, labeled RouteFinder
100
Disk 1, into the floppy drive.
4
Click on the File Menu in your Program Manager.
5
Click on Run. The Run dialog box is displayed.
6
Type a:\install or b:\install (depending on the location of your floppy disk drive) in the Command Line
field, and then click on OK.
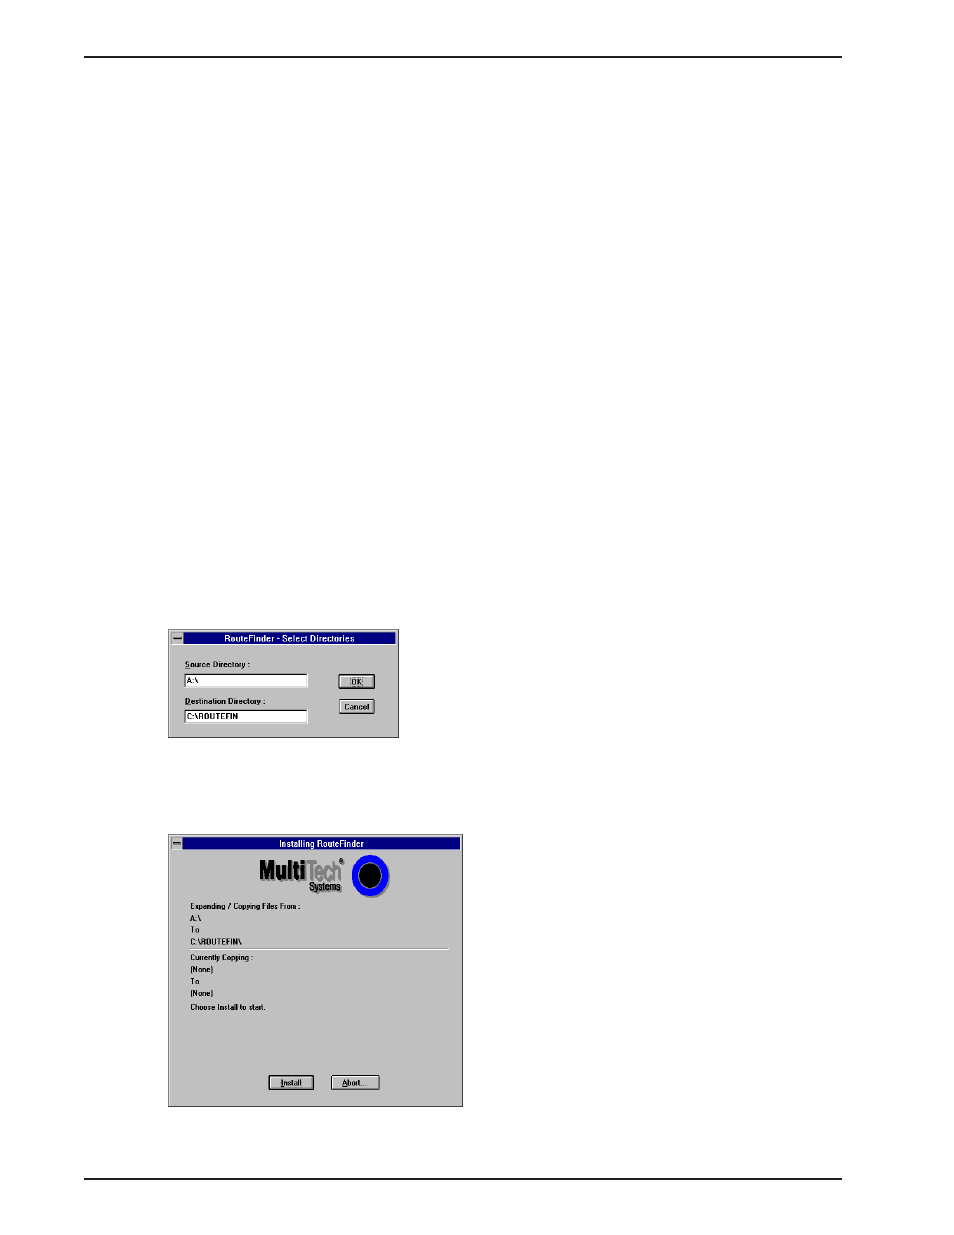
7
The RouteFinder
100
Setup - Select Directories dialog box is displayed.
If you are installing from Drive A: and your Destination Directory is the default directory, click on O.K. to
continue.
8
The Installing RouteFinder
100
dialog box is displayed.
Click on Install to continue installation, at any time you may click on Abort if you wish to cancel the
install.