FUJITSU TeamPoS 3000 XL User Manual
Team, 3000 xl and xl
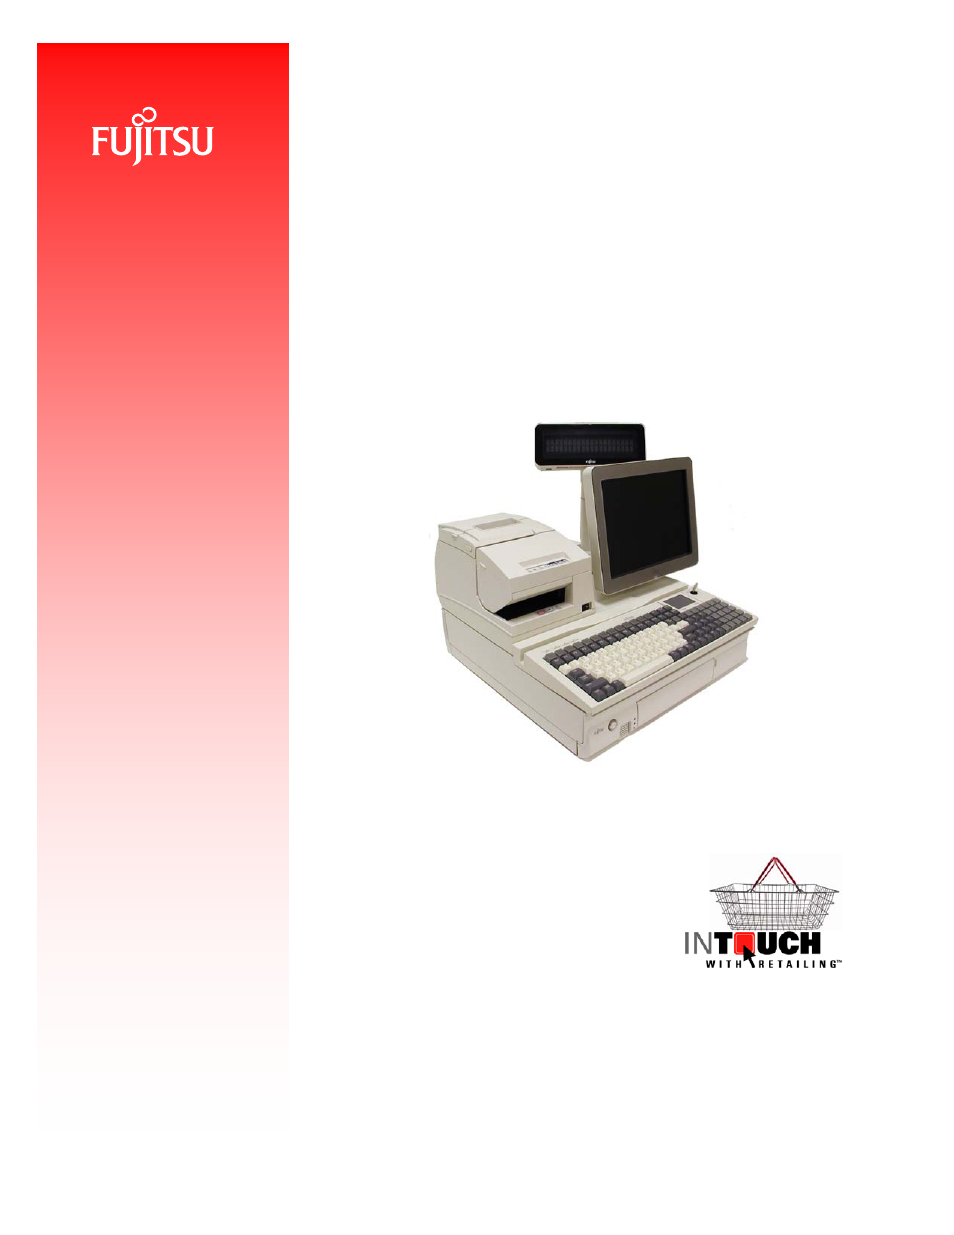
Table of contents
Document Outline
- Radio Frequency Interference Requirements – Europe
- I&M - Chapter 1 Overview.pdf
- I&M - Chapter 2 Environmental Specifications.pdf
- I&M - Chapter 3 Dimensions.pdf
- I&M - Chapter 4 Siteprep.pdf
- i&m_-_ch5_fullnew August_R3 2009.pdf
- CHAPTER 5 INSTALLATION
- Panel Removal/Installation Process
- Removing the motherboard assembly
- Installing CPU and Heat Sink
- Installing the Hard Disk Drives
- Installing Memory (XL Motherboard only)
- Installing Memory (XL2 Memory)
- Installing the CD/DVD Drive
- Installing the Partial Backup Battery
- Removing the Backplane Assembly
- Installing PCI Add-In Card(s)
- Installing the I/O Boards
- Port Labels
- Standard Bracket Locations
- Installing the LCD Stands
- Single Stacked LCD Stand
- Installing the MSR or Keypad/MSR
- Installing the VF60 in Stacked Stand
- Stacking the LCD Monitor
- Installing the Central Filler and Keyboard
- Installing the Printer I/O Board (DT50 Series only).
- Stacking the Printers
- Stacking the DT50 Series Printer
- Stacking the CT10 Printer
- CHAPTER 5 INSTALLATION
- I&M - Chapter 6 General Operations.pdf
- i&m_-_ch7_fullNEW869.pdf
- Chapter 7 - Maintenance
- 7.1 Periodic Maintenance
- 7.2 Replacing the Motherboard
- 7.2.1 XL Motherboard Layout
- 7.2.2 XL Motherboard Settings
- 7.2.3 Picture of XL Motherboard
- 7.2.4 XL2 Motherboard Layout
- 7.2.5 XL2 Motherboard Settings
- 7.2.6 Photo of XL2 Motherboard
- 7.3 Replacing the CPU and Heat Sink
- 7.4 Replacing the Hard Disk Drives
- 7.5 Adding or Replacing Memory
- 7.5.1 Adding or Replacing XL Motherboard Memory
- 7.5.2 Adding or Replacing XL2 Motherboard Memory
- 7.6 Replacing the CD/DVD Drive
- 7.7 Replacing Battery Backup
- 7.8 Removing the backplane assembly
- 7.9 Replacing I/O boards
- 7.9.1 No I/O Board
- 7.9.2 Powered USB I/O Board
- 7.9.2.1 USB Board Jumper Settings
- 7.9.3 Combo Board
- 7.9.3.1 Combo Board Installation
- 7.9.3.2 Combo Board Diagram
- 7.9.3.3 Combo Board Jumper Settings
- 7.9.3.4 Combo Board (picture)
- 7.9.3.5 Combo Board COM 4 Port Connector Signals
- 7.9.3.6 Printer (PTR) Connector signals
- 7.9.4 Combo Board with COM Board (XL Motherboard only)
- 7.9.4.1 COM Board Connectors (XL Motherboard only)
- 7.9.4.2 COM Board Jumpers
- 7.10 Replacing PCI Add-In Card(s)
- 7.11 Replacing the Power Supply
- 7.12 Replacing the Power Supply Fan
- 7.13 Replacing the Backplane
- 7.13.1 Backplane Jumpers & Connectors
- 7.13.2 TeamPoS 3000 Pin Assignments - Backplane
- Cash Drawer Plug
- Chapter 7 - Maintenance
- I&M - Chapter 8 Troubleshootinga.pdf
- Chapter 8 - Troubleshooting
- 8.1 Power cannot be turned on or the unit powers off after a few minutes.The power LED next to the power switch does not light up.
- 8.2 System will not boot up
- 8.3 Display/LCD shows correctly during Power On Self Test (POST), but fails when the Operating System (OS) starts
- 8.4 Display/LCD is blank at all times
- 8.5 Printing errors
- 8.6 Impossible to input data from keyboard and/or abnormal input
- 8.7 Keyboard MSR reading error
- 8.8 Cash Drawer Operation errors
- 8.9 Customer display errors
- 8.10 Deletion of Date, time and disk setup data when turning off power
- 8.11 The system fails to switch to battery backup when power failure occurs
- 8.12 Operation errors of other peripheral devices
- Chapter 9 - BIOS Setup Procedures – Aurora Motherboard
- 9.16 Opening CMOS Setup Screen
- CMOS Settings
- Main Menu – Motherboard
- Standard CMOS Setup - Motherboard
- BIOS Features Setup - Motherboard
- CPU Feature Setup - Motherboard
- Hard Disk Boot Priority - Motherboard
- Advance Chipset Features Setup- Motherboard
- Integrated Peripherals Setup - Motherboard
- USB Configuration Setup - Motherboard
- OnChip IDE Device Setup - Motherboard
- Onboard Device Setup - Motherboard
- SuperIO Device Setup - Motherboard
- Power Management Setup - Motherboard
- PnP/PCI Configurations Setup - Motherboard
- Frequency/Voltage Control Setup - Motherboard
- Hardware Monitoring Setup - Motherboard
- Event Log Setup - Motherboard
- Others - Motherboard
- System Information - Motherboard
- Set Supervisor/User Passwords - Motherboard
- 9.16 Opening CMOS Setup Screen
- Chapter 8 - Troubleshooting
- I&M - Chapter 9 Biossetup.pdf
- Chapter 9. BIOS Setup Procedures – Aurora Motherboard
- 9.1 Opening CMOS Setup Screen
- 9.1.1 CMOS Settings
- 9.1.2 Main Menu – Motherboard
- 9.1.3 Standard CMOS Setup - Motherboard
- 9.1.4 BIOS Features Setup - Motherboard
- 9.1.5 CPU Feature Setup - Motherboard
- 9.1.6 Hard Disk Boot Priority - Motherboard
- 9.1.7 Advance Chipset Features Setup- Motherboard
- 9.1.8 Integrated Peripherals Setup - Motherboard
- 9.1.9 USB Configuration Setup - Motherboard
- 9.1.10 OnChip IDE Device Setup - Motherboard
- 9.1.11 Onboard Device Setup - Motherboard
- 9.1.12 SuperIO Device Setup - Motherboard
- 9.1.13 Power Management Setup - Motherboard
- 9.1.14 PnP/PCI Configurations Setup - Motherboard
- 9.1.15 Frequency/Voltage Control Setup - Motherboard
- 9.1.16 Hardware Monitoring Setup - Motherboard
- 9.1.17 Event Log Setup - Motherboard
- 9.1.18 Others - Motherboard
- 9.1.19 System Information - Motherboard
- 9.1.20 Set Supervisor/User Passwords - Motherboard
- 9.1 Opening CMOS Setup Screen
- Chapter 9. BIOS Setup Procedures – Aurora Motherboard
- I&M - Chapter 10 BiossetupYosemiteMB.pdf
- 10.1. Opening CMOS Setup Screen
- 10.1.1. CMOS Settings
- 10.1.2. Main Menu – XL2 Motherboard
- 10.1.3. IDE Primary/Master Setup – XL2 Motherboard
- 10.1.4. IDE Primary/Master Setup – XL2 Motherboard
- 10.1.5. SATA Port 1 Setup – XL2 Motherboard
- 10.1.6. SATA Port 2 Setup – XL2 Motherboard
- 10.1.7. SATA Port 3 Setup – XL2 Motherboard
- 10.1.8. Advanced Main Menu – XL2 Motherboard
- 10.1.9. CPU Feature Setup – XL2 Motherboard
- 10.1.10. GM965 Feature Setup – XL2 Motherboard
- 10.1.11. ICH8MDO Feature Setup – XL2 Motherboard
- 10.1.12. USB Feature Setup – XL2 Motherboard
- 10.1.13. ICH SATA PATA Control Sub-Menu Setup – XL2 Motherboard
- 10.1.14. Super IO Feature Setup – XL2 Motherboard
- 10.1.15. Hardware Monitor Feature Setup – XL2 Motherboard
- 10.1.16. Other Feature Setup – XL2 Motherboard
- 10.1.17. Security Setup – XL2 Motherboard
- 10.1.18. TPM State Setup – XL2 Motherboard
- 10.1.19. Power Setup – XL2 Motherboard
- 10.1.20. Boot Setup – XL2 Motherboard
- 10.1.21. Exit Menu – XL2 Motherboard
- 10.1. Opening CMOS Setup Screen
- I&M - Chapter 11 Parts List1.pdf