Dmx control setup, Patching the dl.2 fixture to a wholehog console, Viewing output – High End Systems DL.2 User Manual
Page 40
CHAPTER 2
Setup and Configuration
18
DL.2 Digital Light User Manual
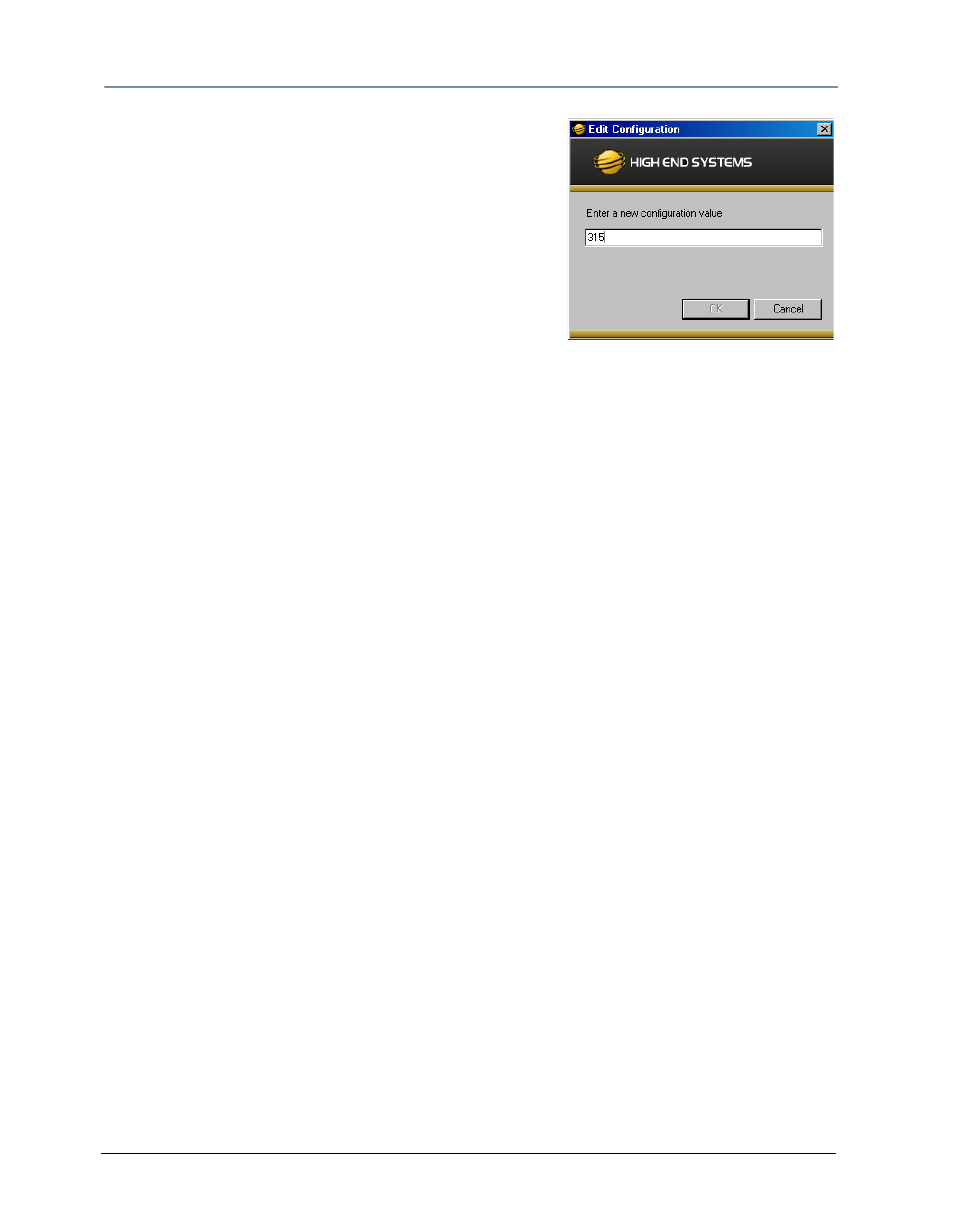
To edit the DMX Start Channel:
1. Scroll down the Configuration list in the right pane and
double click on the line with Start Channel in the Name
column to bring up the edit dialog box.
2. Enter a valid Start Channel for the protocol type you
have chosen.
Standard protocol = 1–343
Dual Protocol = 1–381
Single Protocol = 1–419
DMX Control Setup
Patching the DL.2 Fixture to a Wholehog Console
Wholehog console library systems patch the DL.2 fixture as three to five "fixture types". When
using Wholehog software; add one motion, one global, and three graphic "fixtures" for each
complete DL.2 unit in the Fixture Schedule or Add Fixtures window.
An easy way to organize these items is to assign user numbers e.g, (1-5 corresponds to DL.2
#1, where user number 1 is the motion, 2 is the global, and 3-5 the graphic fixture types).
Viewing Output
To output an image from a DL.2 fixture:
1. Open the dimmer on the motion fixture and assign the global intensity to full.
2. Assign an object's opacity to full.
When programming with Wholehog software, the Media Folder and Object parameters default to
1, so choosing any Media File value between 1 and 37 displays a media loop from the HES Core
folder (Media Folder 1) on a flat 4x3 rectangle (Object 1). The Dimmer, Global Intensity, and
Object Opacity parameters all need values greater than zero for an image to be visible.
If you have trouble viewing output and you are not using a lighting console from High End
Systems, check that the library for your desk has the correct default settings for all DMX
channels.