Epson EQUITY 3865X/20 PLUS User Manual
Page 164
4.
5.
6.
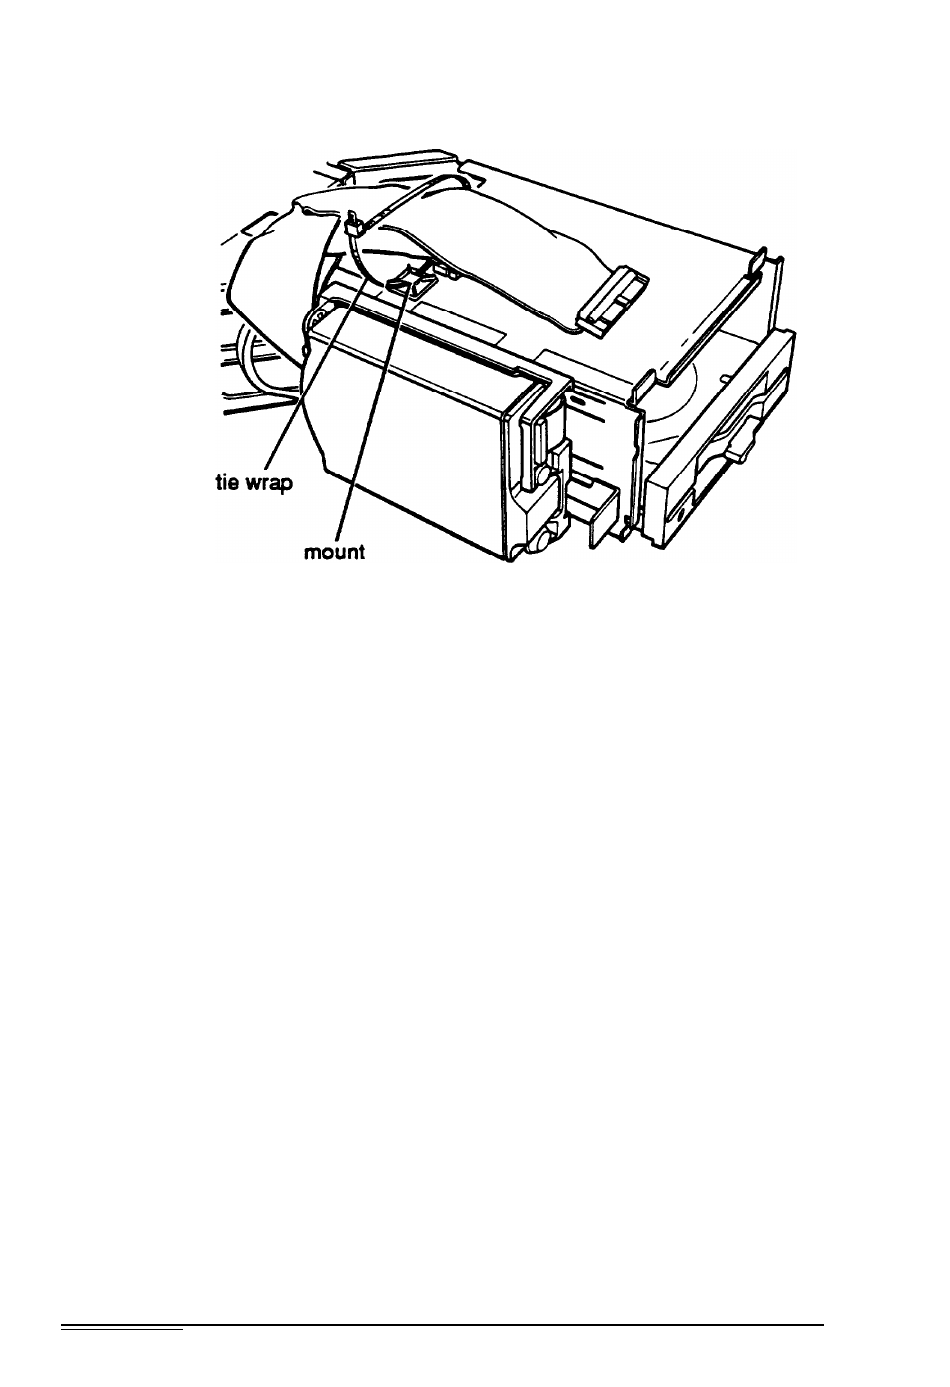
7.
8.
Wrap the tie wrap around the cable so that the mount is in
between the cable and the subassembly, as shown below.
Peel the backing off the mount and attach the mount to the
subassembly.
Turn the subassembly over again.
See ‘Replacing the Subassembly” in Chapter 5 for
instructions on replacing the subassembly in your computer.
Then see “Replacing the Cover,” also in Chapter 5, for
instructions on replacing the computer’s cover.
See “Post-installation Setup” in Chapter 6 for instructions
on configuring your computer for use with your new hard
disk drive.
Note
After you change your computer’s drive configuration, the
computer may take up to five minutes to complete power-on
diagnostics the next time you turn it on.
7-20
Installing and Removing Disk Dives