Making settings that apply during playback, Editing a sample, Editing the multi-effects – Roland VERSELAB MV1 Music Production Workstation User Manual
Page 34: Making measure-related settings, Making measure-related settings” (p. 34)
34
Loop Playback of Samples (Audio Looper)
Making Settings that Apply During
Playback
This shows how to make settings that apply when playing back a
sample, such as volume and time stretch.
1 .
Press the [SEQ] button to set the workflow to “Sequencer.”
2 .
Press the [SECTION SELECT] button to switch the pads to
Section Select mode.
3 .
Press the [INST 1] or [INST 2] button to select a looper track.
4 .
Press the [EDIT] button, and then press pads [1]–[16] to select
the clip to edit.
The CLIP EDIT MENU screen appears.
5 .
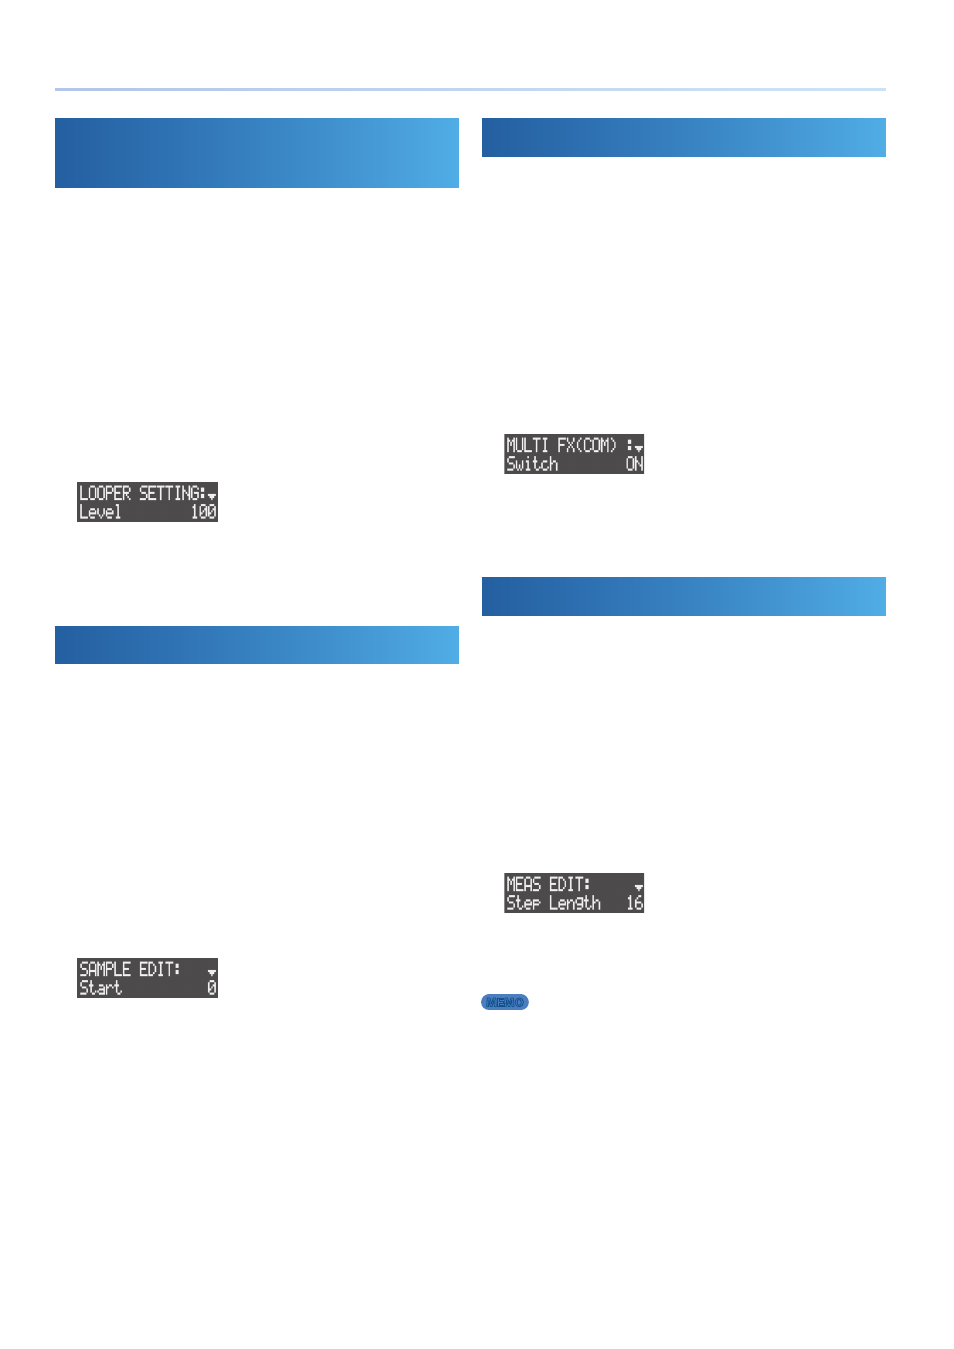
Use the [VALUE] dial to select “LOOPER SETTING,” and then
press the [VALUE] dial.
The LOOPER SETTING screen appears.
6 .
Use the [VALUE] dial to select a parameter, and edit the value.
&
For details, refer to the “Parameter Guide” (PDF).
Editing a Sample
This shows how to specify the playback region of a sample, make
settings for time stretch and more.
1 .
Press the [SEQ] button to set the workflow to “Sequencer.”
2 .
Press the [SECTION SELECT] button to switch the pads to
Section Select mode.
3 .
Press the [INST 1] or [INST 2] button to select a looper track.
4 .
Press the [EDIT] button, and then press pads [1]–[16] to select
the clip to edit.
The CLIP EDIT MENU screen appears.
5 .
Use the [VALUE] dial to select “SAMPLE EDIT,” and then press
the [VALUE] dial.
The SAMPLE EDIT screen appears.
6 .
Use the [VALUE] dial to select a parameter, and edit the value.
&
For details, refer to the “Parameter Guide” (PDF).
Editing the Multi-Effects
You can use multi-effects on samples to process the sound.
1 .
Press the [SEQ] button to set the workflow to “Sequencer.”
2 .
Press the [SECTION SELECT] button to switch the pads to
Section Select mode.
3 .
Press the [INST 1] or [INST 2] button to select a looper track.
4 .
Press the [EDIT] button, and then press pads [1]–[16] to select
the clip to edit.
The CLIP EDIT MENU screen appears.
5 .
Use the [VALUE] dial to select “MULTI FX,” and then press the
[VALUE] dial.
The MULTI FX screen appears.
6 .
Use the [VALUE] dial to select a parameter, and edit the value.
&
For details, refer to the “Parameter Guide” (PDF).
Making Measure-Related Settings
Here’s how to specify a clip’s length, the sample playback direction and
other settings.
1 .
Press the [SEQ] button to set the workflow to “Sequencer.”
2 .
Press the [SECTION SELECT] button to switch the pads to
Section Select mode.
3 .
Press the [INST 1] or [INST 2] button to select a looper track.
4 .
Press pads [1]–[16] to select the clip to edit.
5 .
Press the [EDIT] button, and then press the MEASURE [<] or
[>] buttons.
The MEAS EDIT screen appears.
6 .
Use the [VALUE] dial to select a parameter, and edit the value.
&
For details, refer to the “Parameter Guide” (PDF).
MEMO
You can also set these parameters in the CLIP SETTING screen (p. 19).