Using sampled audio, Getting ready to sample, Configuring the external input – Roland VERSELAB MV1 Music Production Workstation User Manual
Page 31: Sampling settings
31
Using Sampled Audio
This shows you how to sample the sound from a built-in mic, an external mic, the audio input from the LINE IN jacks or clips playing back to create
a sample (audio file).
You can use the samples you create as tones or drum instruments. You can also export the samples to an SD card.
Getting Ready to Sample
Configuring the External Input
1 .
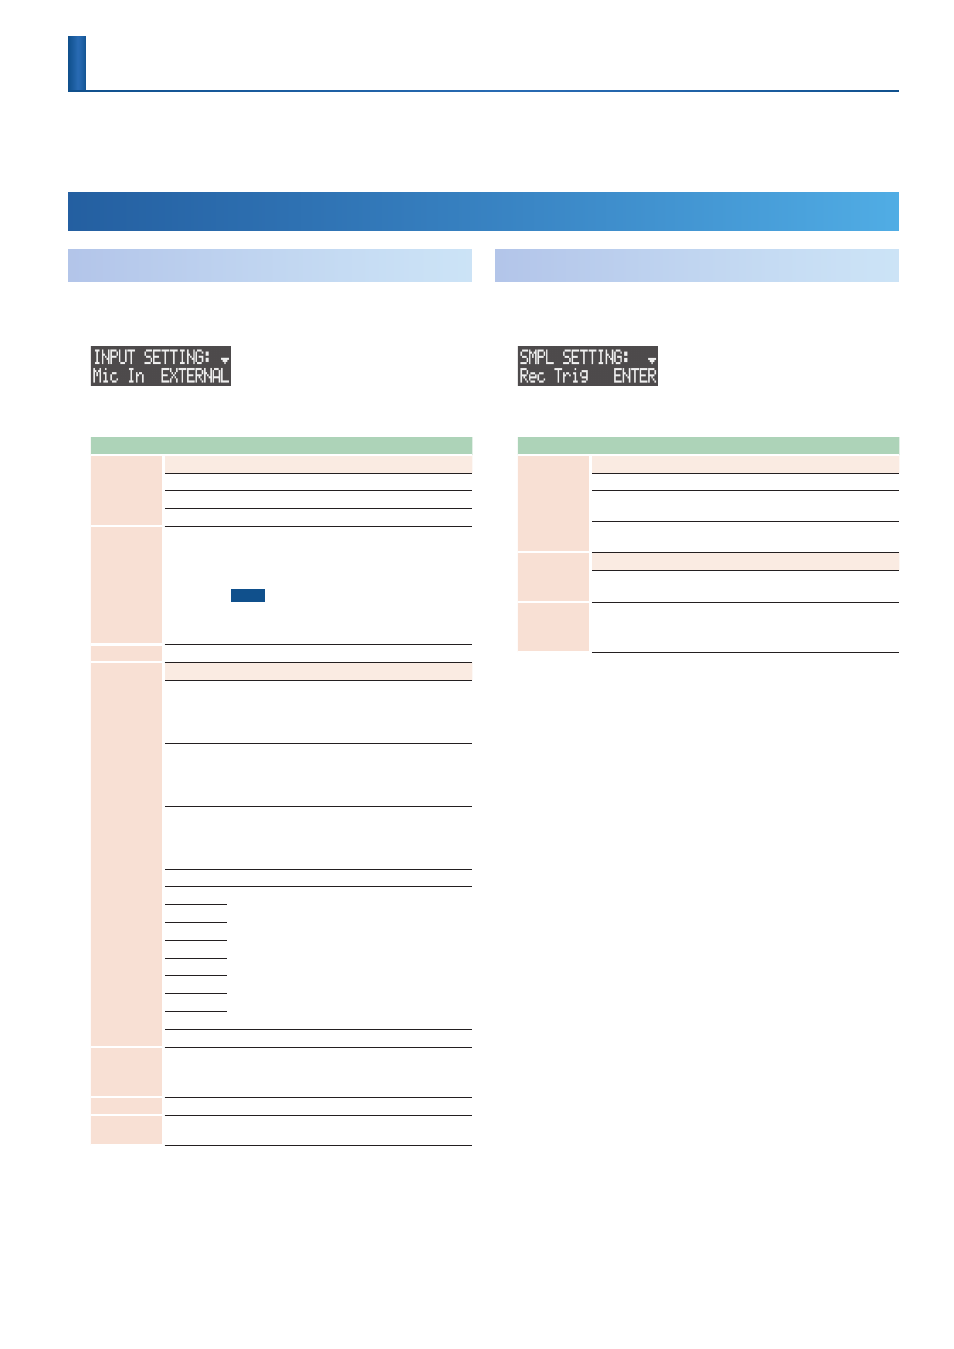
Press the [INPUT] button.
The INPUT SETTING screen appears.
2 .
Use the [VALUE] dial to select a parameter, and edit the value.
Parameter
Value
Explanation
Mic In
This selects the mic input source.
OFF (LINE)
Input from the LINE IN jacks
BUILT-IN
Input from the built-in mic
EXTERNAL
Input from the MIC connector
Phantom Sw
OFF, ON
Turns phantom power on/off. Turn this on to supply
phantom power from the MIC connector. This should
be switched on for condenser mics that require
phantom power.
NOTE
Be sure to turn phantom power off if it’s not necessary.
This is because dynamic mics and other devices may
malfunction when supplied with phantom power.
Ext Level
0–127
Adjusts the mic input level.
Rec Src
This selects the source for recording (sampling).
EXT (WET)
The input audio signal that passes through the vocal
processor (p. 40)
* Set COMMON
0
Pos in the VOCAL PROC MENU
screen to “EXT IN.”
EXT (DRY)
The input audio signal that does not pass through the
vocal processor (p. 40)
* The input audio signal that passes through the vocal
processor is monitored.
EXT (W/D)
The input audio signal that passes through the vocal
processor (p. 40)
* The input audio signal that does not pass through
the vocal processor is monitored.
PC
Audio input through the USB audio PC IN port
KICK
Audio of the selected track
SNARE
HI-HAT
KIT
BASS
INST 1
INST 2
VOCAL
MIXOUT
Audio output from this unit
Rec Meas
1–8
Sets the length of the sample (in measures) to record.
* This setting is only enabled when recording audio
Line Gain
0–12dB
Adjusts the input gain for the LINE IN jacks.
Line Type
STEREO,
MONO
Switches the audio input from the LINE IN jacks
between mono/stereo.
Sampling Settings
1 .
Press the [EDIT] button, and then the [REC] button.
The SMPL SETTING screen appears.
2 .
Use the [VALUE] dial to select a parameter, and edit the value.
Parameter
Value
Explanation
Rec Trig
Sets the timing at which you want to start sampling.
ENTER
Press the [VALUE] dial to start sampling.
CLOCK
When you press the [
A
] (START/STOP) button to play
back the performance data, sampling begins.
-24, -12, -6dB
After you press the [VALUE] dial, sampling begins once
the audio input exceeds the level set here.
Rec Src
This selects the source to sample.
* This setting is common with the Rec Src setting on the INPUT
SETTING screen.
Ext Level
0–127
Adjusts the mic input level.
* This setting is common with the Ext Level setting on
the INPUT SETTING screen.