Recording ctrl knob movement in steps (motions), Recording ctrl knob movement in steps, Motions) – Roland VERSELAB MV1 Music Production Workstation User Manual
Page 29: P. 29), Assigning parameters to the ctrl knobs, Setting a motion to on/off, Recording motions, Deleting a motion, Editing a motion
29
Recording CTRL Knob Movement in Steps
(Motions)
You can make changes to the sound by recording your operations of the [CTRL 1]–[CTRL 3] knobs as
“motions.”
* Motions can’t be recorded on the VOCAL track.
* Motions can be recorded for each clip.
Assigning Parameters to the CTRL Knobs
You’ll need to assign the parameters you want to record to the
[CTRL 1]–[CTRL 3] knobs.
&
For detailed information, refer to “Assigning Parameters to the CTRL
Setting a Motion to On/Off
For each clip, you can specify whether a motion is played back.
When the motion is turned on, the [CTRL 1]–[CTRL 3] knobs recreate
the motions when playing back performance data.
1 .
Follow the steps in “Selecting a Clip” (p. 19) to select the
clip.
2 .
Press the [MOTION] button to make it light.
The motion turns on.
3 .
Press the [MOTION] button to make it go dark.
The motion turns off.
Recording Motions
Here’s how to record your operating the [CTRL 1]–[CTRL 3] knobs to
steps that are playing back.
* You can’t record motions when the CTRL knobs are used to display a screen
for operating parameters, such as the track mixer screen.
1 .
Follow the steps in “Selecting a Clip” (p. 19) to select the
clip to which you want to record the motion.
2 .
Press the [REC] button to enter record standby.
3 .
Press the [
A
] (START/STOP) button to play back the
performance data.
Motion recording begins.
4 .
Turn the [CTRL 1]–[CTRL 3] knobs.
Knob operations are recorded at each step.
5 .
Press the [REC] button to make it go dark.
Motion recording ends.
6 .
Press the [
A
] (START/STOP) button to stop playback.
Deleting a Motion
1 .
Follow the steps in “Selecting a Clip” (p. 19) to select the
clip whose motion you want to delete.
2 .
Press the [EDIT] button, and then press the [MOTION] button.
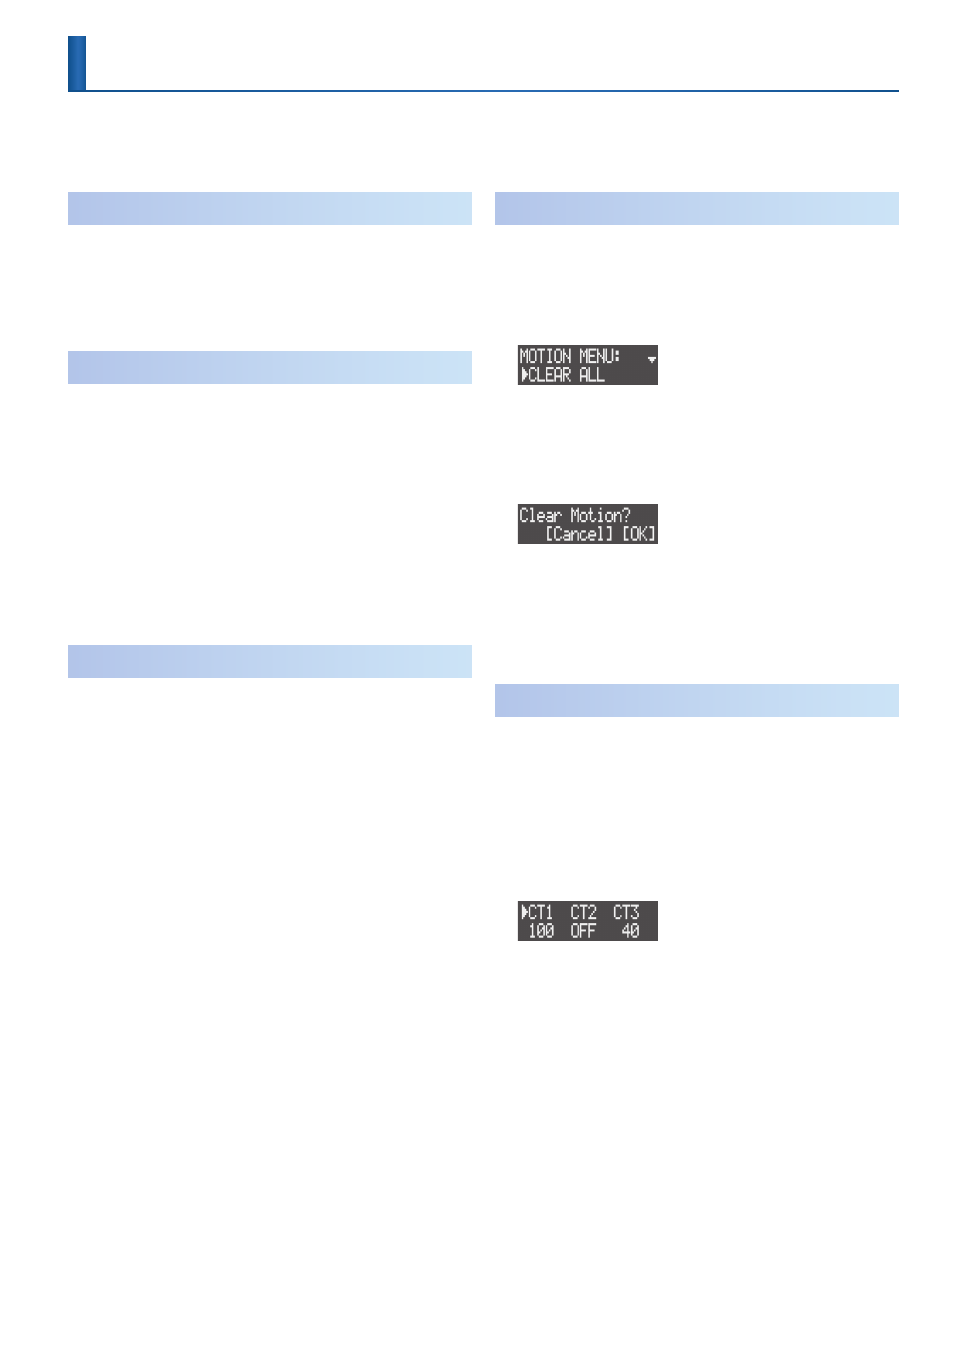
The MOTION MENU screen appears.
3 .
Use the [VALUE] dial to select “CLEAR ALL,” and then press the
[VALUE] dial.
* To delete motions for the respective knobs, select “CLEAR CTRL 1”–”CLEAR
CTRL 3.”
A confirmation message appears.
* To cancel the operation, press the [EXIT] button.
4 .
Use the [VALUE] dial to select “OK,” and then press the
[VALUE] dial.
The motion is deleted.
Editing a Motion
You can edit motions that you’ve recorded for each step.
1 .
Follow the steps in “Selecting a Clip” (p. 19) to select the clip.
2 .
Press the [EDIT] button and then the STEP SEQUENCER [1]–
[16] buttons to select the steps whose motions you want to
edit.
3 .
Press the [MOTION] button.
The motion value appears.
4 .
Turn the [CTRL 1]–[CTRL 3] knobs to adjust the value.
5 .
When you have finished editing, press the [EXIT] button.