Loop playback of samples (audio looper), Changing the track type to “looper, Getting your sample ready – Roland VERSELAB MV1 Music Production Workstation User Manual
Page 33: Recording audio, Loading clips, Loading samples, Playing back samples in a loop, Loop playback of samples, Audio looper), Recording audio” (p. 33)
33
Loop Playback of Samples
(Audio Looper)
The INST 1 and INST 2 tracks can be used as audio loopers. This feature plays back recorded or imported audio phrases (called
“samples”
) in a loop.
Use time stretch to change the playback speed of a sample, making it match the tempo of the song without altering its pitch.
Changing the Track Type to “Looper”
To use the INST 1 and INST 2 tracks as loopers, you need to change
their track type to “looper.”
1 .
Follow the steps in “Editing the Track Type” (p. 18) to
change the track type to “looper.”
Getting Your Sample Ready
MEMO
This unit’s internal memory is used when loading samples that are used by the
looper. As this unit only has a certain amount of memory, you should delete any
samples you don’t need to free up memory (p. 20).
Check the amount of memory used in “LooperUsage” on the MEMORY INFO
screen (p. 44).
If the memory does not free up even after you delete some samples, use the
Looper Optimize function (p. 44).
Recording Audio
Here’s how to record audio and create a sample.
MEMO
You cannot record audio to clips that already contain a sample. Delete the clip if
necessary (p. 20).
1 .
Follow the steps in “Configuring the External Input” (p. 31)
to get ready to record.
2 .
Press the [SEQ] button to set the workflow to “Sequencer.”
3 .
Press the [INST 1] or [INST 2] button to select a looper track.
4 .
Press an unlit pad (empty clip) from [1] to [16] to select the
clip to record.
5 .
Press the [REC] button to enter record standby.
6 .
Press the [
A
] (START/STOP) button to begin recording.
* When count-in is turned on, a one-measure count-in plays before recording
begins.
&
“Setting the Tempo and Metronome” (p. 27)
Recording automatically stops when the number of measures set in
step 1 (Rec Meas) is reached.
The recorded audio (sample) then plays back.
7 .
Press the [
A
] (START/STOP) button to stop playback.
Loading Clips
&
“Loading from the SD Card” (p. 21)
“Importing from a Project” (p. 21)
Loading Samples
This is how to load the samples used by each project or the sample
files saved in the SD card.
MEMO
5
You cannot load audio into a clip that already contains a sample. Delete the
clip if necessary (p. 20).
5
Sample files that you want to load (in .wav format) must be placed in the
ROLAND/MV/SAMPLE folder of the SD card.
1 .
Press the [SEQ] button to set the workflow to “Sequencer.”
2 .
Press the [SECTION SELECT] button to switch the pads to
Section Select mode.
3 .
Press the [INST 1] or [INST 2] button to select a looper track.
4 .
Press an unlit pad (empty clip) from [1] to [16] to select the
clip where you want to load the sample into.
5 .
Press the [VALUE] dial.
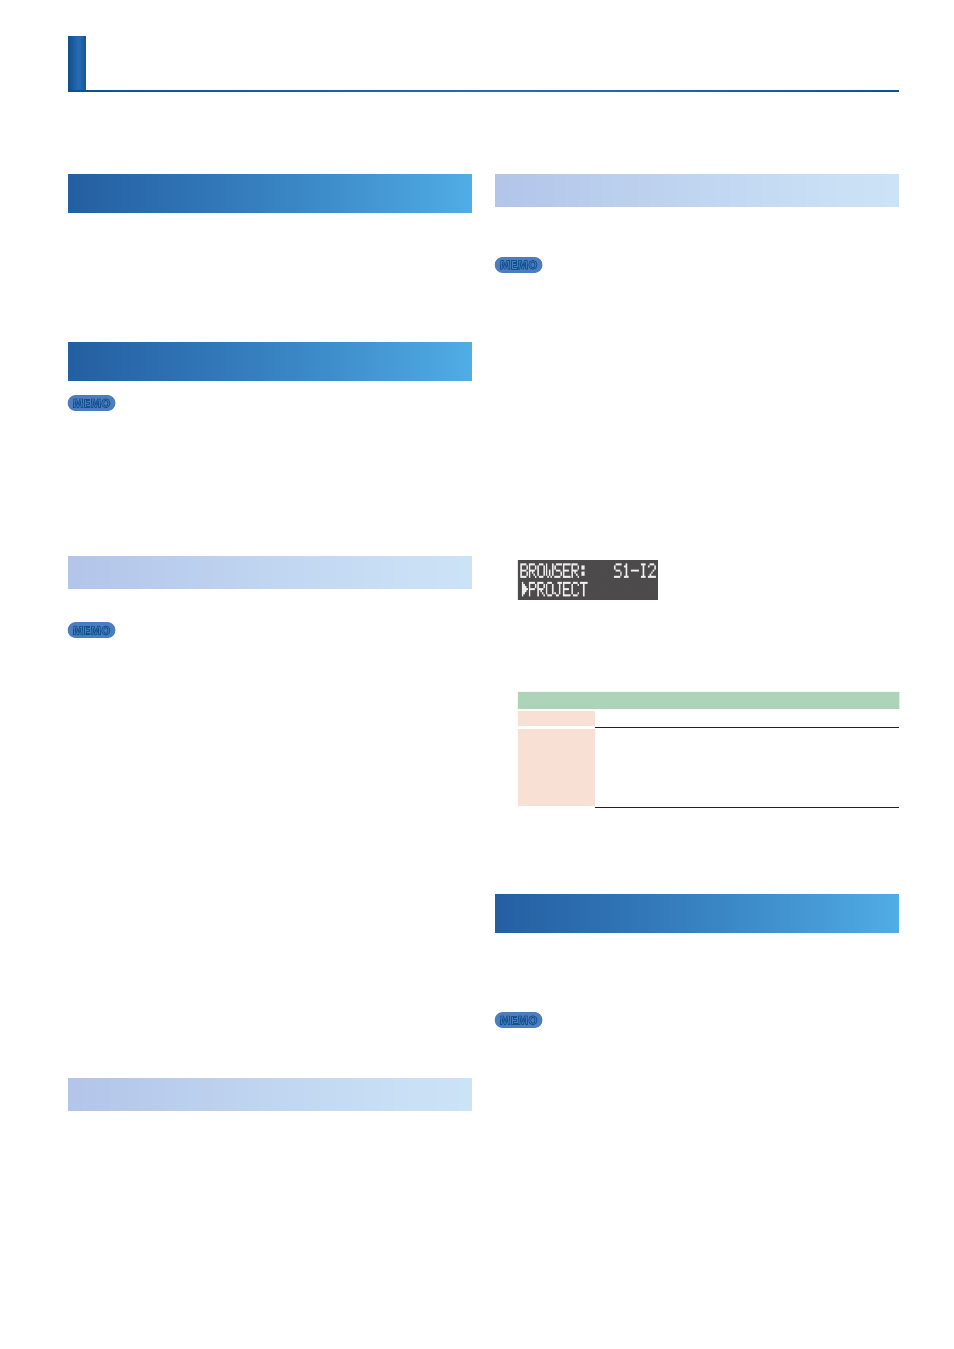
The BROWSER screen appears.
6 .
Use the [VALUE] dial to select the load source
(PROJECT, WAVE
FILE)
and then press the [VALUE] dial.
7 .
Use the [VALUE] dial to select a sample.
Load source
Explanation
PROJECT
Select a project and then select a clip that uses a sample.
WAVE FILE
Select a sample file.
Selecting a preset file (.svz) displays the sample list. Select a sample
from the list.
5
Folders are shown with the “F:” prefix.
5
Press the [LOAD] button to preview the sample file.
8 .
Press the [VALUE] dial.
The sample is now loaded.
Playing Back Samples in a Loop
1 .
Press the [
A
] (START/STOP) button.
The sample in the INST 1 or INST 2 tracks plays back in a loop.
MEMO
When you change the pads to Note mode, you can press the pads to adjust the
sample pitch (p. 25).