Swapping sections, Deleting a section, Naming a section – Roland VERSELAB MV1 Music Production Workstation User Manual
Page 17: Setting the pad illumination colors
17
Section Operations
Swapping Sections
Here’s how to swap (exchange) performance data and tones together
between sections.
1 .
Press the [COPY] button.
The menu screen appears.
2 .
Use the [VALUE] dial to select “SWAP: SECTION,” and then
press the [VALUE] dial.
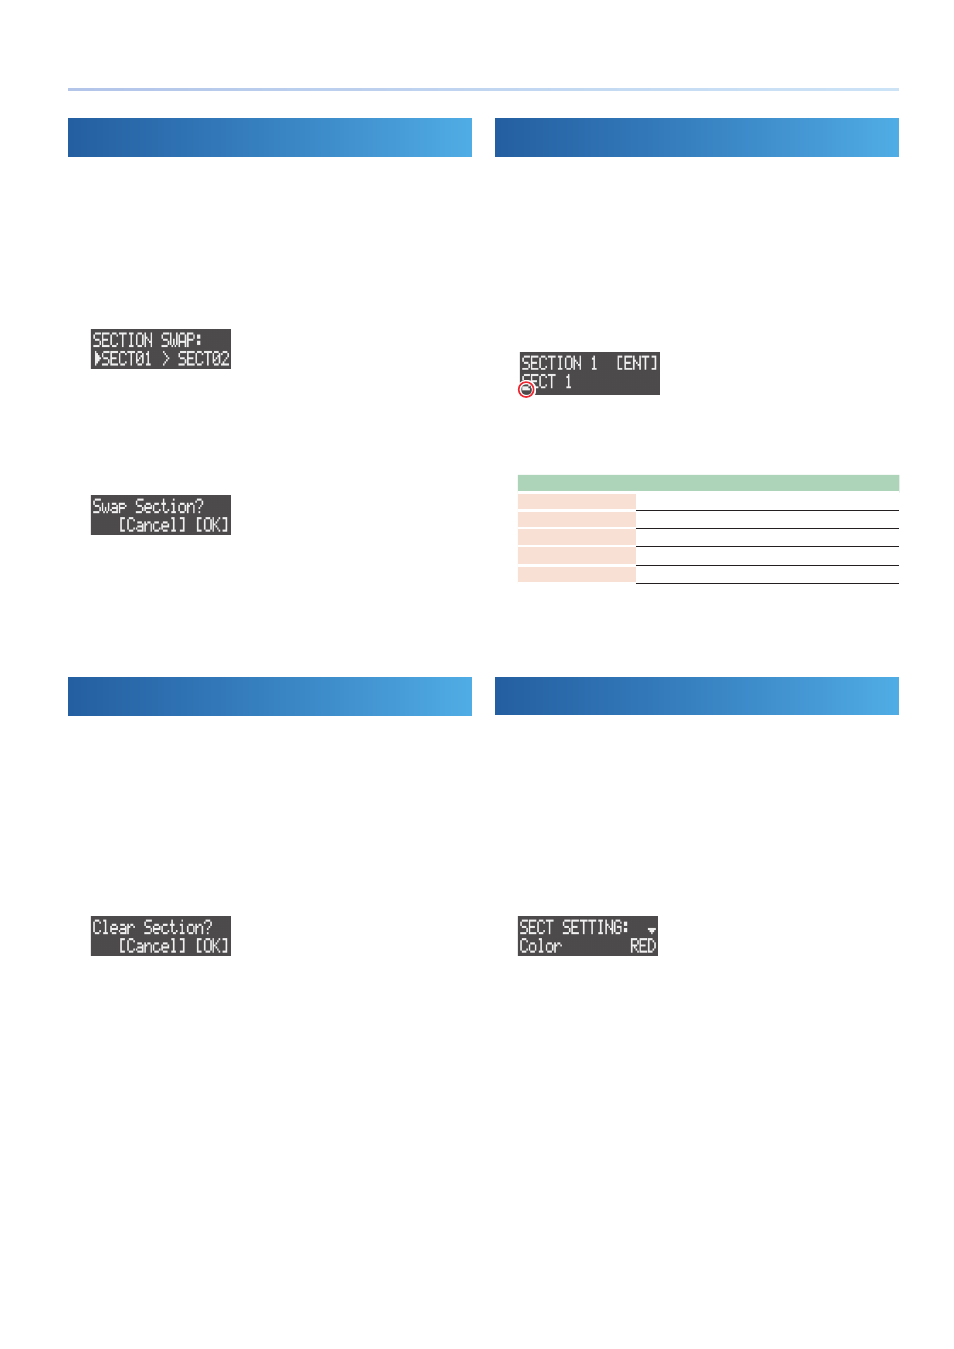
The SECTION SWAP screen appears.
3 .
Use the [VALUE] dial to select the swap source section, and
then press the [VALUE] dial.
4 .
Use the [VALUE] dial to select the swap destination section,
and press the [VALUE] dial.
A confirmation message appears.
* To cancel the operation, press the [EXIT] button.
5 .
Use the [VALUE] dial to select “OK,” and then press the
[VALUE] dial.
The performance data and tones for the sections are now swapped.
Deleting a Section
This deletes all contents in a section. This reverts the tones (tones/
drum kits) to their default settings (presets).
1 .
Press the [SECTION] button to set the workflow to “Section.”
2 .
Press the [SECTION SELECT] button to switch the pads to
Section Select mode.
3 .
Press pads [1]–[16] while holding down the [CLEAR] button to
select the section to delete.
A confirmation message appears.
* To cancel the operation, press the [EXIT] button.
4 .
Use the [VALUE] dial to select “OK,” and then press the
[VALUE] dial.
The section’s performance data is deleted.
Naming a Section
You can name each section separately.
1 .
Press the [SECTION] button to set the workflow to “Section.”
2 .
Press the [SECTION SELECT] button to switch the pads to
Section Select mode.
3 .
Press pads [1]–[16] to select the section to name.
4 .
Press the [EDIT] button, and then press the [VALUE] dial.
The section name edit screen appears.
Cursor (blinking)
5 .
Edit the section name.
You can change the character shown at the cursor position.
Operation
Explanation
MEASURE [<] [>]
Selects the character to edit.
[VALUE]
Edits the character.
[SHIFT] + MEASURE [>]
Inserts a space.
[SHIFT] + MEASURE [<]
Deletes the character.
[CLEAR]
Deletes the character and replaces it with a space.
6 .
Press the [VALUE] dial.
The section name is now changed.
Setting the Pad Illumination Colors
You can set the illumination color of the pads for each section.
1 .
Press the [SECTION] button to set the workflow to “Section.”
2 .
Press the [SECTION SELECT] button to switch the pads to
Section Select mode.
3 .
Press the [EDIT] button, and then press pads [1]–[16] to select
the section for which the pad illumination color is to be
changed.
The SECT SETTING screen appears.
4 .
Use the [VALUE] dial to select “Color,” and then press the
[VALUE] dial.
5 .
Use the [VALUE] dial to select the pad illumination color.