Chapter 13 appendix, Appendix a: to edit the marker, Chapter 13 appendix -1 – RIGOL DSA875 User Manual
Page 63: Appendix a: to edit the marker -1
RIGOL
User’s Guide for EMI Test System
13-1
Chapter 13 Appendix
Appendix A: To Edit the Marker
Click and select OFF/ON under Marker in the main interface of the software
(Figure 3-1) to open the Marker setting area (displayed at the lower-right
corner of the main interface). Right-click at any place in the marker setting area
and the menu as shown in the figure below is displayed.
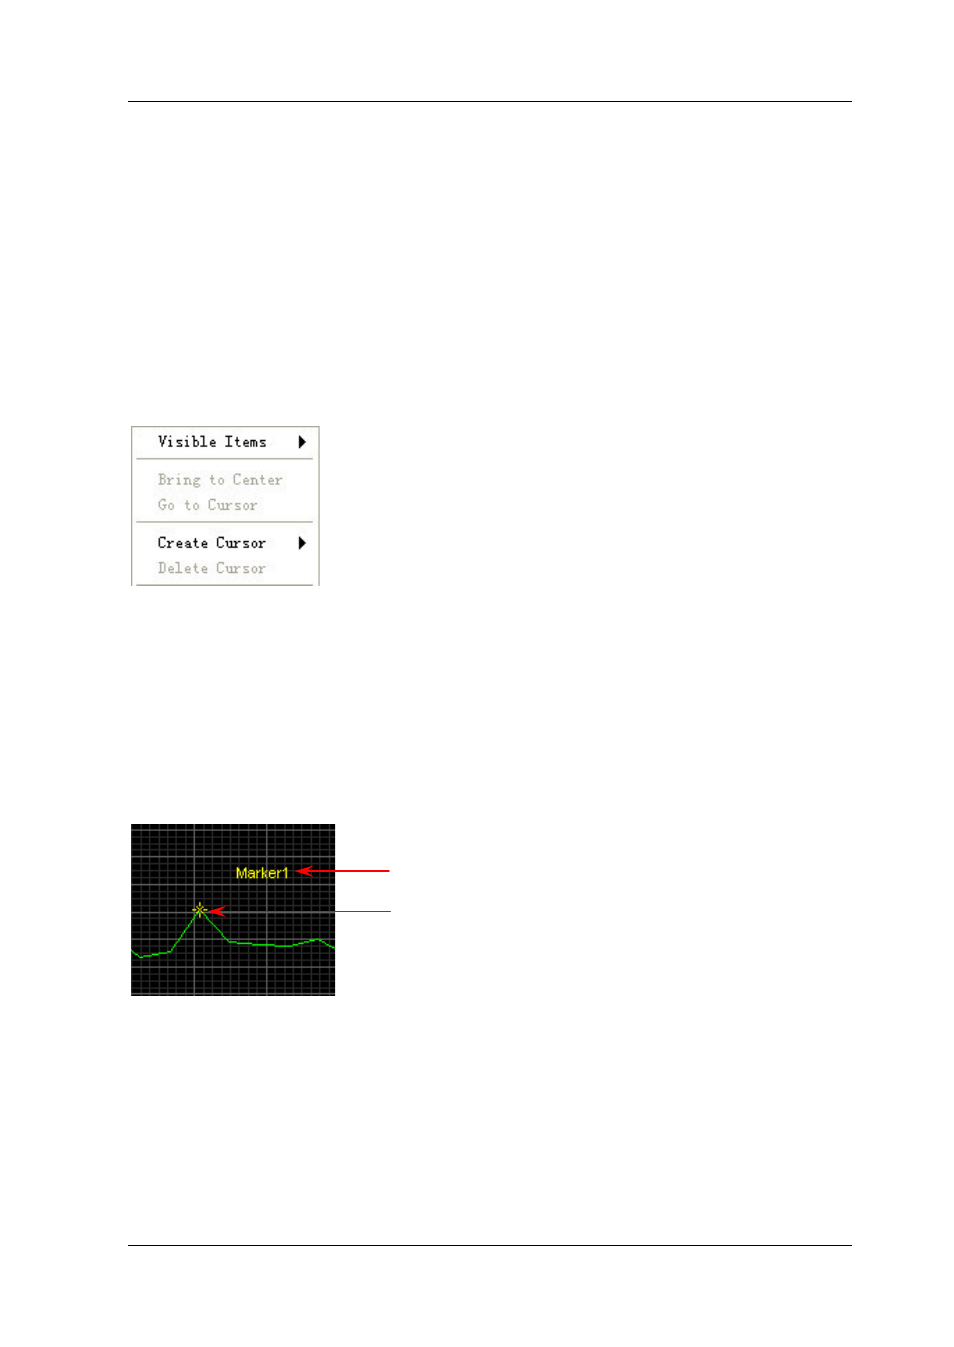
To Create a Marker
Click Create Cursor and you can create a "Free" or "Single-Plot" marker by
selecting the corresponding option. When a marker type is selected, EMI Test
System creates a marker at the default position in the spectrum window. The
Marker point and Marker label of the marker newly created are displayed in the
spectrum window as shown in the figure below.
After a “Free” marker is created, select and right-click the name of this marker
in the marker setting area; the free marker menu is displayed as shown in
Figure 13-1.
After a "Single-Plot" marker is created, select and right-click the name of this
marker in the marker setting area; the single-plot marker menu is displayed as
shown in Figure 13-2. In addition, the name of the associated curve as well as
Marker point
Marker label