Easter2 ref. guide rev.b – Epson 440 User Manual
Page 128
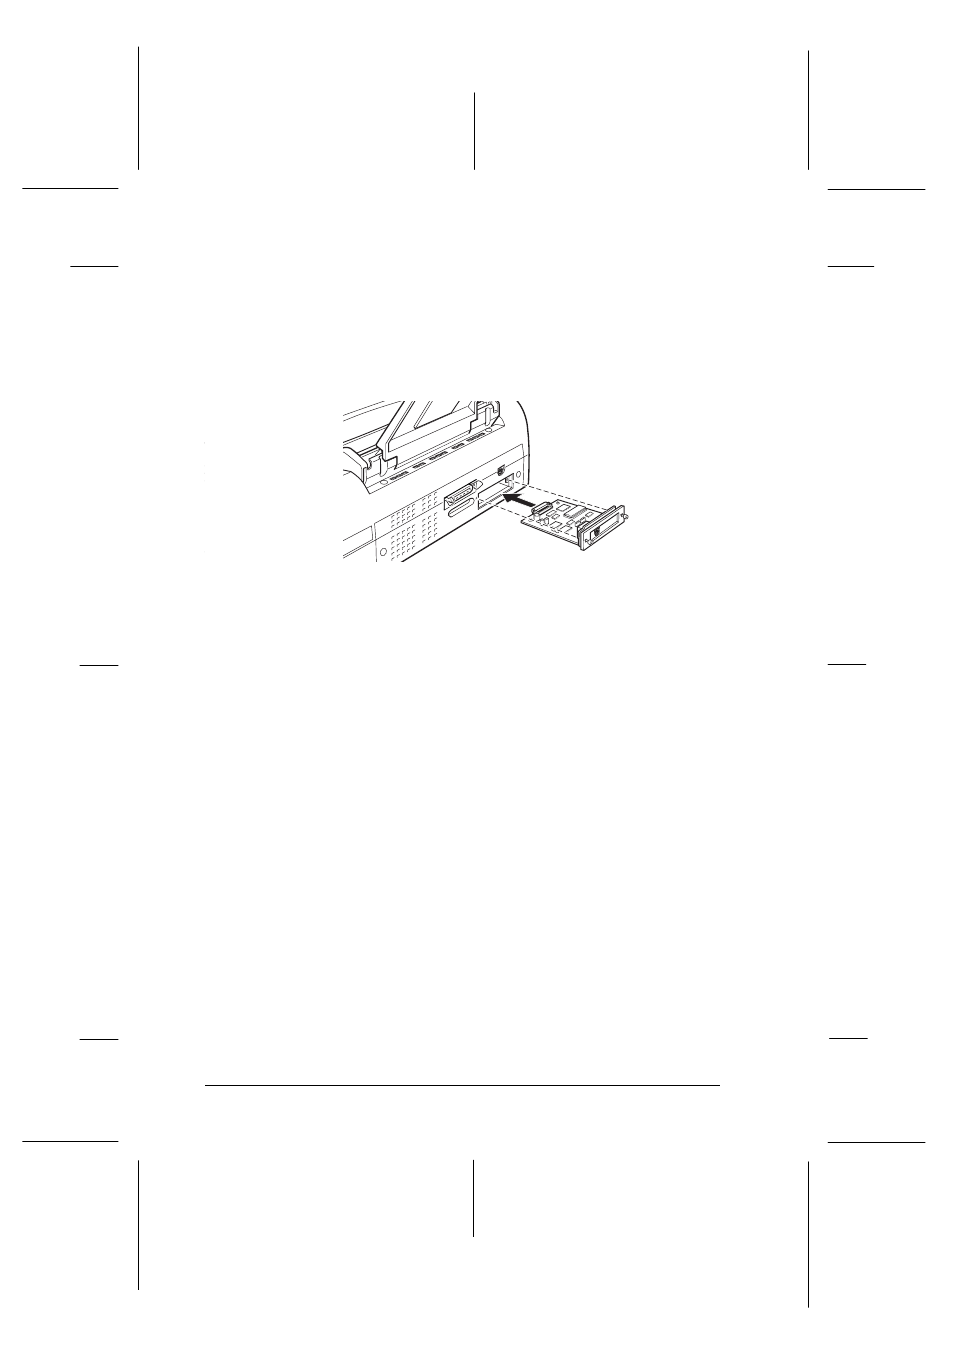
6. Slide the interface card along the slots on both sides of the
interface compartment. Push it in firmly to fully insert the
connector at the rear of the interface card into the printer’s
internal socket.
7. Secure the interface card in the slot with the two screws
included with the interface card.
8. Connect the proper interface cable to the interface card and to
your computer. If the cable has a grounding wire, connect it
to one of the screws securing the parallel interface.
Also, if you are using more than one computer, reconnect the
other interface cable.
9. Make sure the printer is turned off. Then plug in the power
cord.
Before you use the optional interface, you may need to change
the setting for the interface option, such as I/F (interface) mode
in the default-setting mode. If you need to change any settings,
see “Changing the Print Settings” in Appendix A for
instructions.
To remove the interface card, follow the above steps in reverse
order.
e37
L
Easter2 Ref. Guide
Rev.b
A5 size
Chapter 8
05-20-97
DR, pass 0
8-4
Using Optional Interfaces