Yaskawa MP900 Teach Pendant User Manual
Page 59
Operation
3.1.9 Setting the Point Table
3 -28
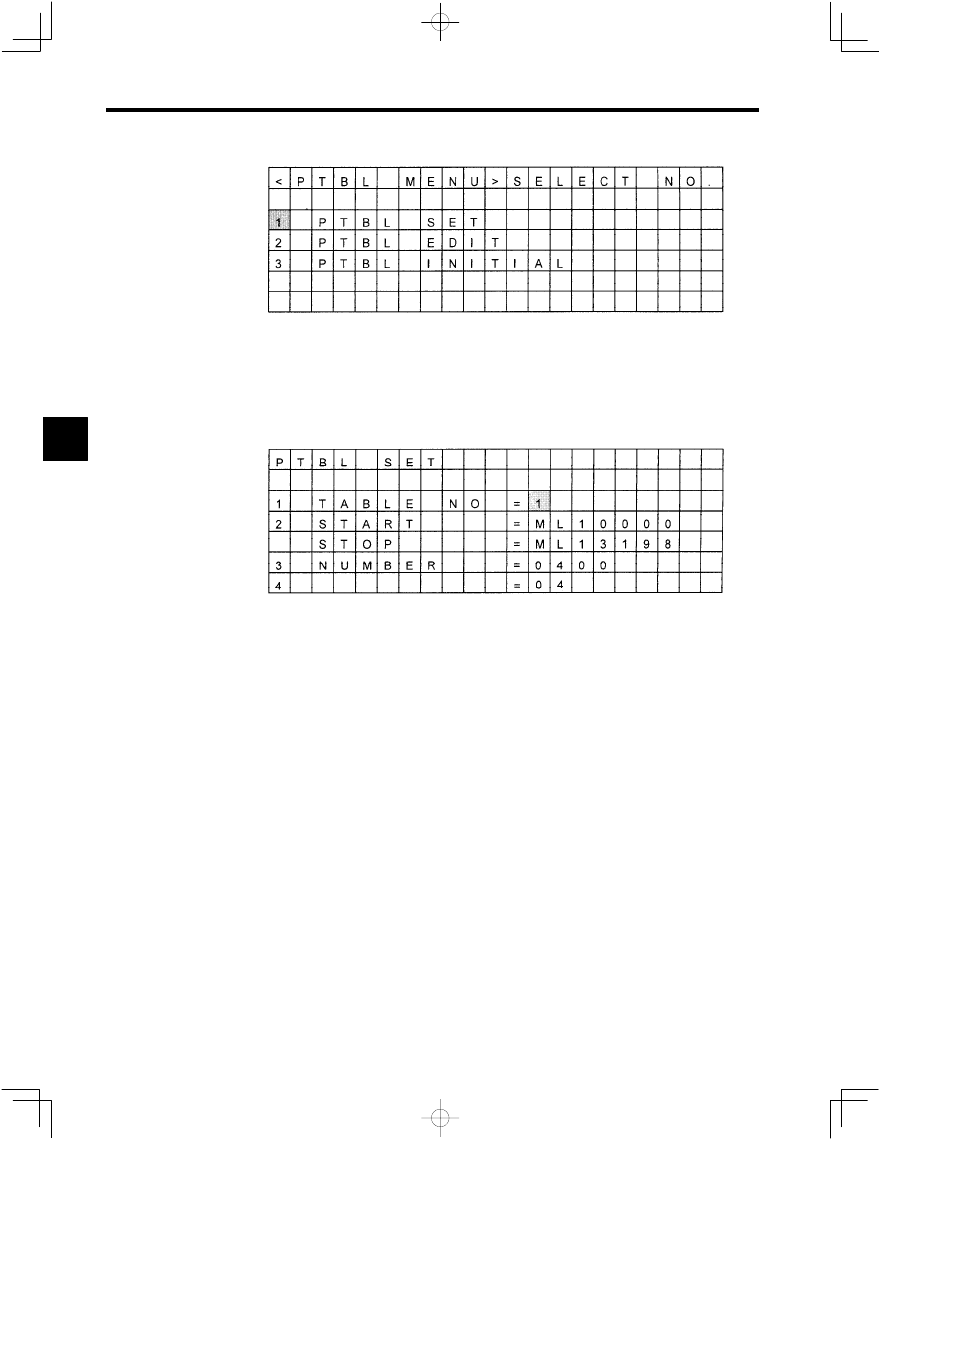
Figure 3.53 Point Table Menu Screen
J
Point Table Save/Reset
Operating procedures from the Point Table Save/Reset Screen are described below.
A
X
I
S
Figure 3.54 Point Table Save/Reset Screen
Saving Point Tables
1. Input the table number in the input area to the right of TABLE NO = and press the ENT
Key to confirm.
2. Input the leading # register number in the input area to the right of START = and press the
ENT Key to confirm.
3. Input the number of points in the table in the input area to the right of NUMBER = and
press the ENT Key.
4. Input the number of axes in the input area to the right of AXIS = and press the ENT Key
to confirm. The last # register will automatically be displayed in the space to the right of
STOP =.
5. To switch to Physical Axis Setting Screen, press the DISP CHG + Left or Right Cursor
Keys. (Refer to the following screen.)
6. Select the axis to be set using Up and Down Cursor Keys.
The cursor will be to the right of the axis number to be set.
7. Input the physical axis number in the above space using the Numeric Keys, and press the
ENT Key to confirm.
The physical axis number will be set to the right space of the axis number.
3