Marking in and out points, Setting up a split edit – Grass Valley Aurora Edit LD v.7.0 User Manual
Page 97

the clip is edited into the Timeline. The Timeline automatically moves the cursor to
the end of each edit in preparation for the next edit.
Marking In and Out Points
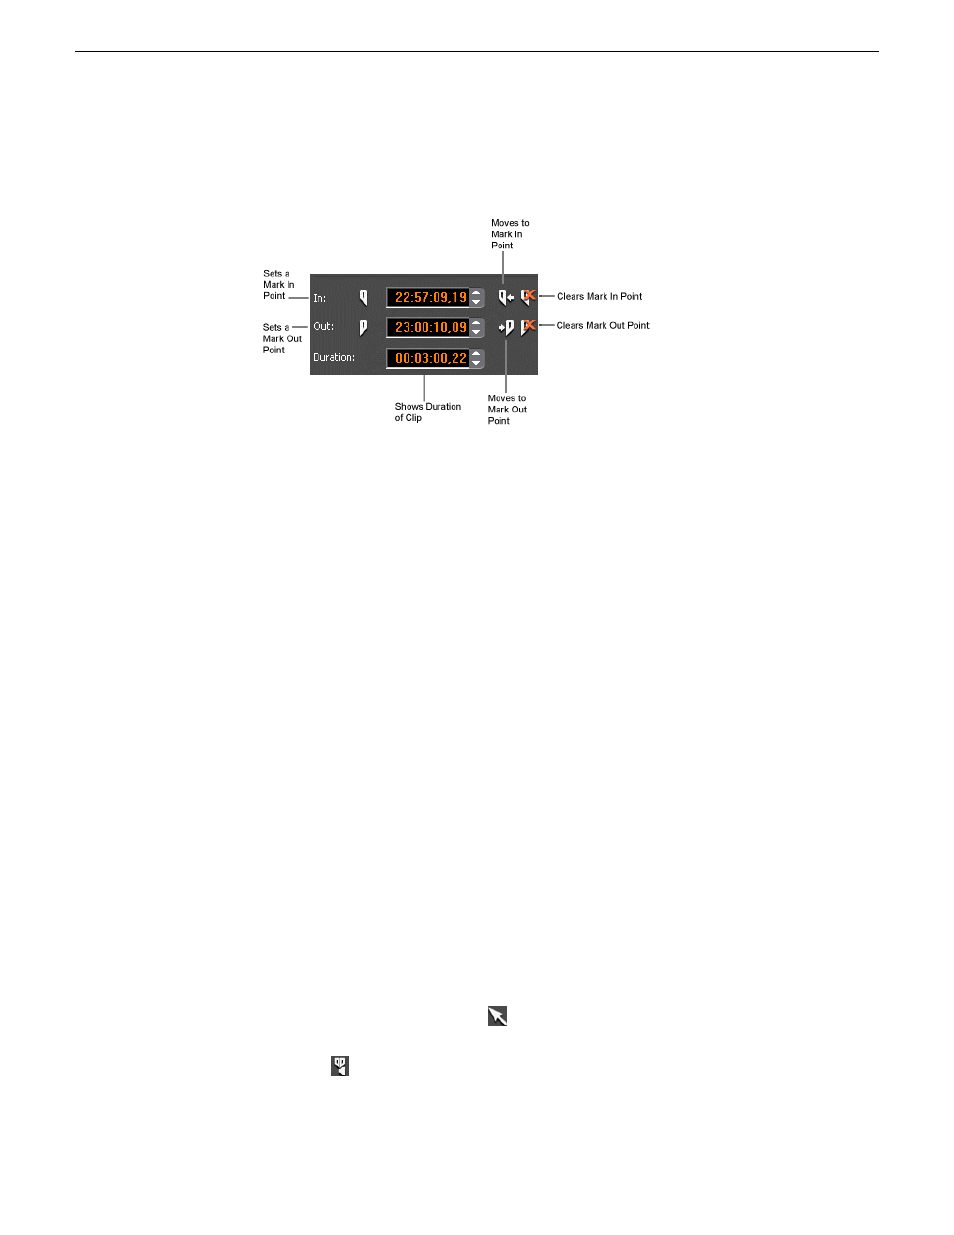
You create mark points to determine which material to record for your sequence.
1. Move to the Mark In or Mark Out point in any of the following ways:
•
Click the point on the Timeline where you want to place the points.
•
Press the
A
,
S
,
D
, or
F
keys on the keyboard to jog through clips in 1-frame or
10-frame increments.
•
Press
G
to move back to the previous cutpoint.
•
Press
H
to move forward to the next cutpoint.
2. Press
I
on the keyboard to Mark In and press
O
to Mark Out.
Setting up a split edit
Aurora Edit lets you set In and Out points to create a pre-defined split edit from the
Timeline Tool.
To delay one of the tracks at the beginning of a clip, set different In points for the
video and audio, with one starting after the other. You can also extend one track after
the other at the end of a clip.
If your clips are already recorded to the Timeline, you can create a split edit using the
Cut Point Edit Tool or by extending the edit.
1. Press
1
on the keyboard or click
Timeline Tool
to select the Timeline Tool.
2. Press
I
on the keyboard to mark an In point for the video track.
3. Click the
Show Audio Marks
button.
08 April 2010
Aurora Edit LD User Guide
97
Working in the Timeline
