Avery Dennison SNAP 656 User Manual
Page 81
Users Manual Model 656/636
Appendix E •
••
• 75B
Steps for initial set up on a AVERY DENNISON 636
or 656
1. Software: In Formatter, open the format. From the Format menu, select Attributes. Select the “Ink Setup”
tab. Check that the combination of stock and ink types matches what is running on the machine.
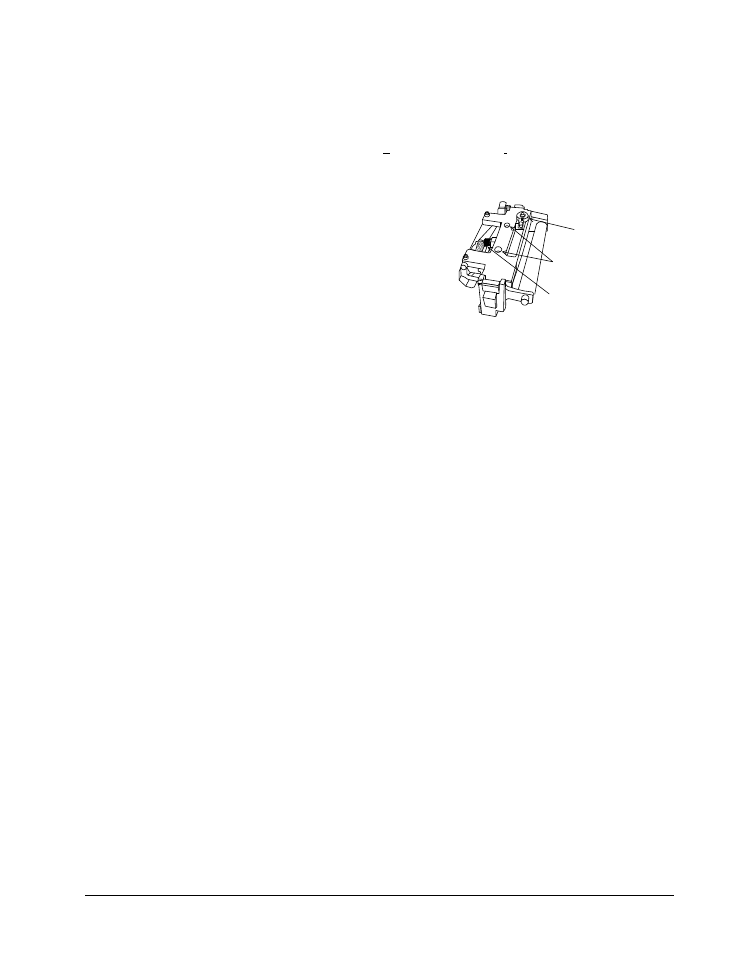
2. Pressure: Open the printhead such that it hangs at an angle.
Loosen the printhead pressure knob enough to that it just
sticks and does not slide from gravity. Position the knob in the
center of the ink. Close the printhead, tighten 3/4 of a turn.
3. Tangent: Set the tangent so that the locking screw is centered
when looking down on the printhead.
4. Strobe: Using the arrow keys, select “Setup” on the front
panel. Using the arrow keys again, select “Strobe”. If not 0,
return the strobe setting to zero using the arrow keys, and
then the “Enter” key.
5. Ink tension: Back the tension on the ink unwind and take up to minimal. Turn the tension knobs left or
counter-clockwise.
6. Stock widths: The width of the ribbon must be greater than the supply width. Since some supplies are
more abrasive to printheads than others, using a ribbon wider than your supply helps protect the
printhead. Failure to do this may void your warranty. Replacement printheads are expensive.
7. Cleaning: Clean the printhead with an approved printhead cleaning method. Use rubbing alcohol on a lint
free cloth or the “Hook side” of Velcro. Always turn off the machine and wear the wrist grounding strap.
Never touch the printhead with a metal object like a knife or screwdriver.
Tangent locking
screw locations
Tangent
adjustment knob
Pressure
adjustment knob
Printhead Carriage Assembly