3 basic installation method – KBC Networks Mesh2HT User Manual
Page 20
Mesh2HT User Manual
Manual-MESH2HT-Rev1311
Copyright © KBC Networks 2012
Page 20 of 59
www.kbcnetworks.com
2.3 Basic Installation Method
2.3.1 Bench Test Set Up
KBC Networks recommends that all equipment be bench tested before being installed on
site. Four straight through Ethernet cables are required. Refer to any applicable
provided documentation for LAN IP addresses or R1 / R2 custom configurations.
1. Remove the Mesh2HT module, power supply unit (PSU) and power injector modules
(PIM) from the box. Connect a straight through cable from “In” on the PIM to a laptop or
PC LAN port. Connect another Ethernet cable from “Out” on the same PIM to the
Mesh2HT LAN port.
2. Verify that the static IP address on the laptop is set to the 192.168.1.x subnet (refer
to provided documentation for exact IP per serial number) and open a web browser to
access the Mesh2HT on its 192.168.1.10 default IP address.
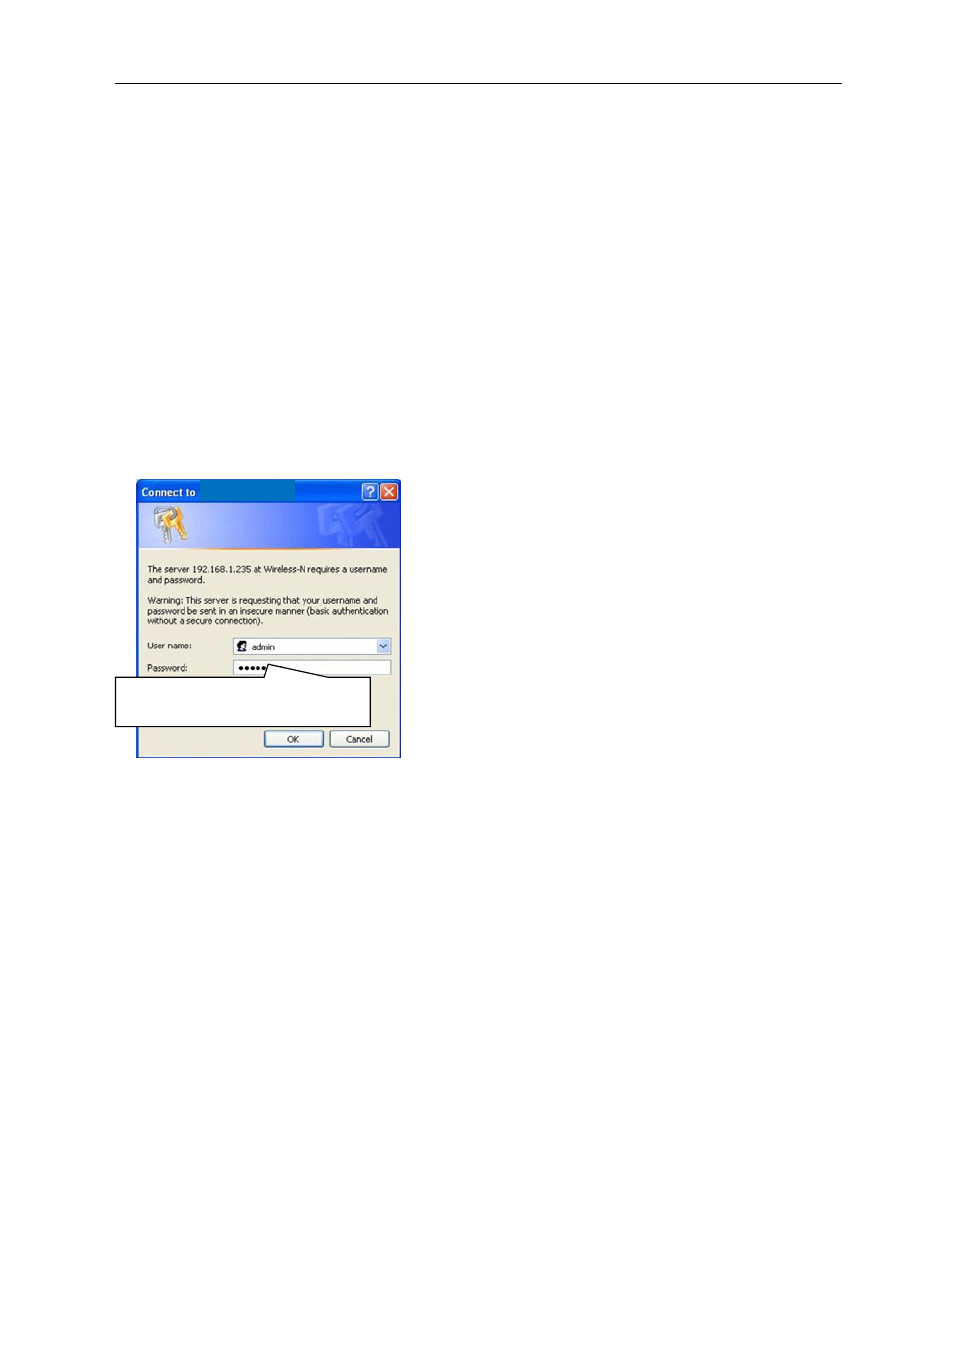
3. Enter the default user ID and password (admin / admin) to access the GUI. Disable
any other Network Interface connection including the laptop/PC WiFi access that is not
being used to access the Mesh2HT node.
4. For all deployments outside of North America, select the Basic Wireless menu and
choose the country for the appropriate regulatory domain. Click “Apply Settings” and
then “Save” next to “Save Configuration Changes”. North American firmware units do not
provide an alternate option for country code.
Note:
It is the sole responsibility of the installer of the KBC Networks’ Mesh2HT
equipment to ensure that the correct country code is selected to comply with the RF
regulatory requirements of the country in which the equipment is installed. KBC
Networks accepts no liability for incorrect selection.
5. To set the Mesh2HT radios to a specific channel manually, select R2 Basic Wireless Set
Up and select one of the available frequencies and apply/save changes. When selecting a
channel on site, first click “Interference Analyzer” to determine available frequencies in
the environment.
6. R1 is default set as a client while R2 is configured as an access point (AP). R1 and R2
should also remain as two separate SSIDs. Three nodes can be configured in a ring using
configurations such as:
Default User Name: admin
Default Password:
admin
192.168.1.200