Device, Date settings, System accounts – Ubiquiti Networks PowerBridgM User Manual
Page 60: Miscellaneous, Device date settings system accounts miscellaneous
57
Chapter 8: System Tab
airOS
™
v5.5.4 User Guide
Ubiquiti Networks, Inc.
This is a three-step procedure:
1. Click Choose File to locate the new firmware file. Select
the file and click Open.
2. Click Upload to upload the new firmware to the device.
3. The Uploaded Firmware Version is displayed. Click
Update to confirm.
If the firmware update is in process, you can close the
firmware update window, but this does not cancel the
firmware update. Please be patient, as the firmware
update routine can take three to seven minutes. You
cannot access the device until the firmware update
routine is completed.
Note:
Do not power off, do not reboot, and do
not disconnect the device from the power supply
during the firmware update process as these
actions will damage the device!
Device
The Device Name (host name) is the system-wide device
identifier. The SNMP agent reports it to authorized
management stations. The Device Name will be used in
popular router operating systems, registration screens,
and discovery tools.
Device Name
Specifies the host name.
Interface Language
Allows you to select the language
displayed in the web management interface. English is the
default language.
You may upload additional language profiles. Refer to our
wiki page at the following URL:
Date Settings
Time Zone
Specifies the time zone according to
Greenwich Mean Time (GMT).
Startup Date
When enabled, you are able to change the
device’s startup date.
•
Startup Date
Specifies the device’s startup date. Click
the Calendar icon or manually enter the date in the
following format: 2 digit month/2 digit day/4 digit year.
For example, for December 20, 2011, enter 12/20/2011
in the field.
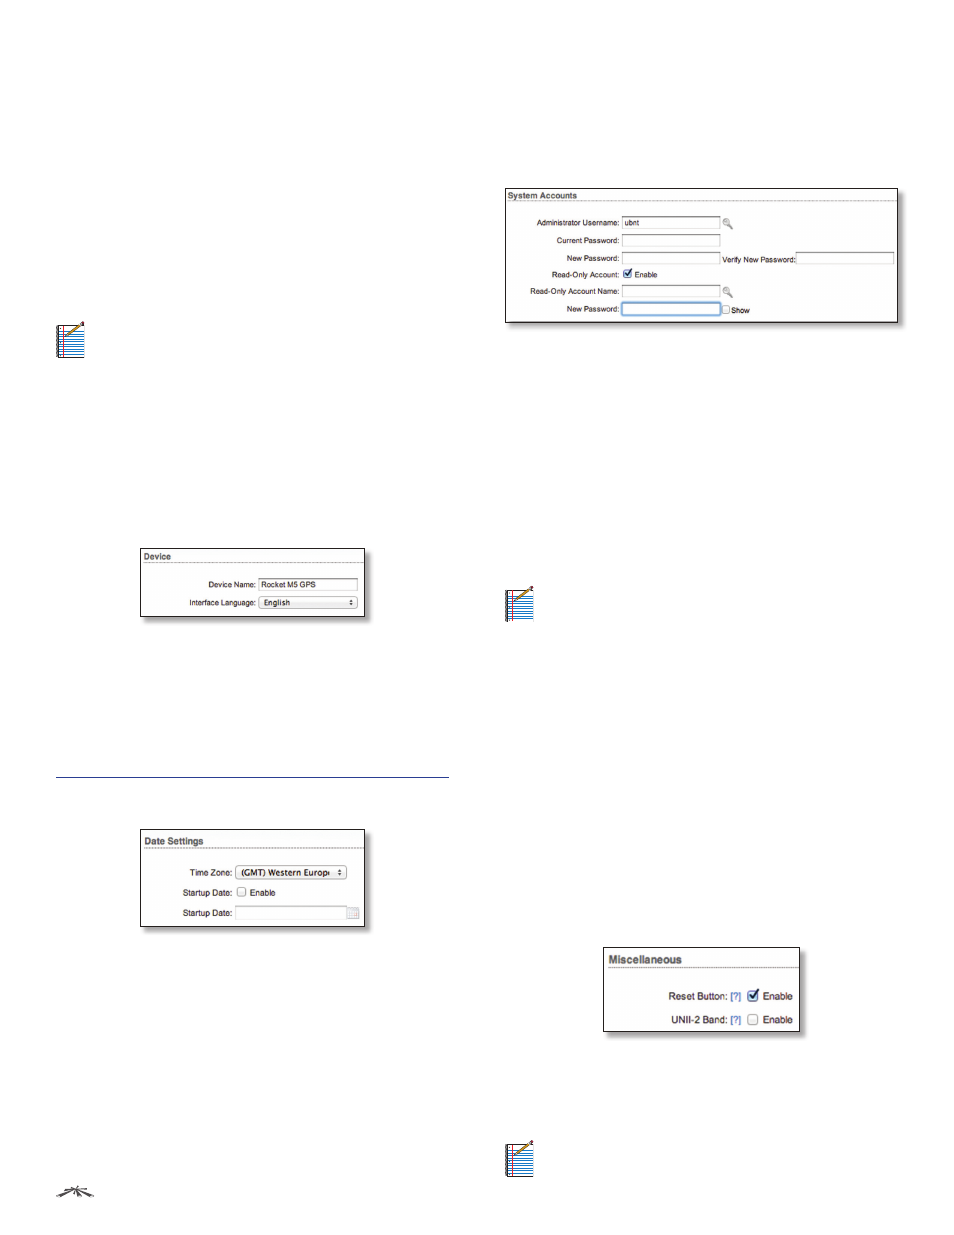
System Accounts
You can change the administrator password to protect
your device from unauthorized changes. We recommend
that you change the default administrator password on
the very first system setup:
Administrator Username
Specifies the name of the
administrator.
Key button
Click this button to change the administrator
password.
•
Current Password
Enter the current password for
the administrator account. It is required to change the
Password or Administrator Username.
•
New Password
Enter the new password for the
administrator account.
•
Verify New Password
Re-enter the new password for
the administrator account.
Note:
The password length is 8 characters
maximum; passwords exceeding 8 characters will
be truncated.
Read-Only Account
Check the box to enable the read-
only account, which can only view the Main tab. Configure
the username and password to protect your device from
unauthorized changes.
•
Read-Only Account Name
Specifies the name of the
system user.
•
Key button
Click this button to change the read-only
password.
-
New Password
Enter the new password for the
read-only account.
-
Show
Check the box to display the read-only
password characters.
Miscellaneous
Reset Button
To allow use of the device’s physical reset
button, check the box. To prevent an accidental reset to
default settings, uncheck the box (this also disables the
remote POE reset functionality).
Note:
You can reset the device to default settings
through the System tab > Reset to Defaults.