Hanna Instruments HI 98280 User Manual
Page 13
13
1.5.3 DO Sensor Activation
The DO probe is shipped dry. To hydrate the sensor and prepare it for use, pro-
ceed as follows:
• Remove the black & red plastic cap. This cap is used for shipping purposes
only and can be thrown away.
• Insert the supplied O-ring in the membrane.
• Rinse the supplied membrane with some electrolyte solution while shaking it
gently. Refill with clean electrolyte. Gently tap the membrane over a surface to
ensure that no air bubbles remain trapped. To avoid damaging the membrane,
do not touch it with your fingers.
• With the sensor facing down screw the cap clockwise to the end of the threads.
Some electrolyte will overflow.
1.5.4 Installation
The multisensor probe can support 3 different sensors: DO, EC, pH or pH/ORP.
To make easier the installation, the sensors are color coded.
For a correct installation, proceed as follow:
• Grease the O-ring gaskets.
• Insert the sensor while paying attention to the correct alignment with the corre-
sponding colored connector. Fix the sensor by screwing the locking nut with
the supplied tool.
• When all sensors are mounted, screw the protection sleeve for taking mea-
surements or the transparent beaker for calibrating.
• With the meter off, connect the probe to the DIN socket on
the bottom of the instrument by aligning the pins and push-
ing in the plug. Tighten the nut to ensure good connection.
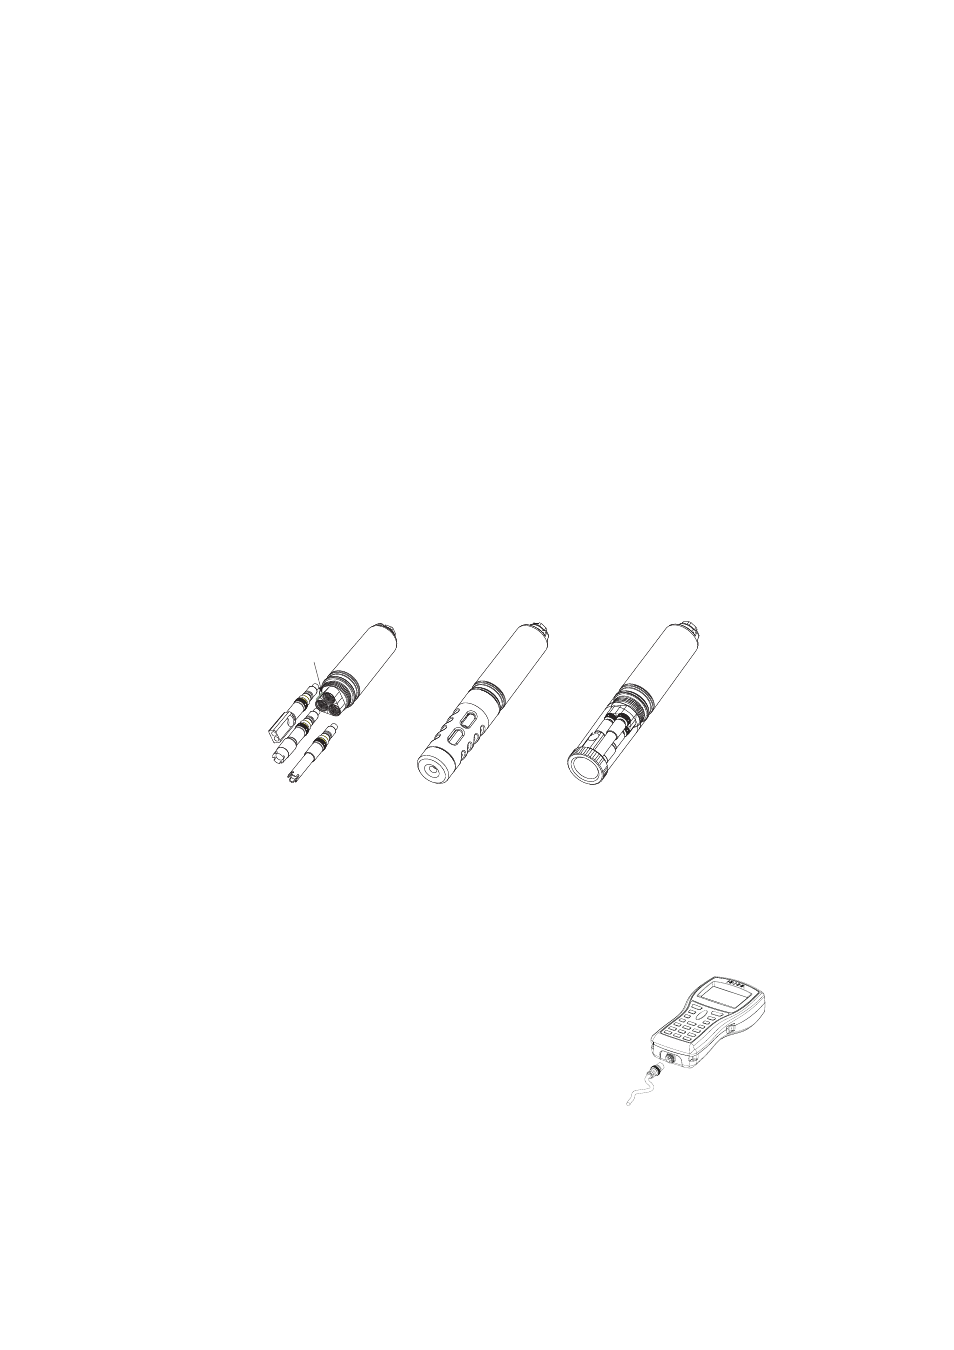
pH/ORP probe
DO probe
EC probe
Probe with
calibration beaker
Probe with
protection sleeve
pH/ORP probe
DO probe
EC probe
Probe with
calibration beaker
Probe with
protection sleeve
Temperature
sensor