Sears 385.1883 User Manual
Page 104
Attention! The text in this document has been recognized automatically. To view the original document, you can use the "Original mode".
Set the htachine
Réglages
Stitch width
controi 3 to 6
Largeur du
pomtj 3 Ù6
VSS0TH
Top Ihraad tension
conifol 2 to 6
Temion dti fil
d'atgnille,
2à6
Stitch length
control
Blue zone
Régiare dehrgeur
du pom!
Zone bleue
LENGTH
1
tj- "
R; Automatic buttonhole tool
R: Boutonnière Aiiloirtaltiftie
Buttonhole Making
e Automatic Buttonhole
* The
Size of buttonhole
Is
automatically
set by placing the button in the automatic
buttonhole toot (R).
* The button holder ot the toot takes a
button size up to 2,5 cm (1”) in diameter.
* Make a test buttonhole on a sample
duplicating the tabrlc, interfacing and
seams of the actual garment.
^ Place the button on the fabric sample
and mark the top and bottom to
determine the position of buttonhole.
* Use interfacing on the stretch tabrics.
Confection des Botonnières
O Boutonnière Automatique
*
La grandeur de la boutonnière est
automatiquement ajustée en plaçant
votre bouton dans le pied à boutonnière
(Rj
* Un bouton de
2,5
cm (1") et moins peut
être placé à l’arriére du pied.
*
Faite ntl test sur un échantillon de votre
tissu avec de l’entoilage.
*
Indiquez d'une marque l’endroit de la
boutonnière.
*
Utilisez de l’entoilage pour les tissus
extensibles.
(D Turn the balance whee! toward you to raise the needle to its highest position.
Raise the presser toot lifter.
(D Set the pattern indicator at " Jj " by turning the stitch selector.
* If the indicator light is already on at" |J ", reset the machine In accordance
with the instructions on page,
d) Attach the automatic buttonhole foot ( R),
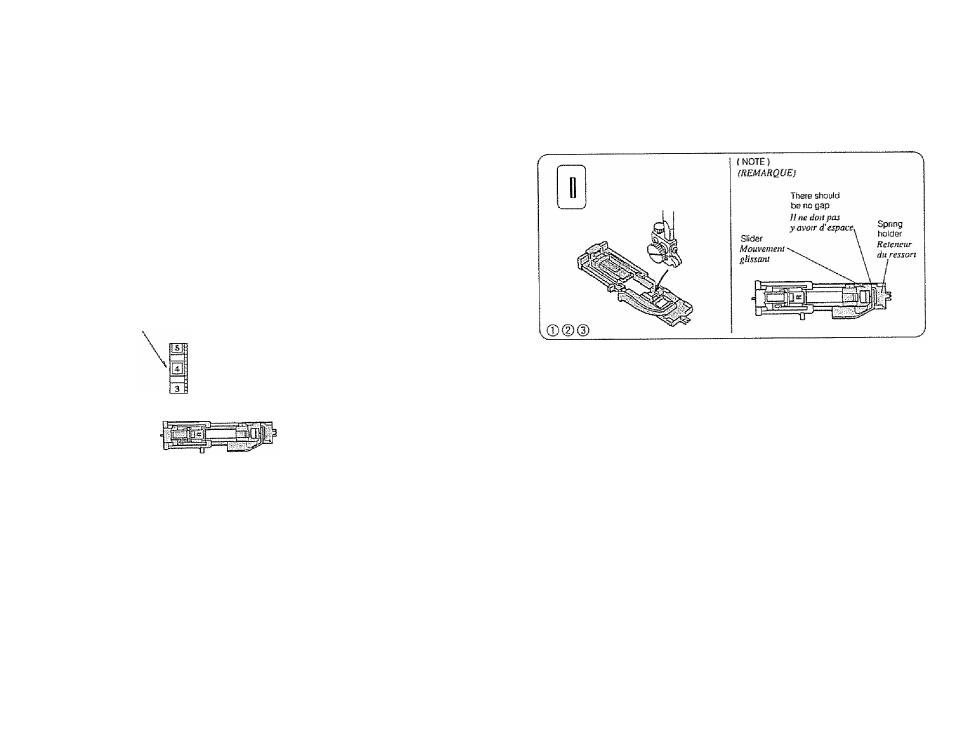
NOTE; There should be no gap between the slider and spring holder of the toot
as shown above.
®
Tournez le volant vers vous pour lever l’aiguille à la position la plus élevée.
Elevez le pied presseur.
(D
Placer l’indicateur de patron à "
0”,
en tournant le sélecteur de point.
* Si
la lumière indicative montre “
|| "
recompesez en conformité avec les
instructions à la page.
(D
Attachez le pied à boutonnière (R),
NOTE:
Il ne doit pas y avoir d’espace entre le ressort et le support à ressort
comme illustré.