Top Flite TOPA0305 Part 2 User Manual
Page 8
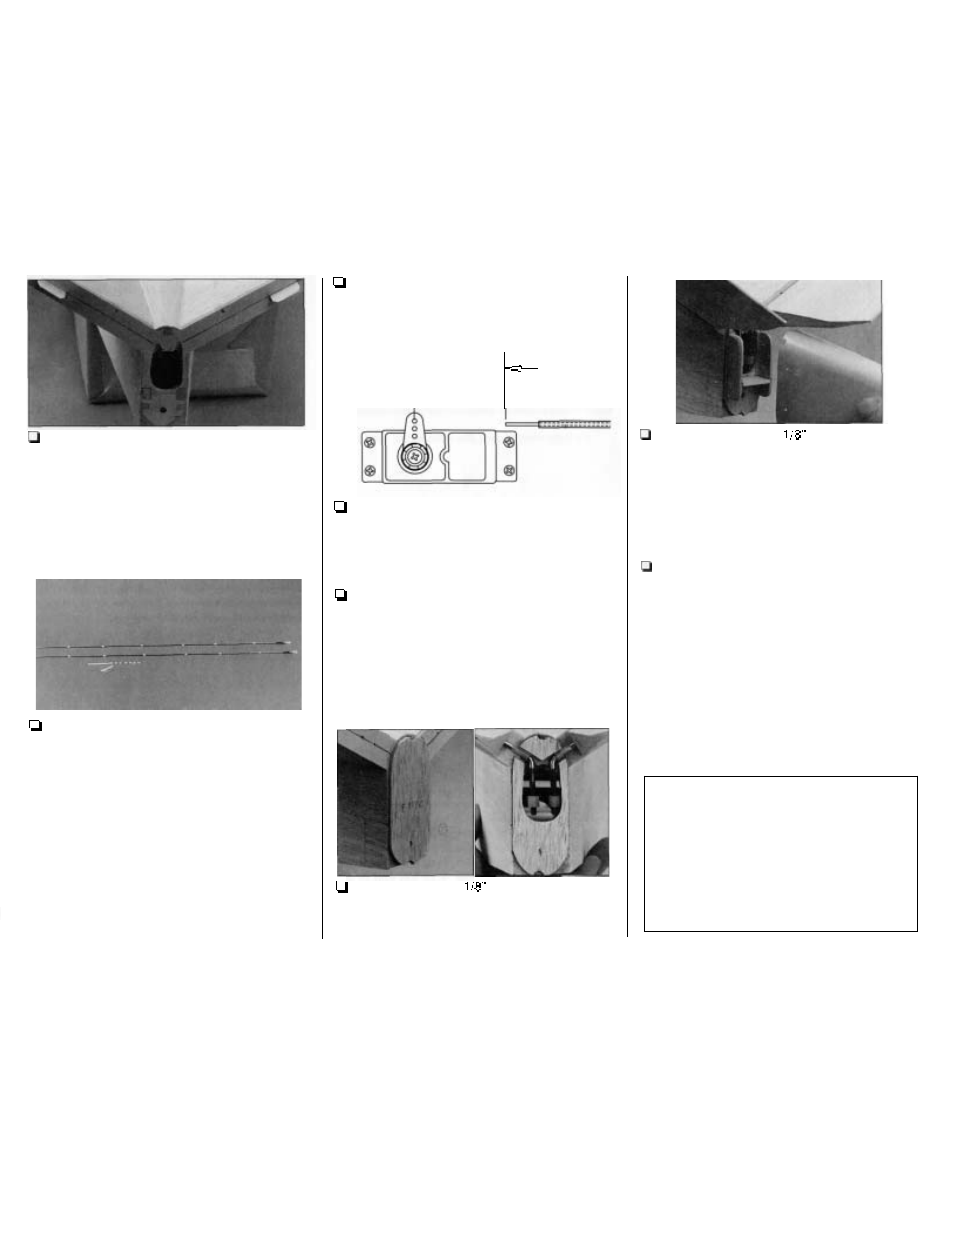
V6. Cut away former
F1
I A V
so the torque rods
can move back and forth. Reposition the
ruddervators with the torque rods and make sure
they do not interfere with former F11AV. It should
look something like the photo when you're done.
V7. Cut 7"frOm the non-threaded end of a ,074''
x 36" pushrod wire. Clean residual oil from the
wire with a cloth dampened with alcohol or other
solvent. Cut six 1/4" long
bushings from the white
inner pushrod tube, then slide the bushings evenly
spaced onto the wire. Make sure the bushings at
the ends of the wire will not protrude from the guide
tube or the control could become stuck during
flight.
If the bushings slide onto the wire easily, hold
them
in
place with a drop of thin CA. Make sure the
CA cures before you proceed
so
you do not
inadvertently glue the pushrods into the guide
tubes! Slide a silicone
retainer onto a nylon clevis
and thread the clevis onto the wire about 15 full
turns. Make a second pushrod the same way.
V8. Install the pushrods in the guide tubes.
Temporarily connect the clevises to the torque rods
and fit the ruddervators to the stab. Place a servo
arm on your ruddervator servos.
1-1'4"
V9. With the servos centered and the
ruddervators neutral, use a felt tip pen to mark the
pushrods exactly 1 - 1 / 4 from the holes in the servo
arms. Remove the pushrods from the fuselage. Cut
them at the marks you made.
V10. Silver solder a
threaded coupler onto each
wire pushrod. Reinsert the pushrods into the
fuselage and thread
a
nylon clevis onto the couplers.
Temporarily connect the pushrods to the servos and
ruddervators. Adjust the length
of
the pushrods
if
necessary by turning the clevises in or out.
FIT
THE
TAIL
CONE
V1. Glue the die-cut
balsa tail
cone former
( F l l T C ) on the end of the fuselage. Remove
material as needed to clear the torque rods
and pushrods.
- 4 4 -
V2. Glue the die-cut
plywood tail
cone
mounts to the tail cone former. Cut U-shaped
notches in the
top of the tail cone
to
clear the
torque rods. Fit the tail cone on the aft end of the
fuse and fasten it to the mounts with four #2
x 3/8"
screws.
Make
sure the screws
do
not interfere
with the ruddervator torque rods.
V3. After you have fitted the tail cone, skip to
Sheet the bottom of the fuserage on page 50.
Beech
Fact:
The F33A, it turns out, is one of the most
confusing Bonanzas. This is because there were
two
versions built. The F33 produced in 1970 was the
short
cabin
and the
produced in 1971 was the
long
cabin
(and is the subject
of our
Top Flite Gold
Edition straight tail). The additional
19
inches
of
the
cabin on the
33A
matched the baggage space
formerly available
only
on
the V-tail. With this
additional new-found cabin space other options, such
as six place seating and a larger cargo door, were
available. Price
of
the
33A
was
$41,600
(back then).