Top Flite TOPA0305 Part 2 User Manual
Page 21
--
El
6. If you're installing retracts, turn the fuselage
over and build a small framework from leftover
balsa to support the sheeting around the nose
wheel cutout.
7. Use leftover 1/16" balsa sheeting to seal the
area around the nose gear between
and F2.
This will prevent fuel and exhaust residue from
entering the fuselage.
U 8.
Use leftover 3/32" balsa to sheet the bottom
forward fuse, aft of the cowl. Cut the wheel well for
the nose wheel and strut
if
you are installing
retracts.
9.
Remove the tank and foam rubber. Coat the
inside of the fuselage between the firewall and
former F2 including the back of the firewall with fuel
proof paint, epoxy or finishing resin.
FIT THE
TOP
1. Bevel one end
of four 1/2" x 1/2" x 5 / 8 "
basswood blocks
so
they fit between the fuse main
side stringers and formers F3 and F6 where shown
on the plan. Glue the blocks in position.
2.
If
your fuel tank is in the fuse, remove it for now.
3. Place the die-cut 1 / 8 plywood cabin crutch
on the fuselage
so
it is centered and the edges
slightly extend past the side stringers. Use masking
tape to hold the cabin crutch to the fuselage.
I
4. Drill four 1/16" holes through the crutch into
the center
of the blocks you glued to the fuse. After
you drill each hole, temporarily hold the crutch to
the fuse with a #2
x 1/2" screw.
5. Use a ballpoint pen to mark areas of the
crutch that need to be sanded for a perfect fit to the
fuse main side stringers. Remove the crutch, sand
- 5 7 -
the edges, and screw it back onto the fuse. A little
at a time, mark, then trim the crutch until it
accurately fits the fuse main side stringers.
6.
Use scissors to cut the molded ABS cabin
top along the cutlines (which are most visible from
inside the cabin top). The cabin top will be slightly
oversize to allow you to trim it for an exact fit to
your model. Use a felt tip pen to mark the molded-
in center marks at the front and aft edges of the
cabin top
so
they will be easier to see while fitting.
Do
not trim the cabin top to fit your fuse until
instructed to do
so.
7. Lightly mark the center
of the front fuse
sheeting over former F2A (over the center stringer).
Mark the center of the turtle deck sheeting over
former F7A (over the center stringer).
8.
Position the die-cut 1/8" plywood aft cabin
former F7B on top of the crutch
so
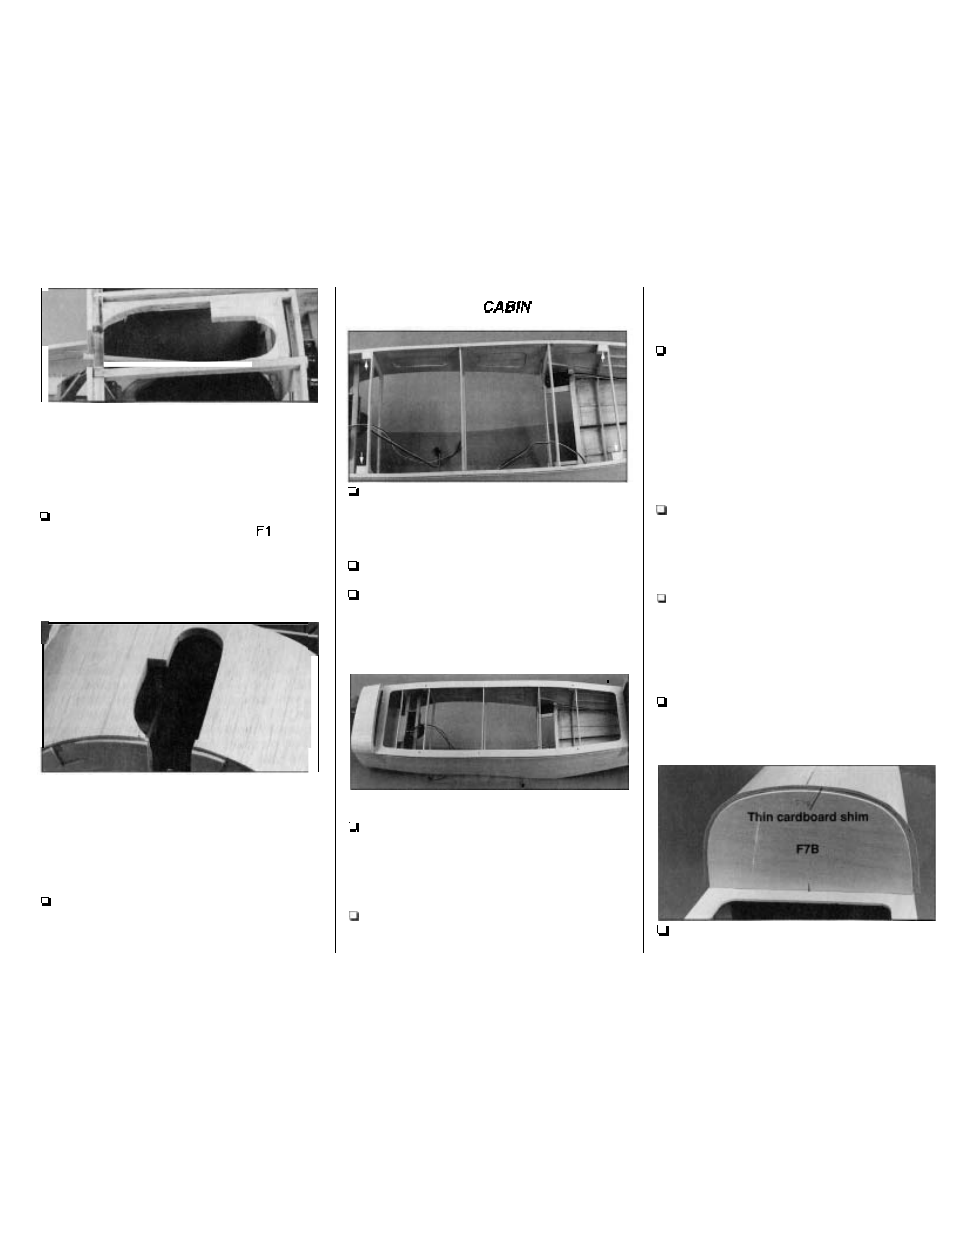
it contacts
former F7A. Lightly sand the edges of F7B
so
there
is approximately a 1/16" difference between F7B
and F7A to accommodate the cabin top.
9.
Test fit and shape the die-cut 1/8" plywood
forward cabin former
F2B
to former F2A the
same way.
10. Reposition the aft cabin former on top of the
crutch. Place a piece of thin cardboard between the