Top Flite TOPA0305 Part 2 User Manual
Page 28
of the wiring and lights.
Temporarily
mount the
circuit boards and the battery holders, so you can
relocate them in case you need to adjust the C.G.
Follow the instructions that come with the lighting
kit to hook up and operate your lights.
FINAL SANDING
Nearly all imperfections in your wood structure will
show through the covering. Make one last check of
the entire structure. Repair dings or scratches with
filler. Sand all surfaces with progressively finer grits
of sandpaper.
COVER YOUR MODEL WITH
MONOKOTE FILM
It
is assumed that you are an intermediate to
advanced modeler, so we won’t go into many
details on covering techniques, but here are some
tips you should consider:
1.
Most importantly,
NEVER
CUT THE COVERING
DIRECTLY ON THE SHEETING.
The Bonanza
depends greatly upon the sheeting for its strength.
Modelers who do this tend to cut into the sheeting
and this will weaken the structure.
2. Remove all dust from the structure with a
vacuum with a brush attachment, compressed air
or a Top Flite Tack Cloth.
3. Use a Top Flite Hot Sock to minimize dents in
the wood from the iron.
4. Some modelers have three irons going at once:
one on high heat without a Hot Sock for stretching
the covering around curves like wingtips; one on
medium heat with a Hot Sock for bonding the
covering to large sheeted areas like the wing and
stab; and a Trim Iron for small areas.
5.
When you cover large sheeted surfaces such as
the wing, bond the covering in the middle and work
outward pushing out air as you proceed.
Do
not
move the iron in a circular motion but move it span-
wise with the grain of the wood.
6.
When you cover smaller parts with square edges
such as the elevators and ailerons, cover the ends
with separate pieces first. Then all you have to do
is wrap the covering around the top and bottom
and iron it down.
7.
When you cover sharp junctions like where the
stab meets the fuse, cut narrow strips of covering
(3/8” to 1/2" and apply them in the corners
before
you cover the major surfaces. The larger pieces of
covering will overlap the smaller pieces. This
technique also eliminates the need to cut the
covering after it has been applied.
Recommended Covering Sequence:
Fuselage
1.
Tail junction strips as described above
2.
Stab bottoms, then tops
3. Fin
(if
straight tail) right, then left side
4.
Fuse bottom aft, then front
5.
Fuse sides
6.
Turtle deck (may be done in one or two pieces)
7.
Front deck aft of cowl
Wing
1.
Hidden areas and
corners
such the TE in the
flap and aileron area
2. Bottom of center section
3. Bottom
of
one, then the other outer panel
including the wing tips
4.
Top of the center section
5.
Top of one, then the other outer panel including
the wing tips
Control Surfaces
1.
Ends, bottoms, then tops of elevators, flaps and
2. End and bottom of tip, then one side, then the
3. Flap and aileron servo hatch covers
ailerons
other side of the rudder (if straight tail)
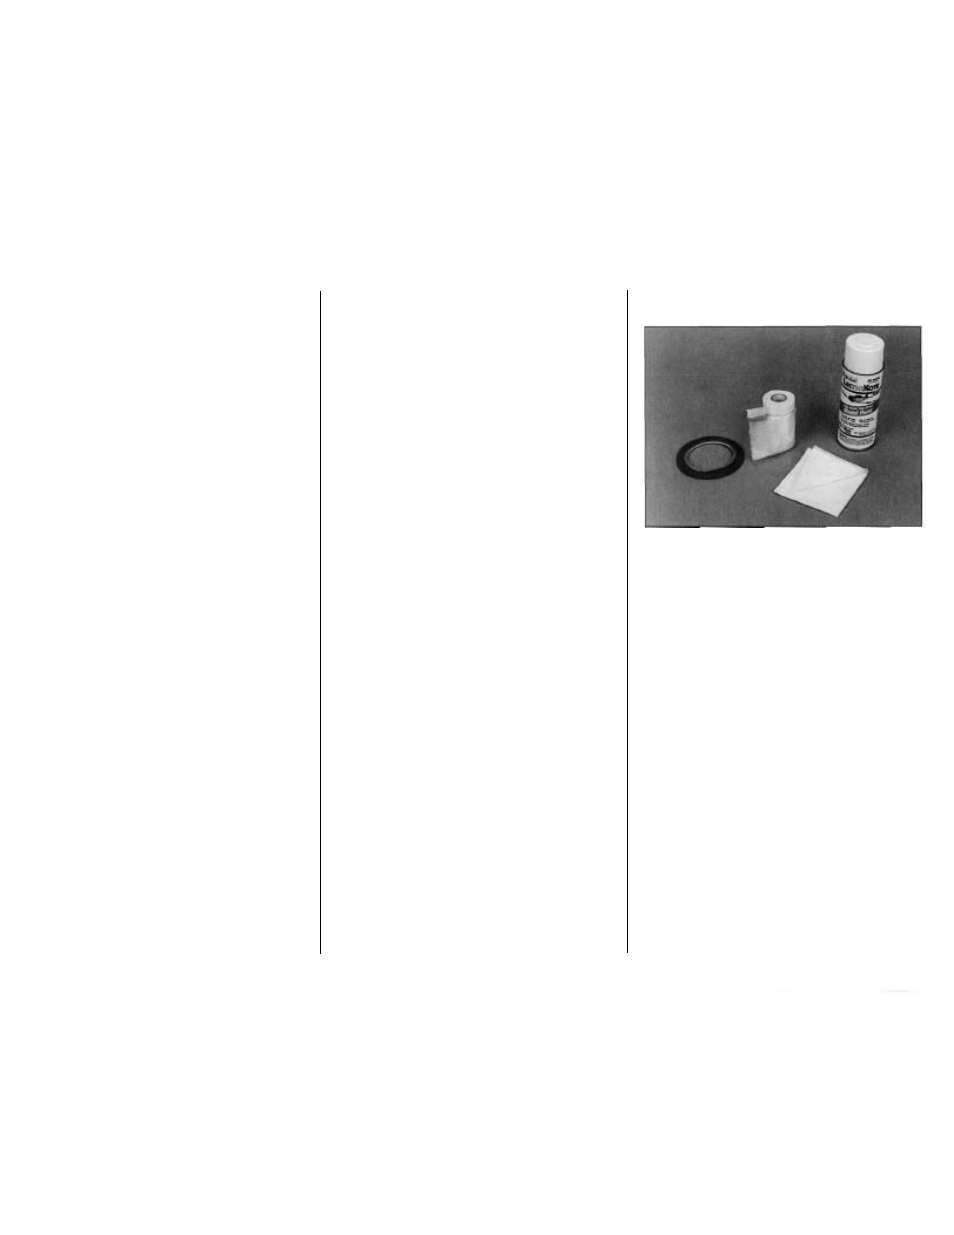
PAINTING
At this stage all your plastic pieces should have the
seams filled with Bondo or putty. Spray all the
molded plastic parts and scale accessories with at
least one coat of primer. We used Top Flite
LustreKote
on just about everything that needed
to
be painted. Wet-sand between coats with 400-
grit sandpaper. Use Great Planes 1/8” EZ-Mask
Flexible Masking Tape (GPMRI000) for masking
fine lines, Kyosho Masking Cover Sheet
(KYOR1040) for quickly masking large areas, a
Top Flite Tack Cloth (TOPR2185) to remove dust
just before paining, and LustreKote paint for a
MonoKote matching finish.
For painting the pilots we recommend acrylic water
base paints such as the types found in craft stores.
This type of paint looks great on a pilot because it
is not glossy, and best of all, it cleans up with
water.
We recommend gluing the clear plastic wing tip
lenses
to
your wing before you cover or paint them.
We used strips of Top Flite MonoKote Trim Sheets
to cover the clear wing tip lenses. Part of the wing
tips are to remain clear.
-
64