Top Flite TOPA0305 Part 2 User Manual
Page 20
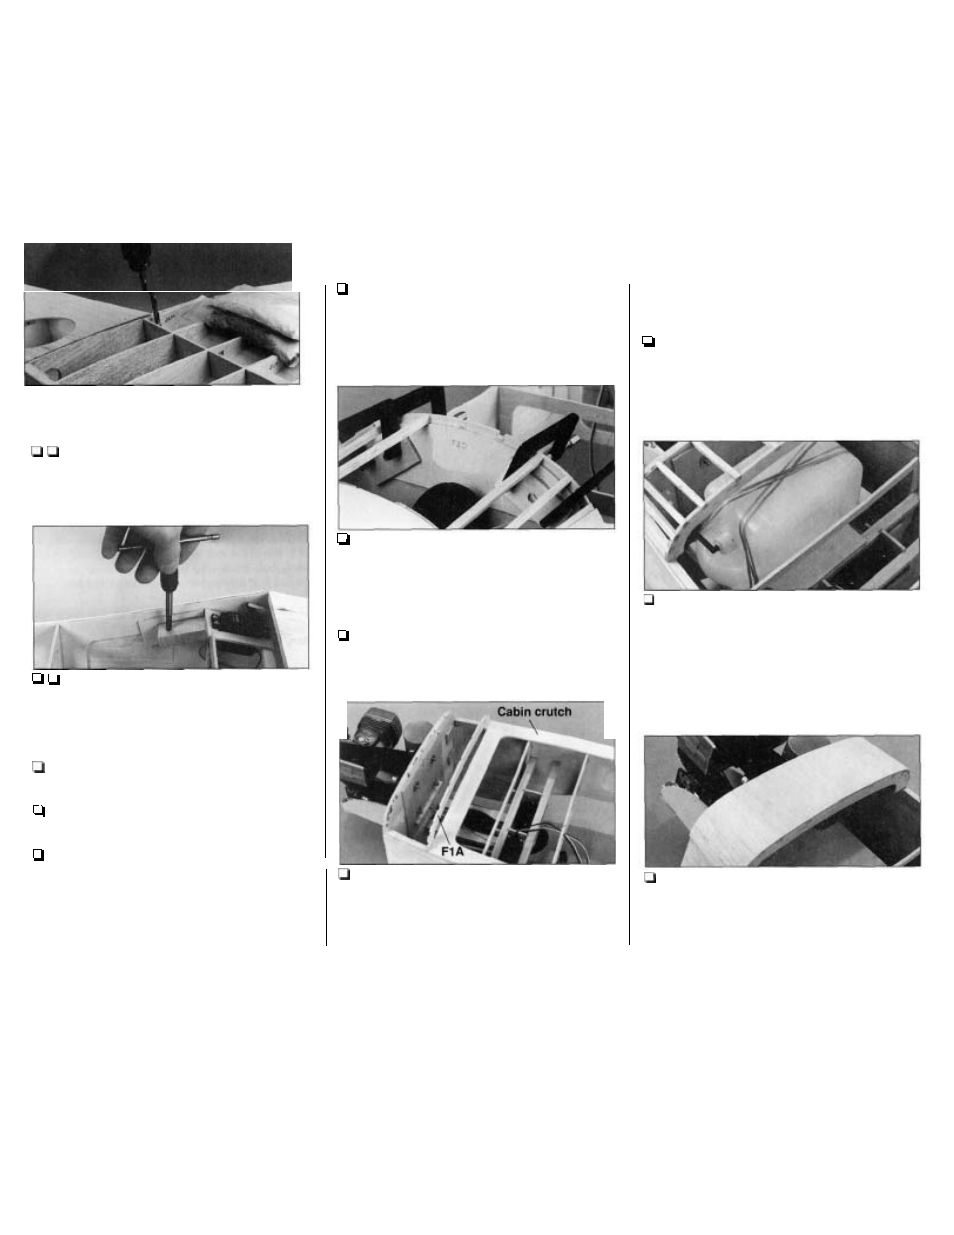
7. Drill through only one wing bolt plate, the
top sheeting
and the wing bolt block on one side of
t h e w i n g with a # 7 drill. K e e p t h e drill bit
perpendicular to the wing bolt plate as you drill
so
the head of the wing bolt will rest flat.
8.
Remove the wing and tap threads into the
wing bolt block with
a 1/4-20 tap. Enlarge the hole
in the wing bolt plate and the top sheeting with
a
round file or a 1 7 / 6 4 drill. Replace the wing on the
fuselage and bolt it down with the one 1/4" nylon
wing bolt.
9.
Replace the #7
drill bit in your drill. Repeat
steps
5, 6, 7 and 8.
10. Bolt the wing to your fuselage and leave the
wing bolts barely snug. Realign the wing.
11. Drill 1/4" holes through the 1/8" x 1" x 2"
plywood wing dowel plates. Slightly enlarge the
holes with a round file or a piece of sandpaper
wrapped around something round such as
a pen or
a piece of brass tube. This will allow you to plug the
wing into the fuselage without too much resistance.
12. Spread a thin film of 30-minute epoxy on one
side of both wing dowel plates and fit them over the
dowels protruding through former F2D inside the
fuse. Accurately mark the location of the plates
on F2D.
13. Remove the wing. Clamp the wing dowel
plates to F2D with C-clamps. Wipe excess epoxy
from the holes if any is present.
SHEET THE FORWARD DECK AND
BOTTOM
1. Assemble your fuel tank. Position the tank
floor and the tank in the fuselage and determine
where to drill the holes for the fuel lines. Drill the
holes with
a 1 / 4 drill (or 15/64" drill for a better fit).
6
1
2. Remove the tank and tank floor. Position the
die-cut 1/8" plywood cabin crutch
on
the fuse
main side stringers
so the aft edge contacts former
F7A. Position the die-cut
1/8"
plywood former F I A
on the fuse main side stringer
so it contacts the
crutch. Glue F1A to the side stringers only.
Remove the crutch.
3.
Cut the stringers from pieces of leftover 3/16"
x 3/16" balsa to fit from F1A to the firewall. Glue
the stringers in position while using
a 90 degree
triangle to hold F I A perpendicular to the top of the
stringers.
4. Place 1/4" foam rubber on the tank floor. Test
fit your fuel tank with #32 rubber bands included
with this kit. Note: Rubber bands deteriorate over
time,
so you should replace them at least once a
year.
5. Sheet the forward
fuse
deck with leftover
3/32" balsa. After you glue the sheeting in position,
sand the front even with the firewall. Sand the back
even with F l A , but do not sand the rest of the
sheeting until you fit the cabin.
-
56
-