Top Flite TOPA0305 Part 2 User Manual
Page 17
R3. Temporarily place the landing gear rails
F11.
Thread a 4-40 hex nu followed by a 4-40
metal clevis onto a
.095
x 12" nose steering
pushrod. Connect the clevis to the servo. Connect
the other end of the pushrod to the Screw-Lock
connector in the steering arm. Cut the pushrod
about 1/4" past the connector. Make a slight bend
in the pushrod near the Screw-Lock connector
so it
aligns with the hole in the connector. Temporarily
secure the pushrod to the connector with a
set screw.
F12. Securely glue the nose steering servo tray
t o
the servo rails. Make sure your servo is
centered, and tighten up the 4-40 jam nut on the
clevis with a drop of thread lock for extra security.
File small flat spots in the nose gear strut to
securely hold the set screws.
That was easy wasn't it? Now hook up the throttle.
It's just
as easy! Skip to Hook Up The Throttle on
page 55.
Beech
Fact:
Nearly
10,000
V-tail Bonanzas have
been manufacturedand over
1,800
of
its
straight tailed
cousins have been manufactured.
A
very
large
percentage are still flying today. Experts
cite
many
factors contributing to the Bonanza's success
including Walter Beeches' reputation,
the
Bonanza's
built to last forever
design and appearance, new
Class-A
tooling ordered before the Bonanza
went
into
production^
and its all-around performance.
Retractable nose gear
Note: While there are other retractable nose gear
units that may work in the Top Flite Gold Edition
Beechcraft, the Robart 631 is shown in this manual
because it rotates
105 and is designed specifically
for this model.
A 90 unit would work but the
mounting position would have to be raised and the
rails would have to be slanted upward toward the
front of the model in order to achieve the scale
appearance of the full size Beechcraft. These
modifications are up
to
you.
R I . If you're using the Robart 631 nose gear
retract, mark a line 7-7/8" from one end of both 1/4"
x 9/16" x
9"
plywood landing gear rails. This will
position the pivot point of the 631 nose gear 7-7/8"
from the aft edge of F2.
-
53
-
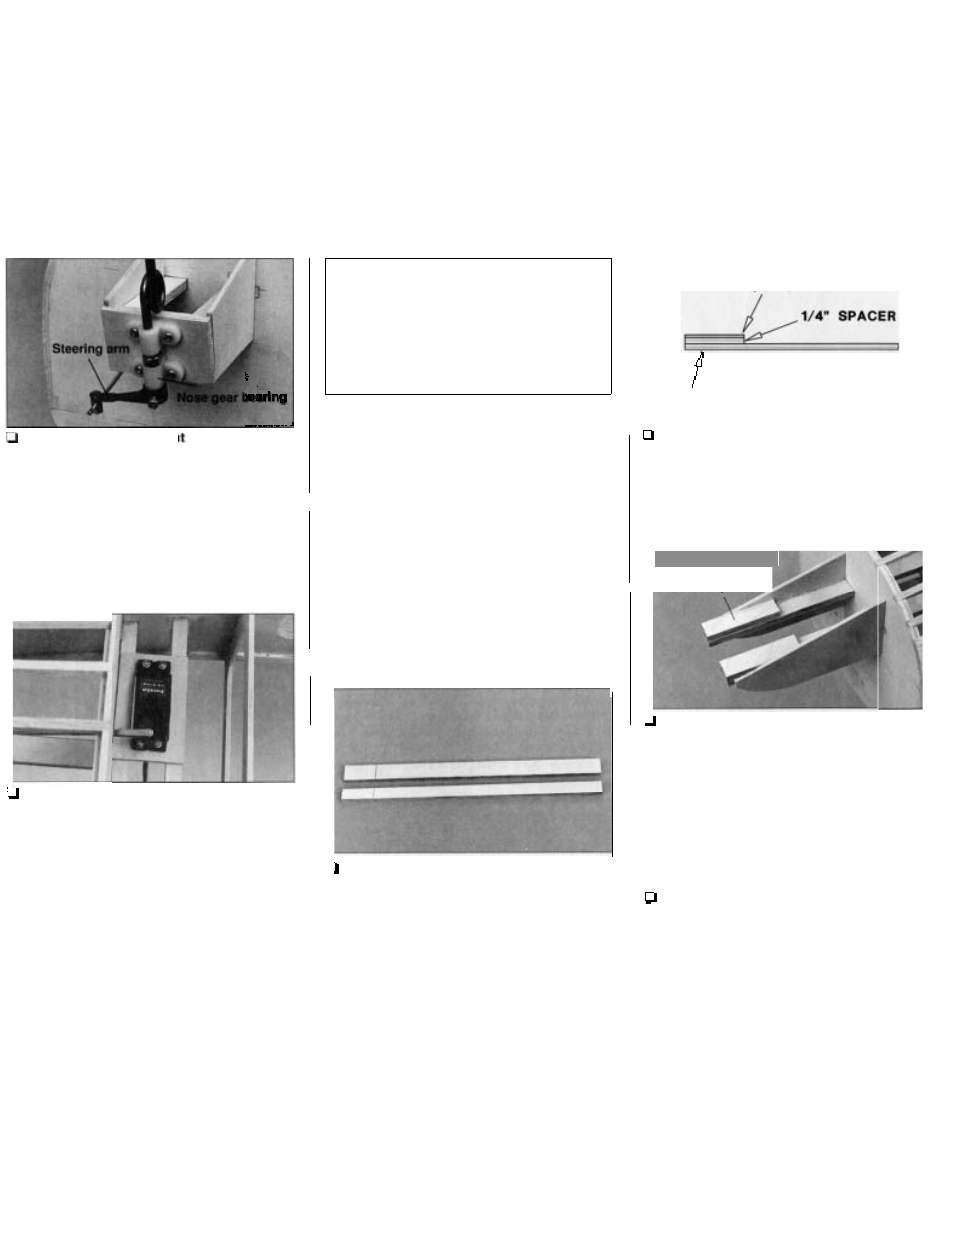
1/8"
SPACER
NOSE GEAR RAIL
MARK
R2. Glue one 114
x 9 / 1 6 x 2-1/4 plywood rail
spacer and one 1/8"
x 9/16" x 2-1/4" plywood rail
spacer on the end of both rails that you made the
mark on, but on the other side of the rail.
Bottom
\
R4. Use 30-minute epoxy to glue the rails to the
firewall and former F2 and the die-cut 1/8" plywood
landing gear braces to the rails and the firewall.