Top Flite TOPA0305 Part 2 User Manual
Page 4
11. Trim, then sand the fuselage side sheeting
and stringers that extend aft of former F11 so they
are flush.
GLUE THE TAIL CONE TOGETHER
1. Cut both formed ABS
tail cone halves along
the cutlines. The cutlines can be most easily seen
from the inside. We highly recommend a pair of
curved Kyosho Lexan Scissors because you can
cut straight lines or small tight curves easily and
accurately. You could also use a small pair of
regular scissors or score the plastic along the
cutlines with a hobby knife and flex the plastic until
the excess breaks free.
2. True the edges of both tail cone halves with
coarse sandpaper and a bar sander. Thoroughly
sand the mating surfaces
so
glue will stick.
Carefully glue the tail cone halves together with
thin CA. Use just a few drops at a time.
Note: Do not use CA accelerator on any of the
ABS plastic. Accelerator may cause the plastic to
develop cracks over time and prevent some types
of paint from sticking.
3. Trim the clear plastic
tail lens to fit on the end
of the tail cone. Do not glue the tail lens in place
until after you paint the tail cone.
er
4.
If you are installing a tail navigation light,
make an
aft tail cone former from a piece of
leftover ABS plastic and glue it to the rear of the tail
cone. Drill a 5/32" hole in the rear of the tail cone
for the tail light lens included with the lighting kit.
Test fit the tail light.
-
40
-
If
you are building the straight tail, Skip to Mount
the Sfraight Tail Stab and Fin
on page 45.
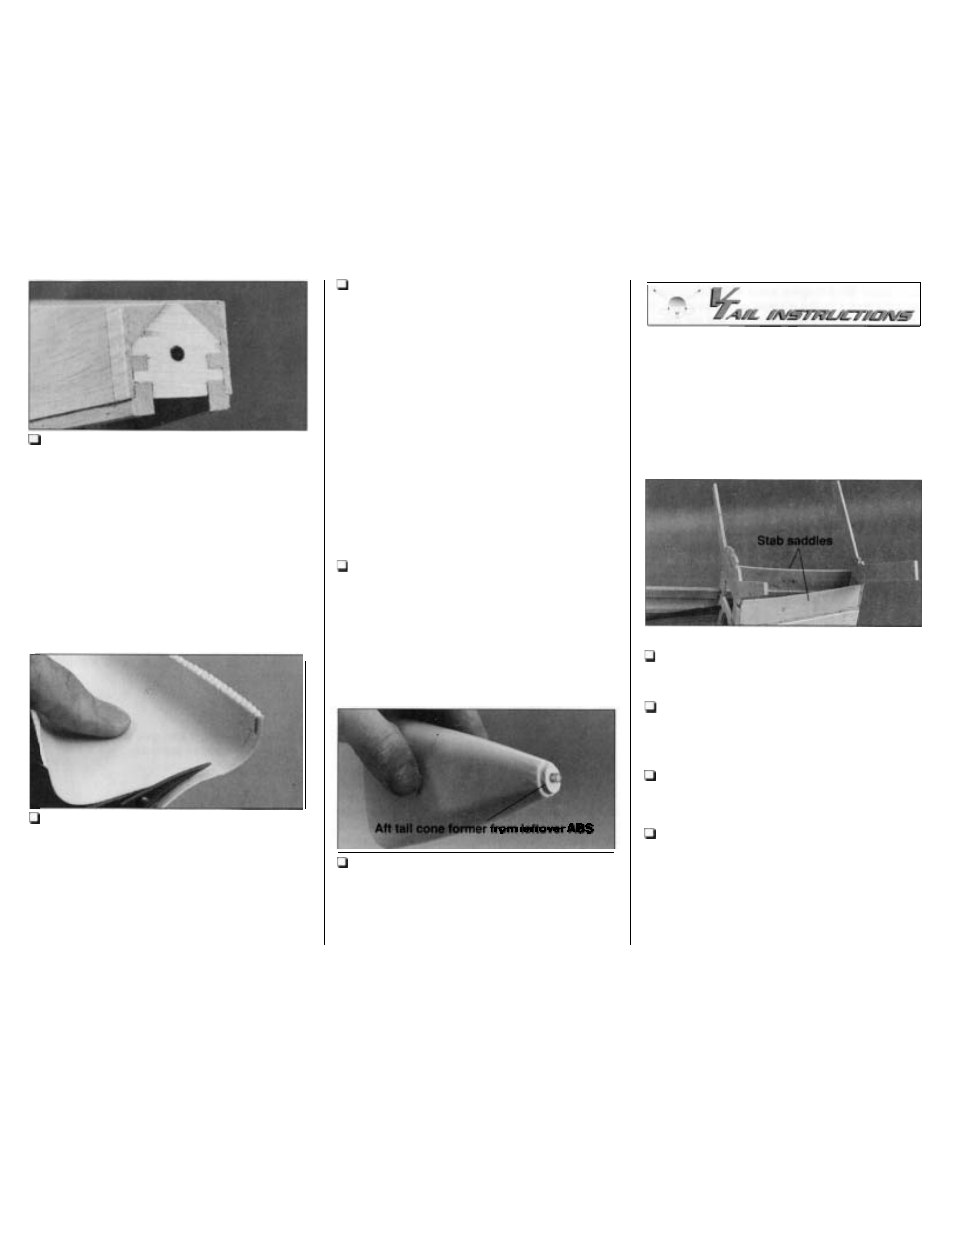
MOUNT THE V-TAIL STAB
Note: Build accurately during the next few steps.
The stab saddle and the aft formers align the stab
and set the incidence, which will greatly affect the
way your model flies.
Refer to this photo for the following three steps.
V1. Glue the die-cut 1/8" plywood
aft upper
former F11AV to the aft bottom former F11. Make
sure F11AV
accurately aligns with F11
.
V2. Glue the die-cut 1/8" plywood
V-tail stab
saddles to the top of the main side stringers and
F11AV. The angle of the aft edge of the stab
saddle sets the angle of F11AV (which is 90').
V3. Glue the die-cut 1/8" plywood former
FIOAV
to the top of F10 and the front edge of the stab
saddles. F1OAV may be slightly aft of F10.
V4. Test fit the stab halves on the fuse by sliding
them onto the joiner portion of former FlOAV.
Bevel the ends of the stabs as necessary
so
they fit
all the way onto former F1OAV. Bevel the top, inner
edge of the stab saddles to match the angle of the
stabs but
do not change the incidence angle.
The ends of former F11AV should contact the
inboard ends of the stab