Top Flite TOPA0305 Part 2 User Manual
Page 3
3.
Sand the stringers even with the formers.
Sand the fronts of the triangle corner stringers
so
they blend to the ply side doublers and the bottom
sheeting support.
"STEP"
....
....
.
4.
One at a time, remove the T-pins in the main
side stringers aft of former F6. Replace them at an
angle from the outside
so
they will not interfere with
the side sheeting.
late in 1950 at the age
of
53.
During this time the
military was evaluating the YT-34 prototypes for use
as a trainer.
SHEET THE FUSELAGE SIDES
1.
Glue two 3/32" x 3" x 48" balsa sheets
together to make a 6" x 48" fuse
side
sheet.
After
the glue is dry, sand the sheets
so
they are flat,
even and smooth.
3/32"
SIDE
SHEET
'MAIN
FUSE STRINGER
True one edge of the fuse side
Hold
the side sheet on the right fuse side and mark the
wing saddle and corner stringer on the sheet. Trim
the sheet about 3/16" outside of the lines.
Note:
The side sheet will not reach all the way
back to the end of the fuselage. We will instruct you
to add a piece of leftover 3/32" balsa to the
rear later.
3.
Reposition the side sheet on the fuse. Mark
and trim the front bottom of the side sheet
above the bottom of the balsa front fuse doubler.
4 .
Test fit the side sheet and make any further
adjustments necessary for a good fit.
5.
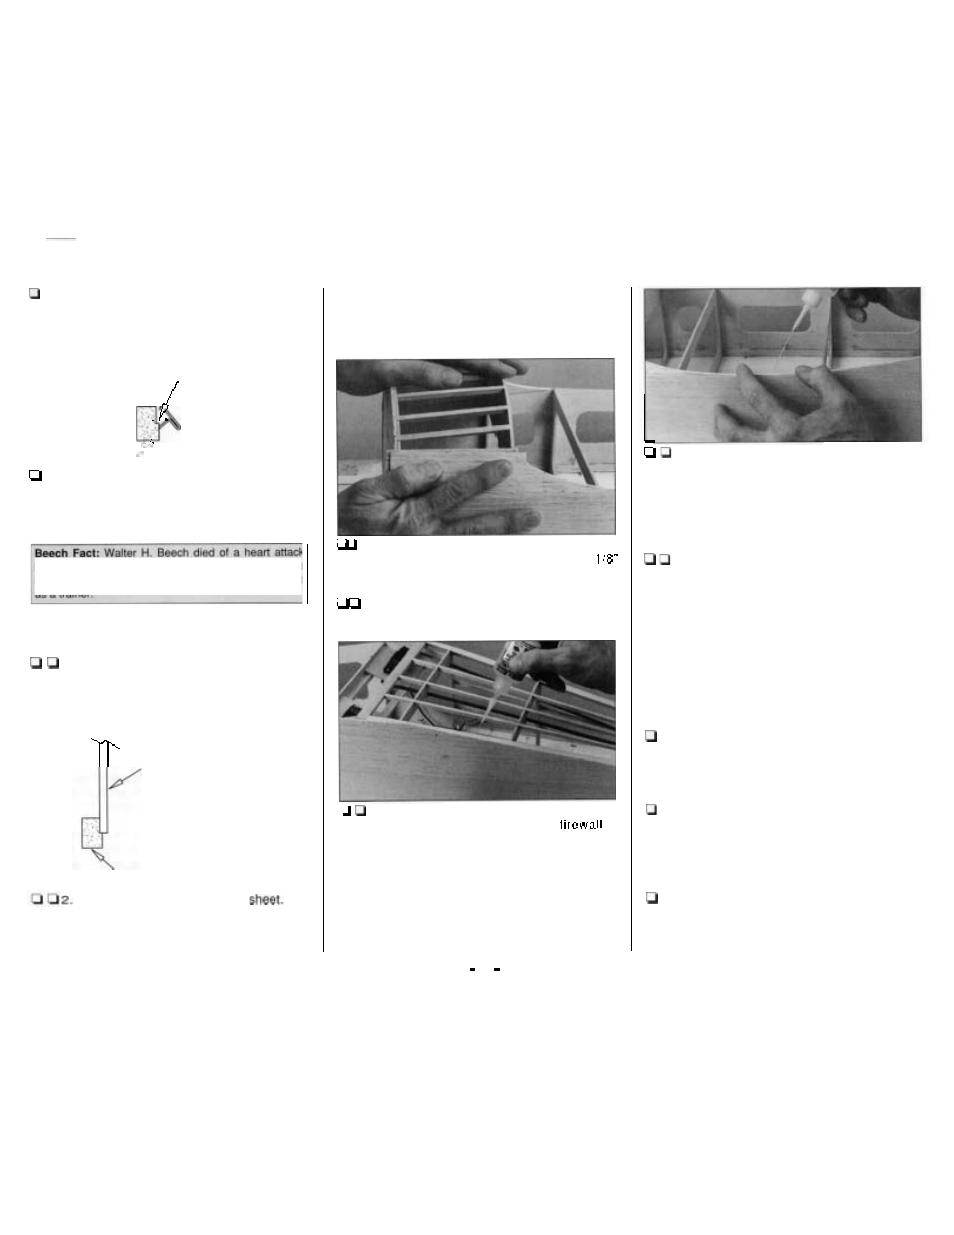
Apply a bead of medium CA to the
ledge
portion of the side stringer from the
to
former F6. Working quickly, position the side sheet
on the ledge of t
he side stringer and press it into
position where you have applied the glue. After the
CA dries apply thin CA
to the side stringer and side
sheet aft of former F6 from inside the fuse. A long
CA applicator tip, such as the Pacer Z-Ends" with a
Teflon@ tube, helps you apply the CA just where
you need it.
39
6.
A little section at a time, carefully pry the
fuse side from the fuse side doubler and apply thin
or medium CA between the two. Quickly press
them together.
Do this until the fuse side is
thoroughly glued
to the side doubler.
7. Glue the fuse side
to the side stringers with
thin CA and hold them together until the CA cures.
You can really see how the bottom half of the fuse
will remain straight, true and flat (as flat as your
building board) when you remove it from your
building board!
8.
Return to step 1 and glue another side sheet
to the left fuse side the same way.
9.
Add pieces of leftover 3/32" balsa to extend
the side sheets to the end of the fuselage. See the
photo at step 11.
10.
Remove the T-pins and lift the fuselage from
your building board. Reinforce glue joints you
couldn't reach earlier or those that don't
look strong.