Great Planes Spirit 100 Sailplane Kit - GPMA0550 User Manual
Page 45
two servo horns with the arms facing opposite directions as
shown on the plans. Operate the transmitter sticks to make sure
the servo horns turn freely without hitting each other or the fuse
sides. If they do, cut or sand them until they will operate freely.
Turn off the receiver first and then the transmitter.
SKIP THE NEXT STEP IF YOU ARE
NOT INSTALLING SPOILERS
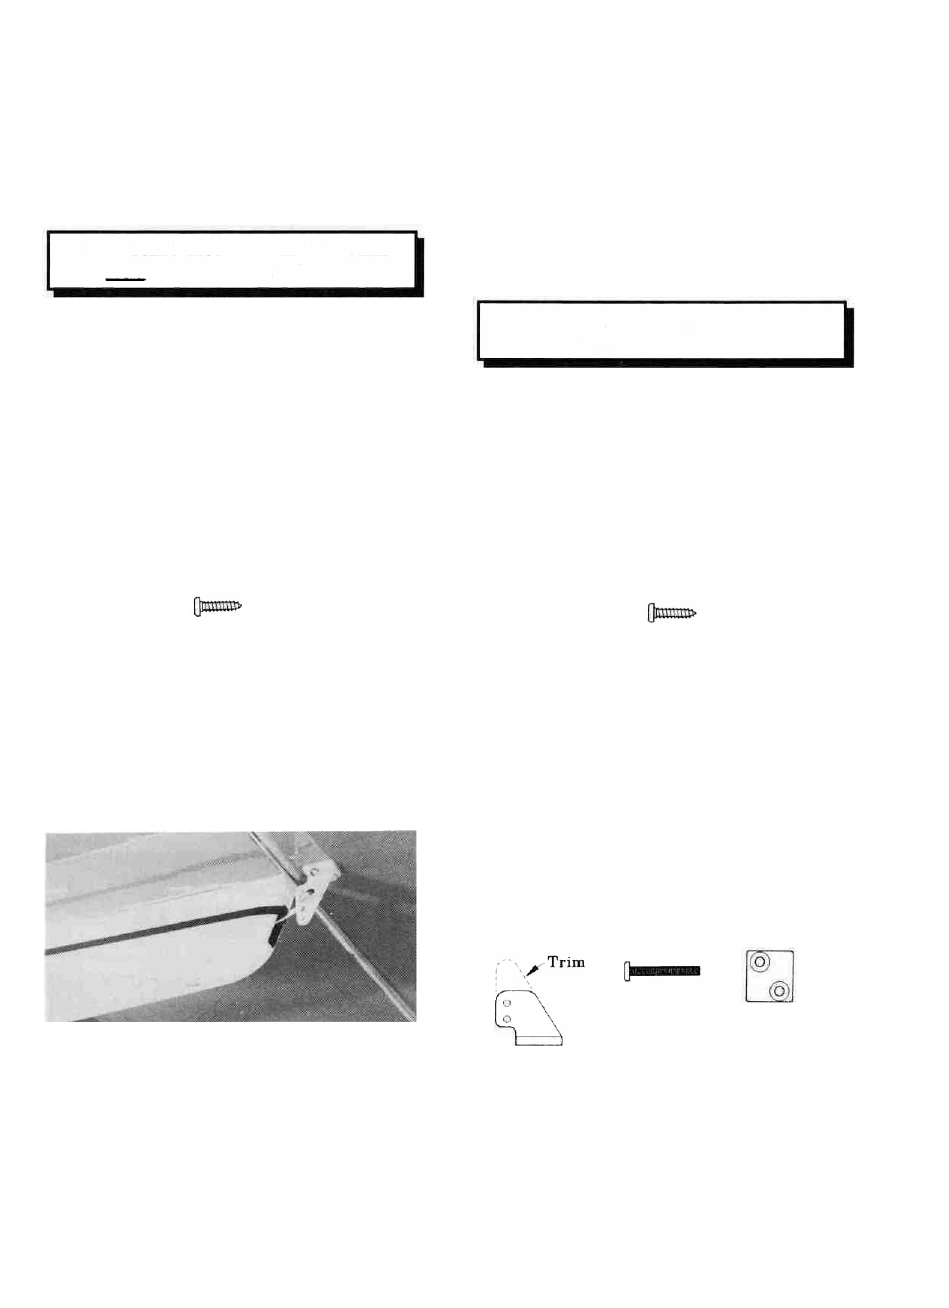
D 6. If you are installing spoilers, mount the spoiler servo
between formers F4 and F5. It can be mounted on servo rails, or
on its side with servo tape. Cut 3 arms off of an X-type servo horn
as you did for the tail surfaces. Insert a #2 x 3/8" Sheet Metal
Screw (SCRW024) in the outside servo horn hole for the spoiler
string. Leave it extending about 1/4" above the horn. Adjust the
servo and your transmitter so the horn is almost pointing towards
the rear of the plane when your transmitter stick is in the "spoilers
closed" position. The horn should rotate towards the front of the
plane when the transmitter stick is moved to the "spoilers open"
position. Which way the transmitter stick moves to open the
spoilers is up to you. Both directions are used by today's pilots.
the pushrod wire where it crosses the hole in the control horn.
Remove the pushrod from the fuse and make a Z-bend in the wire
with the first bend starting where the marks are. Cut any excess
wire off 1/4" past the Z-bend and reinsert the pushrod into the
fuse. Remove the nylon control horn from the elevator and insert
the Z-bend into the second hole from the inside. Re-install the
control horn to the elevator. Adjust the nylon clevises until the
control surfaces are at neutral when the servo horns are perpen-
dicular to the centerline of the fuse. Cut the 2-56 x 5/8" screws
off flush with the nylon nutplates.
SKIP TO STEP 13 IF YOU BUILT
THE SPORT WING!
D 8. Cut all the arms but one off of the three longest servo
horns you can find for your radio (3/4" - 1" radius is needed for
maximum surface throw). Mount the aileron servos on the ply
hatches and install the servo horns so they are rotated approx. 15
- 20 degrees forward when the transmitter stick is at neutral.
Mount the flap servo on its hatch and install the servo horn so it
is rotated approx. 20 - 30 degrees rearward when the transmitter
stick is at the "neutral flap" position. Install the hatches on the
wing with four #2 x 3/8 sheet metal screws each.
NOTE: The following paragraph is written using ordinary
nylon tube type pushrods. They arc intended only as a
guideline to help you install your pushrods, so descriptions
may differ from your particular setup.
D 7. Slide the pushrod inner tubes into the fuse. Snap the nylon
clevises into the outermost hole in the servo horns. The rudder
pushrod goes to the left servo and the elevator pushrod goes to the
right servo. A Z-bend is recommended for the elevator/pushrod
connection. With the elevator and elevator servo in their
neutral position, use a felt tip marker to make a small mark on
D 9. Tack glue the Nylon Control Horns (NYLON03) in
place on the ailerons with a drop of thin CA. They should be
located directly behind but about 3/32" outboard of the servo
horn. Drill two 3/32" holes through each aileron using the control
horns as guides. Remove the control horns and harden the balsa
in the area of the control horns (on both sides of the ailerons) by
poking several holes with a pin, then apply thin CA glue and
allow it to soak in and cure. Wipe off any excess glue before it
cures. Cut off the nylon control horns just above the second hole
as shown in the sketch (if your radio does not have servo endpoint
adjustments wait until you have all the control throws properly set
before doing this). Mount the control horns with the 2-56 x 5/8"
Machine Screws (SCRW002) and the Nylon Nutplates which
were attached to the horns. Cut the screws off flush with the nylon
Nutplates.
D 10. Screw a Nylon Clevis (NYLON17) on two 12" Threaded
Wire Rods (WIRES16) until the threads start to exit the base.
Snap the nylon clevis into the outer hole of the control arm and
make a mark where the rod crosses the outer hole in the servo arm
45