Great Planes Spirit 100 Sailplane Kit - GPMA0550 User Manual
Page 39
D 20. Use your sanding block with medium grit sandpaper to
chamfer (slightly round) the ends of the 1/4" x 3-1/2" Hardwood
Wing Dowels (DOWEL030). Center the 1/4" wing dowels in the
holes in the fuse but do not glue them until after the fuse is
covered.
ASSEMBLE THE COCKPIT/CANOPY
You'll need the following items:
and through the front 1/4" ply wing bolt block in the fuse.
SPT1F02 1/8" Balsa Cockpit Base
SPT1F13 Formed ABS Cockpit
SPT1F17 1/8" Ply Cockpit Front and Back
CANPY048 Clear Canopy
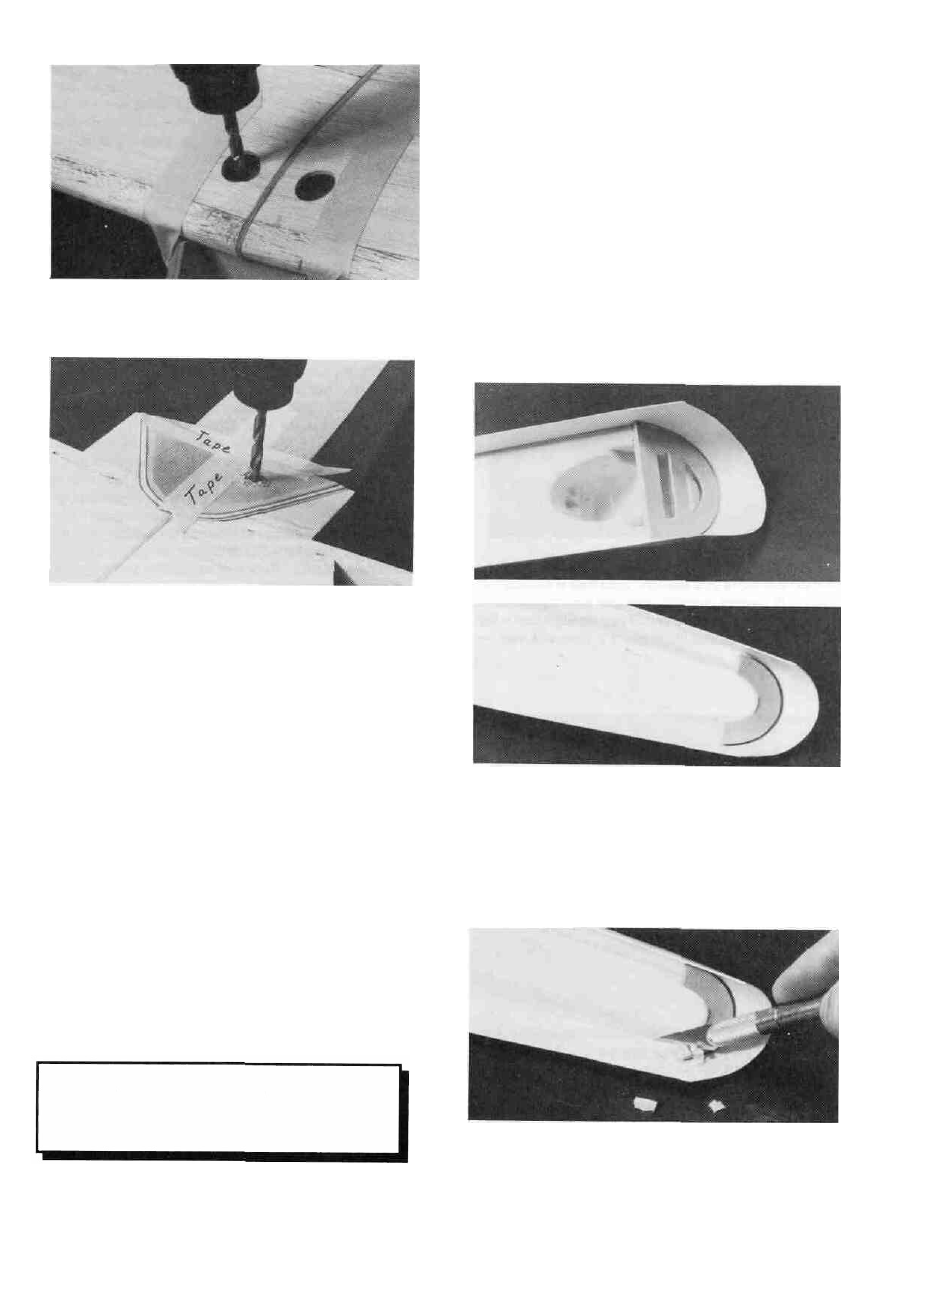
D 17. Make sure the wing has not moved and drill another
13/64" hole (where the punch marks are) through each rear wing
bolt plate and through the 1/4" wing bolt block in the fuse.
D 18. Remove the wing and enlarge the four holes in the wing
to 1/4". Use a 1/4 - 20 tap to thread the holes in the fuse blocks.
Apply thin CA to the threads you just cut and allow it to cure
completely. Use the 1/4 - 20 tap to re-tap these holes. This
process makes the threads a lot tougher.
D 19. Test fit the wing in place with four 1/4 - 20 Nylon Bolts
(NYLON13). These bolts are longer than you probably need so
you can cut them off to any length you desire by first pressing an
Xacto knife into the threads where you want to cut them and then
bend the boll "away from the cut" with your hands. They will
break where the cut is, just clean up the threads with the knife.
SKIP THE NEXT STEP IF
YOU HAVE BUILT THE
BOLT-ON WING!
D 1 Trim the molding "base" off o f the Formed ABS Cockpit
(SPT1F13) Trail fit the 1/8" Die-Cut Ply Cockpit Back (SPT1F17)
and the 1/8" Die-Cut Ply Cockpit Front (SPT1F17) in place in
the formed ABS cockpit. Sand them i f necessary for a smooth Fit
and then glue them in place with med. or thick CA.
D 2. Trim and sand the bottom edges of the cockpit front and
39