Join the inner and outer wing panels – Great Planes Spirit 100 Sailplane Kit - GPMA0550 User Manual
Page 28
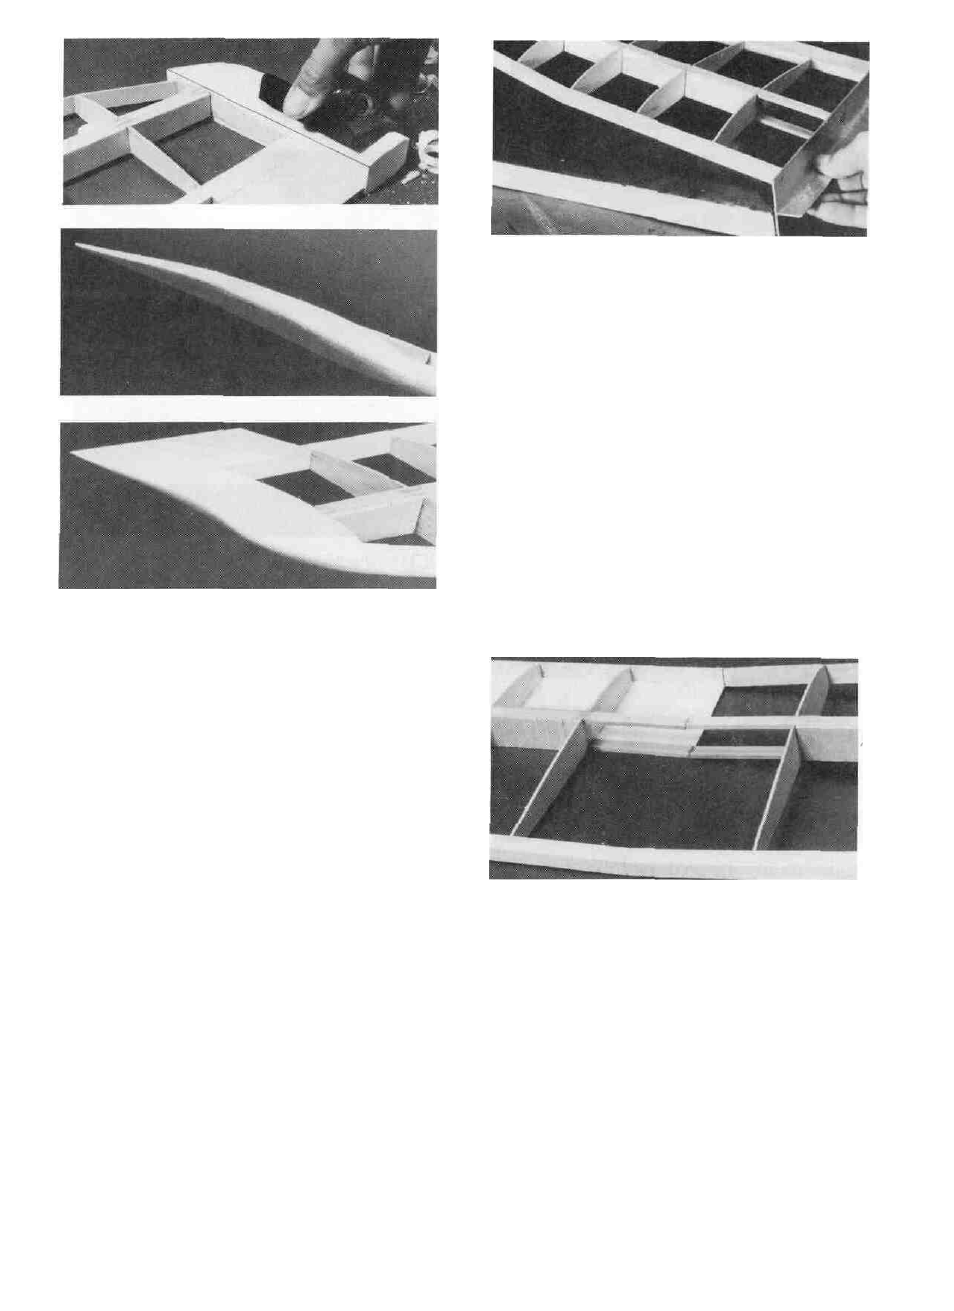
not sanding any "sweep" (forward or backward tilt) into the wing.
HINT - Set the panel on an "elevated" building surface an inch
or so above the work surface and us the edge of the elevated
surface to hold the sanding block perpendicular to the work
surface as shown in the photo.
D D 2. With the inner panel flat on the work surface, sand
the leading edge, spars and sub TE so they are all even and of the
correct length.
D D 3. Test fit the inner and outer panels together over the
plan to make sure the leading edges, spars, and sub TE'S all meet
up nicely when the tip panel is blocked up the required 2" (at the
bottom of rib W10) with the dihedral gauge. Sand any ends, if
needed, to make everything fit well.
and the above photos to show you the recommended shape.
CAUTION - Do not sand the TE of the tip to a very thin edge
or it will get damaged easily. It is best to leave it 1/32" • 1/16"
thick. Remove the TE piece.
D D 14. Apply several drops of thin CA to the rear portion of
the balsa wing up. Allow the glue to soak into the wood and cure.
The glue will help harden the wood and protect it from damage.
JOIN THE INNER AND OUTER
WING PANELS
D D 4. With the dihedral gauge in place. Apply med. or thick
CA or epoxy to the leading edge, sub TE and spar Joints to "tack
glue" the two panels together. Hold everything in place until the
glue has cured.
D D 1. Prop up the outer wing panel 2" (from the work
surface to the bottom of the spar at W10) using the bottom notch
in the Dihedral Gauge (SPT1W22) between ribs W9 and W10.
Move the dihedral gauge if necessary to get the correct measure-
ment at rib W10. Use a sanding block to carefully sand the
leading edge, spars and trailing edge to achieve vertical surfaces
on each as shown in the photo. Check your progress by
occasionally setting the panel on the plans to make sure you are
DD 5. Cut the balsa bottom sheeting away (1/32") from the
front of the inner panel spar, from the last W2 rib to the end of the
spar, to clear the polyhedral brace. Punch out two of the 1/32"
Die-Cut Ply Polyhedral Braces (SPT1W10) without an "S"
embossed on them and test fit them in place against the front and
back of the spars. Sand them if needed to achieve a good f i t .
28