Key confirmation beep tone – Kenwood TM-255E User Manual
Page 45
Attention! The text in this document has been recognized automatically. To view the original document, you can use the "Original mode".
7 AUXILIARY FUNCTIONS
REPROGRAMMING AUTO MODE/AUTO OFFSET
As explained under "AUTOMATIC MODE
SELECTION" {page 18}, Automatic Mode allows the
transceiver to choose automatically the correct
modulation mode based on the currently selected
frequency. Although your transceiver is initially
programmed according to international agreements,
you have the capability to change this programming.
This includes changing the programming for
Automatic Transmit Offset which shifts your transmit
frequency to allow you to access voice repeaters
(page 19).
Before beginning to reprogram, draw a simple
diagram as shown below to represent the new plan
that you want to store in the transceiver. Substitute
actual frequencies and modes in place of the
variables shown. When you have your drawing
complete, programming will take only a few minutes.
'^lower
^2
*^3
'^N= ^upp(
Mode 1
Mode 2
Mode 3 Mode N
N>20
1" lower
-> Transceiver's lower frequency limit
Mode 1
First modulation mode
Fi
—> First mode boundary
Mode 2 -> Second modulation mode
F2
Second mode boundary
Mode 3
Third modulation mode
F3
—> Third mode boundary
Mode N
Nth modulation mode
F
n
-> Nth mode boundary
Fupper
—> Transceiver's upper frequency limit
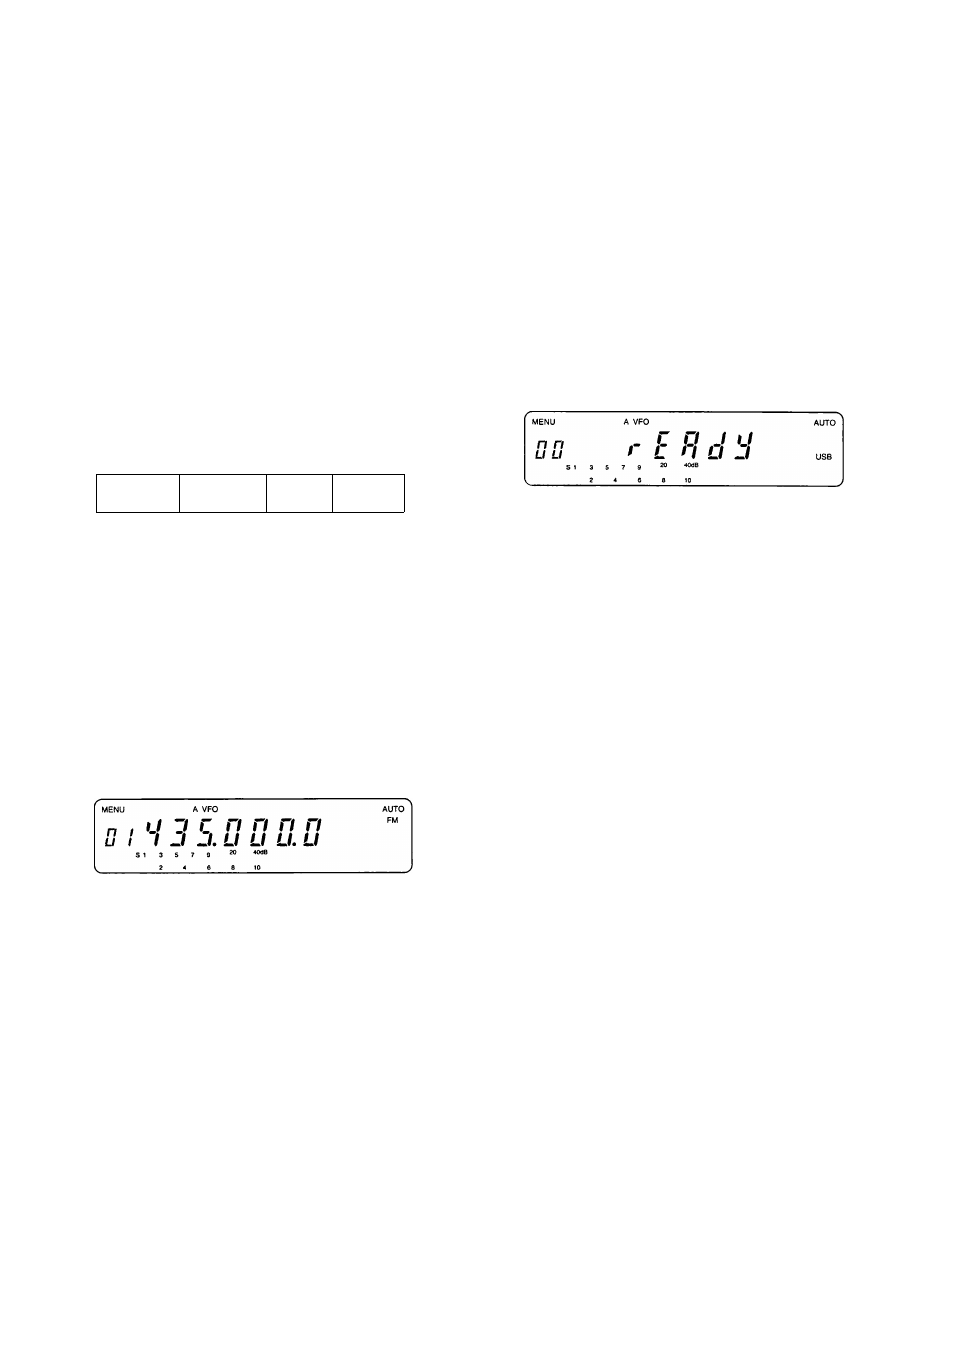
1 Press [AUTO/FM]+ POWER ON.
Menu No. 01 appears.
2 Enter the first mode boundary frequency (F-j).
• [F.LOCK] or microphone [UP] or Main Tuning
CW ^ Increments frequency
• [LOW] or microphone [OWN] or Main Tuning
CCW Decrements frequency
• Mode boundary frequencies must be 10 kHz or
more than the boundary stored in the previous
menu number. Menu No. 01 frequency must be
10 kHz or more than the transceiver lower limit
frequency. All mode boundary frequencies
must be iess than the transceiver's upper
frequency limit.
3 Select the first mode (Mode 1) using [AUTO/FM]
or [SSB/CW].
• if SSB or CW is selected in this step, jump to
Step 5.
4 Select the transmit offset you want for this portion
of the band using [SHIFT].
• Transmit offset can only be set if FM mode was
selected in Step 3.
5 If you have entered all the mode boundary
frequencies you want to program, jump to Step 6.
Otherwise, increment the menu number using the
Alternate Tuning control and jump to Step 2 to
enter the next mode boundary frequency, mode,
and transmit offset, when necessary.
• Menus greater than the menu number that
contains the transceiver's upper frequency limit
are ignored by the transceiver.
6 Select Menu No. 00 using the Alternate Tuning
control.
7 Press [F.LOCK], [LOW], or microphone [UP] or
[OWN].
• The data is recorded. The Display shows
"good" if the data was recorded correctly
otherwise "error" appears. If "error" appears,
repeat Steps 6 and 7.
n n
U LI
O . . J
jf a o o
8 Press [CLR] to return to operating mode.
KEY CONFIRMATION BEEP TONE
The Beep Tone function provides a beep to provide
feedback each time a button is pressed . If you
prefer, this beep tone can be disabled via Menu B,
No. 50. The default is ON.
The volume of the beep level can be changed via
Menu A, No. 08. The default for the volume is High
(H). This setting also affects the levels of the CW
sidetone and the VS-2 Voice Synthesizer option.
Note: There is an interaction between the setting of Menu A, No.
08 and the VOL controi. The VOL control must be at 12 o'clock or
higher before the effect of the menu setting can be noticed.
38