Ssb operation, Cw operation, Ij zi – Kenwood TM-255E User Manual
Page 30
Attention! The text in this document has been recognized automatically. To view the original document, you can use the "Original mode".
SSB OPERATION
To receive, use the following procedure:
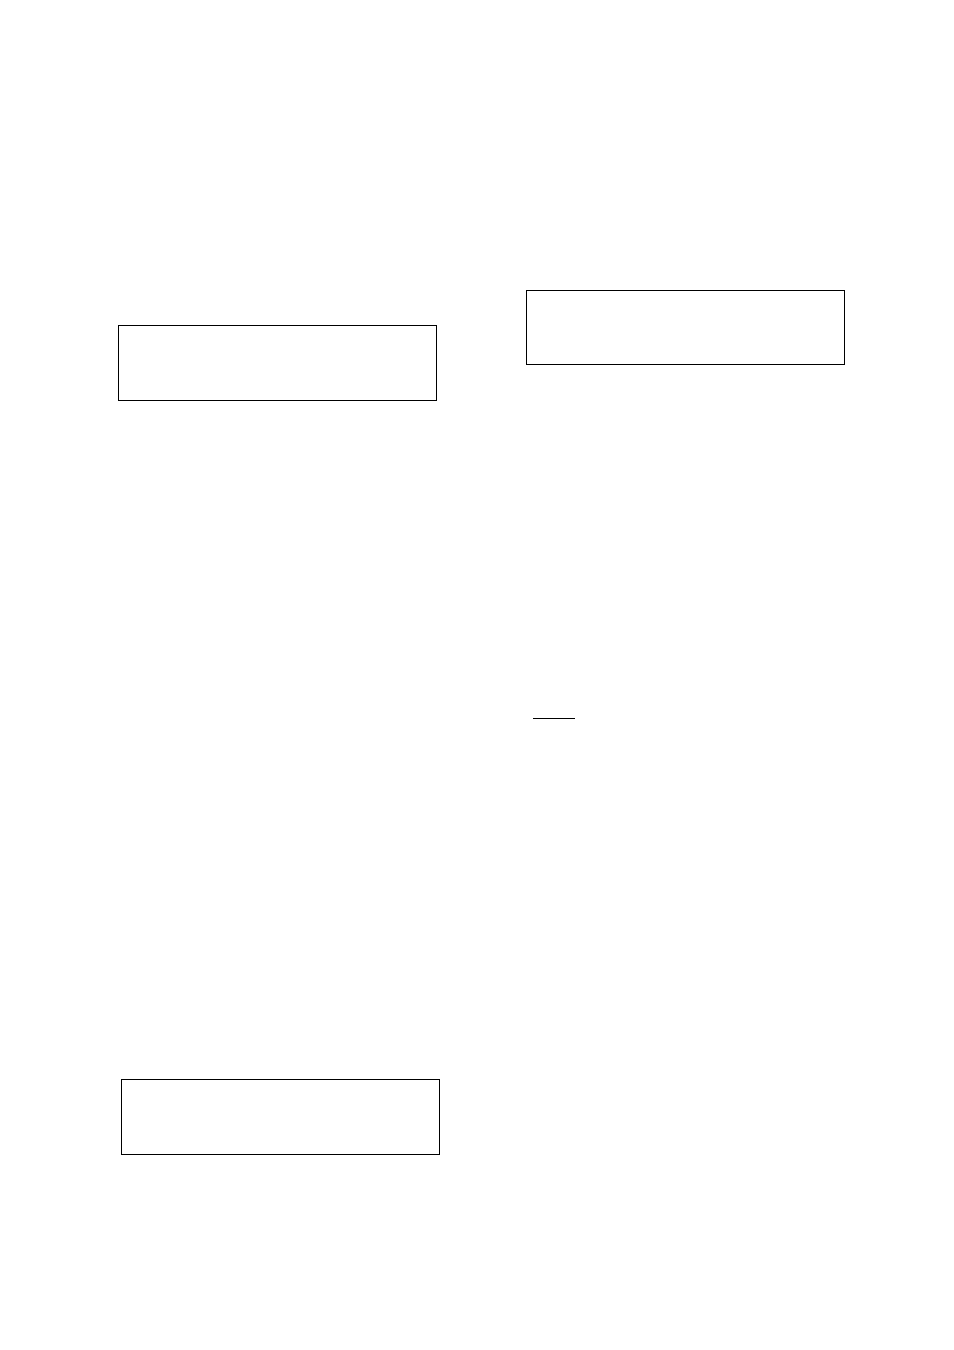
1 Select the desired frequency.
Select the USB or LSB mode by pressing
[SSB/CW].
• Either "USB" or "LSB" appears.
• Each press of [SSB/CW] changes the mode
from USB to LSB to CW in rotation, and
displays the mode selected on the Display.
c
—
A VFO
ij zi
n
c
7 Jf /.
J
П
LI
П П
LI. LI
\
USB
V__
S 1 3 5 7 9 20
2 4 6 8
40dB
to
J
3 Set the VOL control to a comfortable listening
level.
4 If the squelch will be used, select the type of
squelch you want, and adjust as explained earlier
{page 16}.
To transmit, proceed to the subsequent steps.
5 Listen. Make sure that your transmission won’t
interfere with others.
6 Press and hold [PTT] on the microphone.
7 Speak into the microphone.
• Speak in a normal tone of voice. The RF meter
should indicate from 7 to 9 on voice peaks
when using High power. The meter will read
lower when using the Low power. Speaking too
close to the microphone, or too loudly may
increase distortion and reduce intelligibility.
8 As you transmit, verify that the RF Meter is reading
upscale confirming transmit output power. The
microphone gain is controlled automatically;
however, if you prefer to set the gain manually,
refer to the following.
• Microphone gain adjustment is via Menu B,
Nos. 61 and 62 {page 14). No. 61 toggles a
circuit ON or OFF to maintain a constant level
regardless of variations in your speech level.
Turning No. 61 OFF sets the microphone gain
to a fixed value. This fixed value is selected
from No. 62 which allows you to control the gain
over a 12 dB range with 5 discrete selections.
Each selection is 3 dB higher than the previous
with the default being the mid-range selection of
OdB.
r
A VFO
О ZI П c П П П
\
7
Jf 1. J
LI LI. LI
USB
40dB
10
J
CW OPERATION
To receive, use the following procedure:
1
Select the desired frequency.
2 Select the CW mode by pressing [SSB/CW].
• "CW" appears.
• Each press of [SSB/CW] changes the mode
from USB to LSB to CW in rotation.
4 COMMUNICATION
r
A VFO
\
1-/ Z! Cl n
П П П
1 ZI LI. LI
1 LI. LI
St 3 5 7 9
20
40dB
c\w
V
2 4 6
6
to
J
3 Set the VOL control to a comfortable listening
level.
4 If the squelch will be used, select the type of
squelch you want, and adjust as explained earlier
{page 16}.
To transmit, proceed to the subsequent steps.
5 Listen. Make sure that your transmission won't
interfere with others.
Begin sending using your key or keyer.
As you send, verify that the RF meter is reading
upscale confirming transmit output power.
U zi о П П П П
I J a LI I LI. LI
М?И1;1
liiiiiiiiiiiiiiiiillllilllllli
CW PITCH CHANGE
The CW receive pitch can be selected from within the
range of 400 Hz to 1000 Hz in 50 Hz steps by
changing Menu A, No. 02 {page 13}. The default is
800 Hz.
You may prefer selecting a higher pitch for easier
copy through interference from other stations. When
copying a strong signal on a clear frequency, you may
find it more pleasant to select a lower pitch. Changing
this setting does not affect the transmit sidetone.
CW KEYING DELAY
Menu A, No. 01 {page 13} allows keying delay time
selection. This is the delay before the transceiver
returns to the receive mode after the key is released.
Various delay values are available . The default is
600 ms.
23