Wing assembly – Carl Goldberg GPMA1956 Eagle 2 ARF User Manual
Page 7
7
NOTE: If the covering on your aircraft has wrinkled in tran-
sit, refer to the "Covering" section earlier in this book.
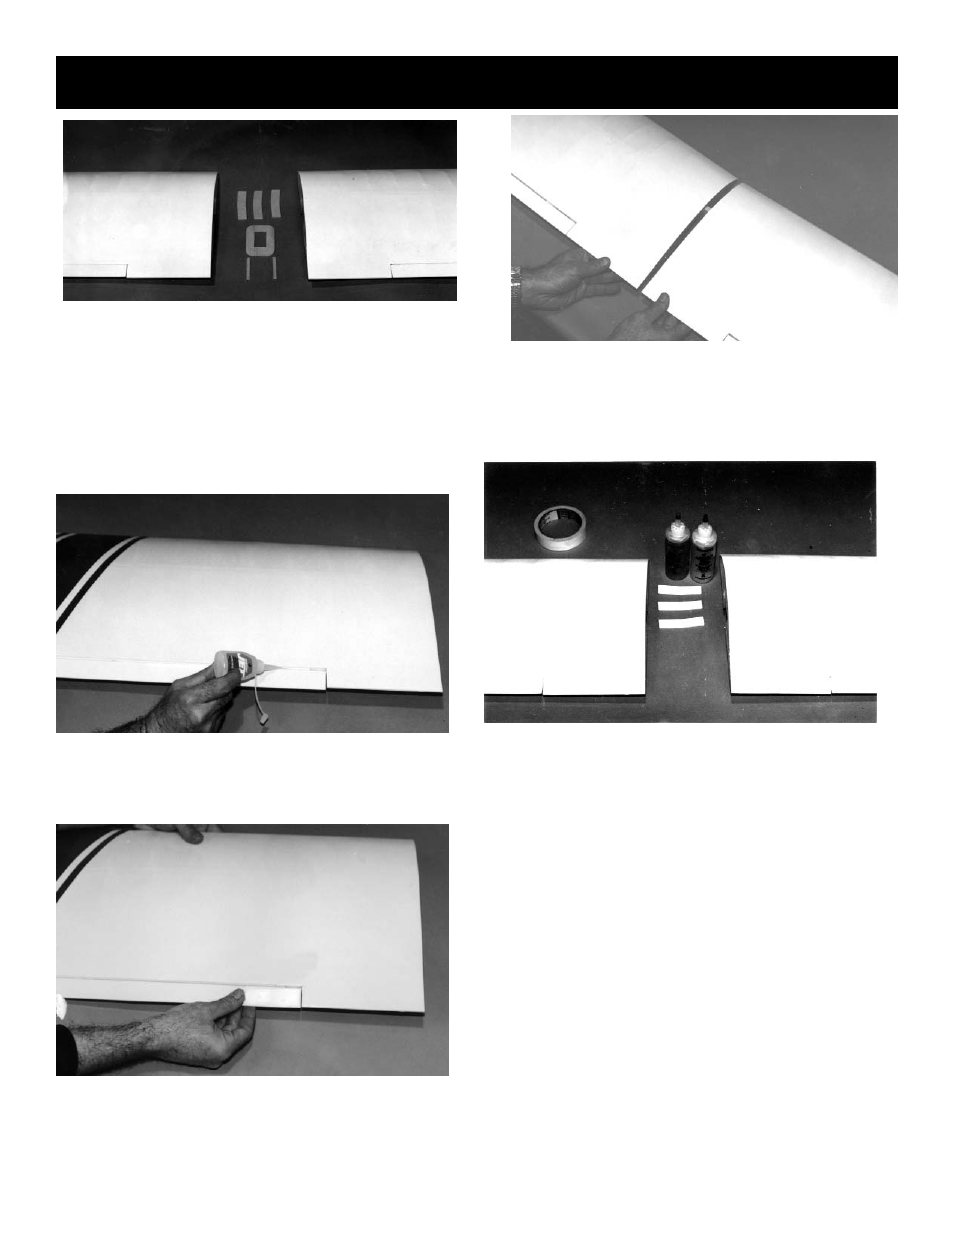
1.
Collect the following wing parts, as shown
above:
(1)
Right wing
(1)
Left wing
(3)
Wing joiners
(1)
Aileron servo plate
(2)
Aileron servo plate supports
2.
Although the control surfaces of the Eagle
ARF have been glued in at the factory, apply a drop of
Instant (thin) CA glue at each hinge location, for added
security. Allow the glue to wick into the hinge slot.
3.
When dry, make sure the hinge installation
is firm by gently pulling on each hinge location.
4.
Holding the three wing joiner pieces
together, with the angle cut facing up, insert them into the
joiner pockets in both the right and the left wing halves.
The joiners should fit easily in the pockets and the wing
halves should meet in the middle, with the wing dihedral
forming a broad "V".
5.
Working on a protected surface, and with
paper towel handy for cleaning fingers, THOROUGHLY
mix 1-2 large (soup) spoons each from bottle A and bottle
B of 30 min. Epoxy. (Use equal amounts of each part, mix
with a stick in a plastic or paper cup or on a sheet of
waxed paper.)
6.
Spread the epoxy on the three joiners and
laminate them to form a single piece. Then put additional
epoxy in each wing pocket and spread a thin layer along
one side of the entire center joint area. Immediately pro-
ceed to next step.
7.
Working rapidly, so that the epoxy does
not set before you are finished, slide the laminated wing
joiner into one wing pocket and then slide the other wing
half onto the joiner until the wing halves are touching.
Wing Assembly