Applying decal, Muffler installation, Installing the windshield & side window – Carl Goldberg GPMA1956 Eagle 2 ARF User Manual
Page 32
32
1.
Carefully trim the windshield, as shown,
along the OUTER cut lines provided.
2.
Temporarily set the windshield in place on
the fuselage. Make sure the wing dowels do not interfere
with the correct placement of the windshield, and note
where it contacts the fuse.
6.
Carefully remove the side windows from
the plastic sheet, again making sure to follow the cut lines
provided. Cut front and back windows apart for ease of
installation.
7.
Test fit the windows. When satisfied with
the fit, tack glue in place and then glue around the entire
edge, as described above. Again, use only a thin bead of
glue and take care to avoid smearing any glue on the plas-
tic.
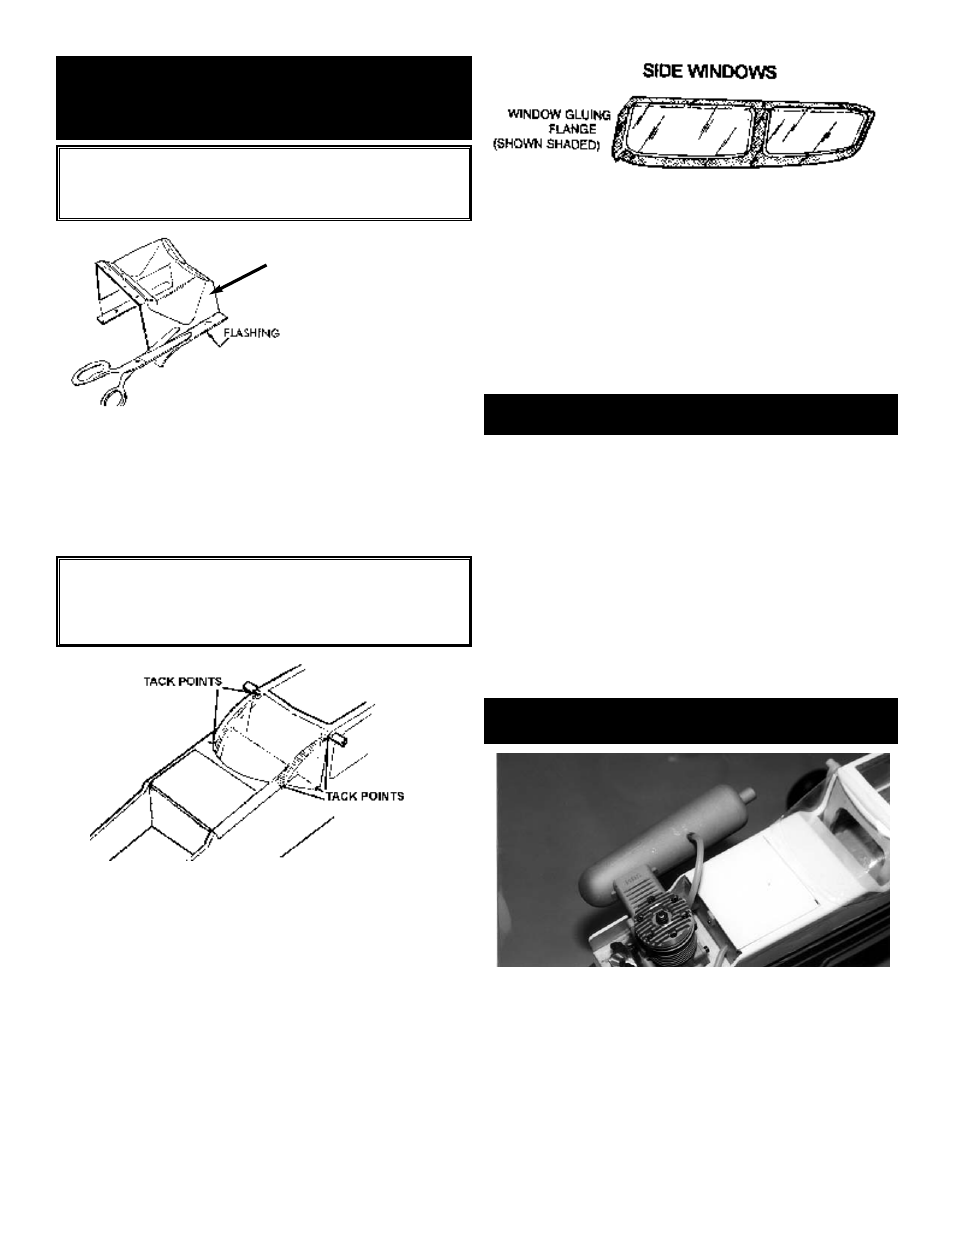
INSTALLING THE WINDSHIELD
& SIDE WINDOW
CAUTION: Follow these instructions carefully to
avoid cutting errors or other damage to the plas-
tic.
Cut along outside line
Outer cut line
OPTIONAL: For added gluing strength, make a series of
pinhole punctures through the covering, at the contact
points. This will allow the glue to penetrate to the wood
underneath.
3.
Making sure the windshield is properly
centered, tack glue in place at each of the tack points
shown above.
4.
After the windshield has been tacked in
place, go slowly around the entire windshield, applying a
VERY THIN line of glue at the edge of the plastic. (It will
"wick" under and secure the windshield.) Glue a small
area at a time, using minimal amount of glue, keeping
hands clean, and taking care that no glue is smeared on
the plastic. When the CA glue has dried, if a trace of
white film appears inside the windshield, wipe off with a
damp cloth.
APPLYING DECAL
1.
Using glass cleaner and a soft cloth, clean
model surface thoroughly before applying the decal.
2.
Cut the decal sheets apart in sections, as
needed. Fold the decal in half, front to rear. Open at the
fold and lay the decal out straight. The protective backing
will bubble away from the decal at the fold.
3.
Using a scissors, cut the backing along the
bubble, removing a strip of backing about 1" wide.
Carefully position the decal on the model and stick it in
place. Then, working from the center, rub the decal down
while peeling off the remainder of the backing.
MUFFLER INSTALLATION
1.
Following your engine manufacturer's
instructions, mount the muffler on the engine.
2.
If your muffler has a fuel-line type fitting on
it, use it to "pressure feed" fuel to the engine for smoother
and more reliable running. In this case, the vent line is
connected to the muffler fitting