Carl Goldberg GPMA1956 Eagle 2 ARF User Manual
Page 40
40
LANDING
For your first landings, don't be concerned about trying to land in
a particular spot. Just land safely, without damage to your model.
At first, concentrate on flying in wide circles, as shown, and then
simply glide down straight into the wind.
With a 2-channel system, when the battery begins to run
out, the model will start a gradual descent. Continue circling and
start calculating how much longer the model will glide. After
imagining how much glide you have, you can start planning
ahead for landing.
For 3-channels, if you have a helper, he can time your flight and
tell when you have about four minutes of flight time. If you turn
the motor off at that point, there will be one or two minutes of bat-
tery power left.
With the power off and the plane gliding downward, plan
your approach for landing. When the model is about 45º down-
wind of the landing area, turn to Base Leg. Continue your
descent, letting the model slowly lose more altitude. (If you are
not happy with the approach, turn the power back on, climb out,
and set up for another pass.) Remember, "a good approach is a
good landing." Don't rush it.
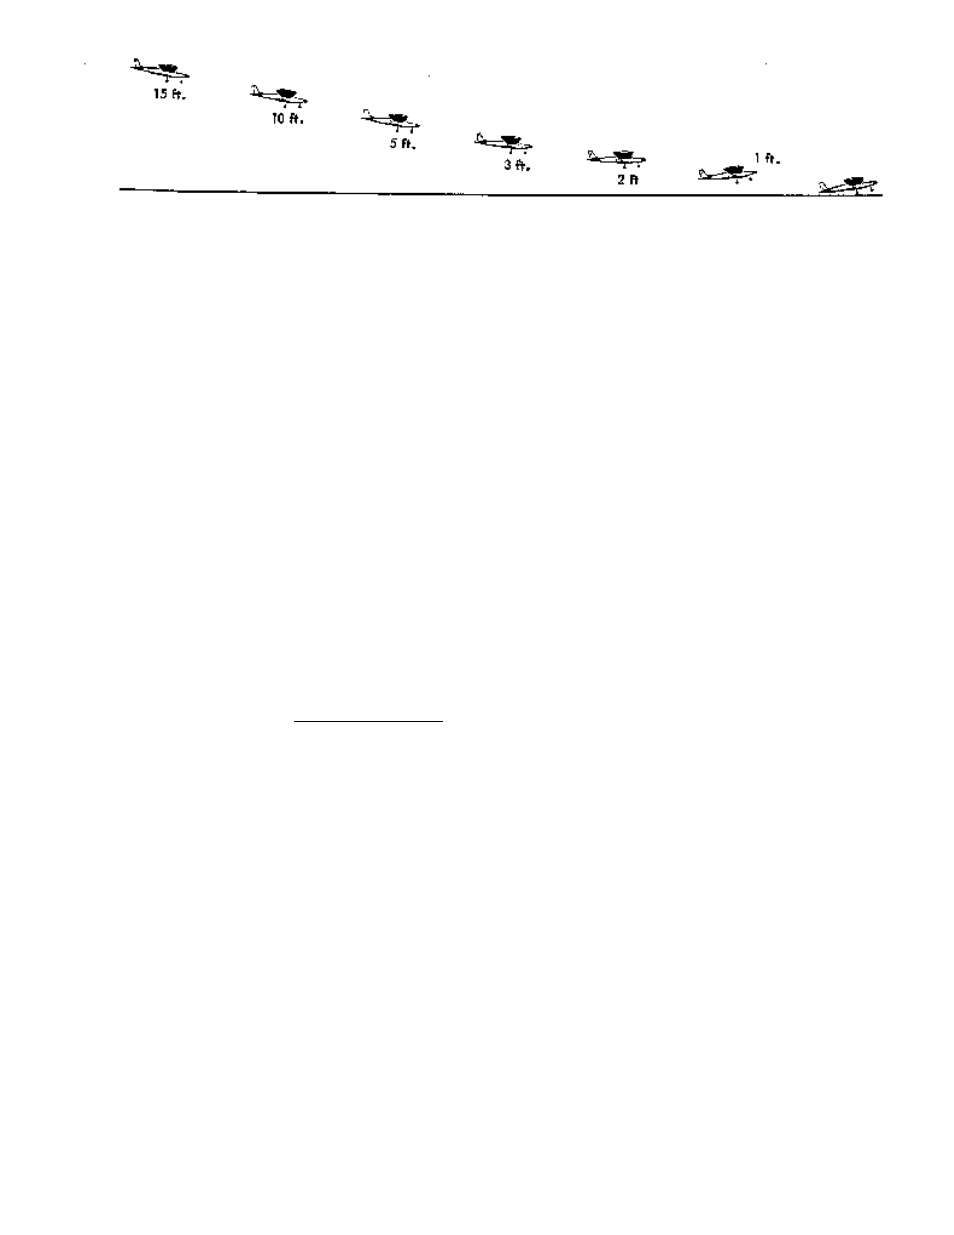
For your FINAL APPROACH & LANDING, make a gen-
tle turn to point the model in the direction of the landing area.
Keep the nose of the plane slightly down, so you don't stall.
Steer the plane into the wind as it glides, keeping the wing level.
Let the model settle in toward the ground and land. Just before
the model touches down, you can add just a bit of back stick (up
elevator) to "flare" and soften the landing.
Walk over to your plane and turn off the receiver first,
and then the transmitter. Congratulations! You've just completed
your first flight.
GROUND TAKE-OFFS
As you gain flying experience and confidence, you will
want to try to take off from the grass or runway. First, point the
model directly into the wind. Switch the motor on and gently
steer the model straight with rudder as the model gains speed
rapidly. After it rolls about 50-75 feet, add slight back stick ) up
elevator) pressure, so that the model rises smoothly from the
ground. Only hold as much back stick as necessary to keep the
plane in a 5º to 10º gentle climb. If you try to pull the model up
too steeply, it may slow down and then stall and crash.
SETTING ADJUSTMENTS
As you get used to the controls, you probably will notice the
model turning somewhat, or climbing or descending, without any
stick pressure on your part. These tendencies can be corrected
in the air by moving the trim tabs on the Tx. After landing, the
setting of the rudder or elevator should be similarly adjusted as
best you can by means of the clevises. This, in turn, permits the
Tx trim tabs to be re-centered. Further flights will show if more
adjustment is required. A severely out-of-trim condition (caused
by a warped wing, for example) might not be correctable using
the above trim techniques. In that case, taking the model home
and straightening the warp with heat is necessary.