Tail assembly & installation, Mounting the stabilizer – Carl Goldberg GPMA1956 Eagle 2 ARF User Manual
Page 11
11
1.
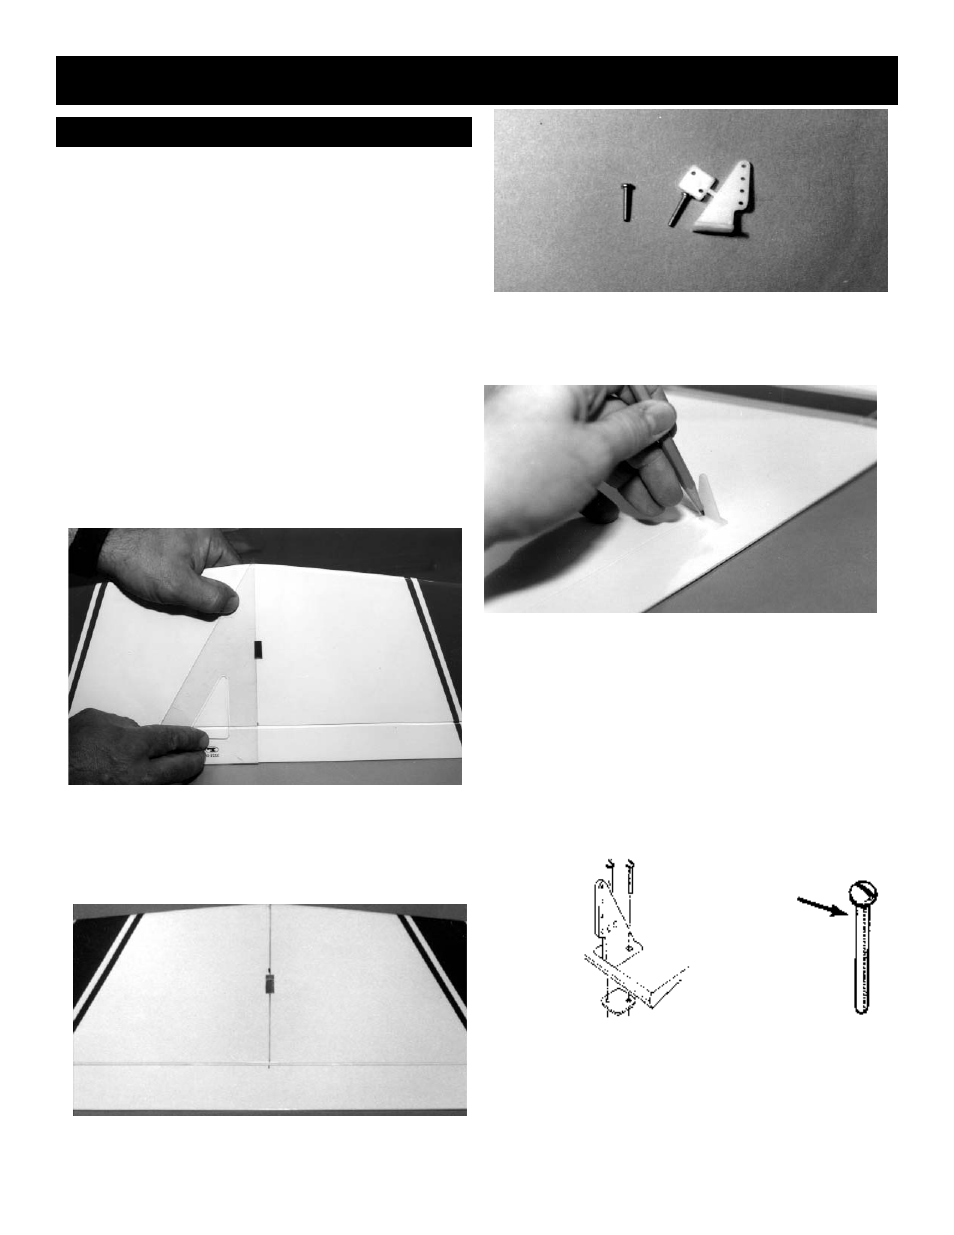
Collect the required parts.
(1)
Fuselage
(1)
Wing
(1) Stabilizer/Elevator
assembly
(1)
Fin
(1)
Large control horn with nut plate attached
(2)
2-56 x ½ "screws
NOTE: Prior to assembly, the stab assembly has no top or
bottom. Use either side to begin.
2.
As with the ailerons, the stab/elevator
hinges have been glued at the factory, However, for added
security, apply a drop of Instant 30 min.. (thin) CA at each
hinge location. Allow the glue to wick into the hinge slot.
When dry, check the installation by gently
pulling on each hinge location to confirm that it is secure.
3.
Locate the center of the stab and mark it
at the hinge line.
With the stab assembly on end, use your
triangle to draw a line across the stab, as shown.
4.
Continue the line across the elevator and
around the Leading Edge of the stab to the top side, to
help in locating the control horn.
5.
Cut off the nut plate attached to the large
control horn.
6.
Locate the centerline of the control horn
right over the centerline on the elevator. With a pencil,
mark the location of the holes on the base of the control
horn onto the elevator.
7.
Drill a 3/32" diameter hole through the ele-
vator at each hole location.
8.
Place the large control horn on the eleva-
tor and push the 2-56 x ½" screws through the holes.
TAIL ASSEMBLY & INSTALLATION
MOUNTING THE STABILIZER
Control
Horn
Nut Plate
#2-56 x 1/2”
Machine Screws