Panasonic KX-P7510 User Manual
Panasonic, Setup guide, Laser printer
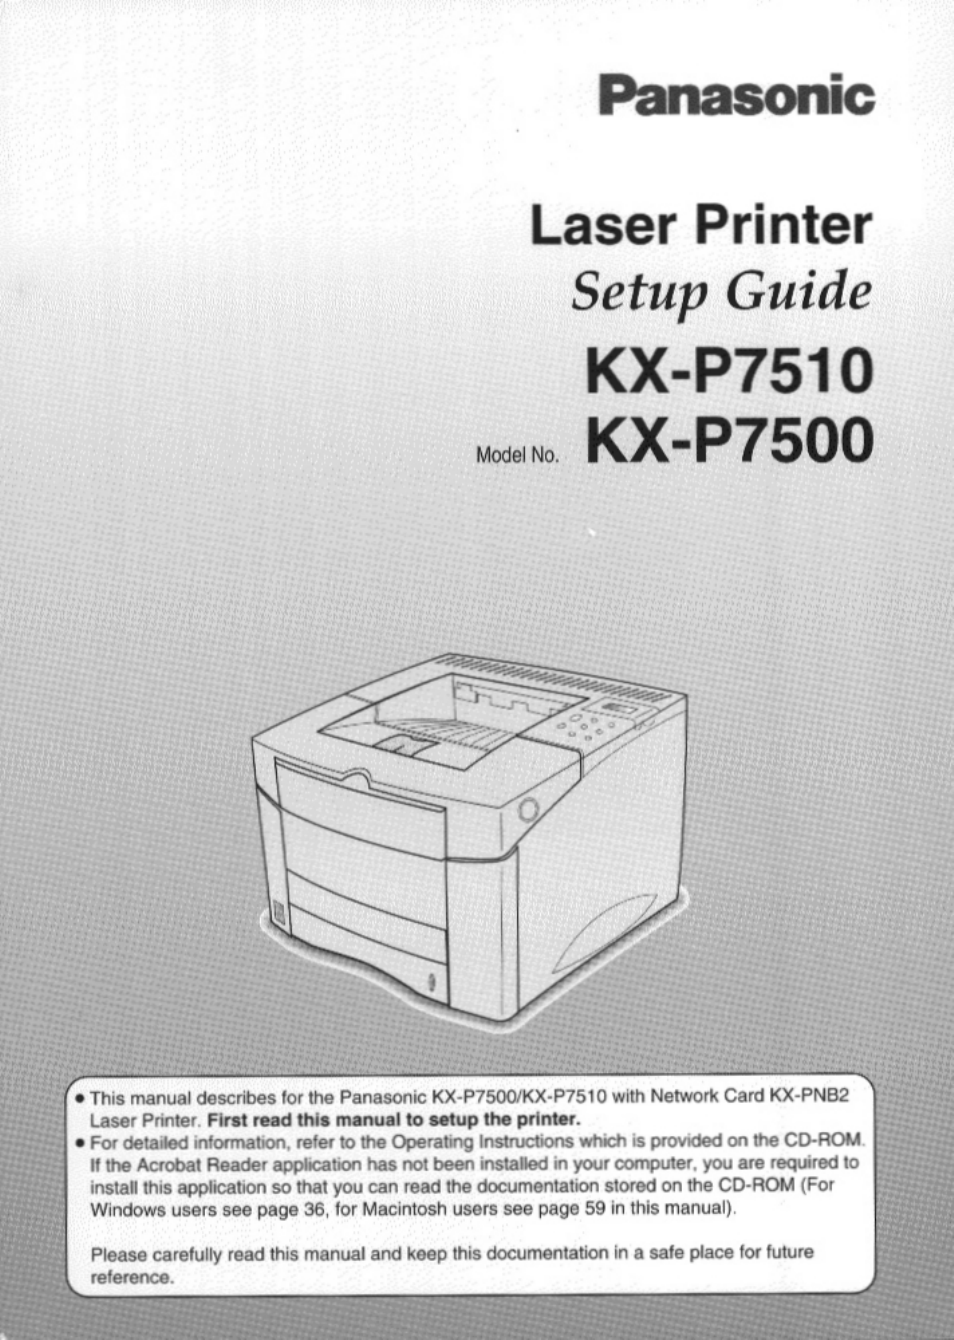
Table of contents
Document Outline
- Panasonic
- Using Manuals:
- Setup Guide (this manual)
- Quick Installation Guide of KX-PNB2 (KX-P7510 only)
- • Operating Instructions
- • User’s Guide of KX-PNB2
- FOR USERS IN UNITED STATES
- Contents
- Warning
- Caution
- Warning
- Caution
- Warning
- Moving the unit
- Caution labels
- Static electricity damage
- Interface cable
- Waste disposal method
- Model description
- Networking capability (for KX-P7510)
- Local port
- With a Windows computer
- With a Macintosh computer
- Front side view
- Rear side view
- Operator panel buttons
- Operator panel display
- You must therefore remove all the adhesive tapes. Slide the cassette out of the printer.
- 2 Remove the packaging material from the cassette.
- Slide the cassette completely into the printer.
- Y Remove the toner cartridge from its packaging.
- Open the top cover of the printer by pressing the button on right side of the printer.
- Loading paper in the 1st cassette
- Loading media in the MP (Muiti-Purpose) tray
- Using a parallel interface cable
- Using a network cable
- Chapter 3 Installing Software for Windows
- Chapter 4 Using the Printer
- Chapter 5 Cate and Maintenance
- Cleaning LSU (Laser Scanning Unit)
- y Turn the printer off, open the top cover and remove the toner cartridge.
- 2 Pull up on the LSU cleaner and put it on the LSU.
- o Slide the LSU cleaner horizontally across a track on the top of the LSU.
- ^ Replace the toner cartridge, close the top cover, and turn the printer on.
- y Slide the cassette out of the printer, and remove any damaged paper from the tray.
- y Open and close the top cover.
- Open the top cover and remove the toner cartridge.
- Grasp both sides of the jammed paper and slowly pull the paper out of the printer. Do not tear the paper.
- a) Position the toner cartridge as shown with the arrow on the toner cartridge pointing to the back of the printer. Slide the toner cartridge into the printer as far as it will go.
- b) Push the toner cartridge to set it properly as shown below.
- g Close the top cover.
- y Open and close the top cover.
- Open the rear cover.
- y Open and close the top cover.
- Open the rear cover.
- Grasp both sides of the paper, and slowly pull the paper out of the printer.
- ^ Close the rear cover.
- y Open and close the top cover.
- Pull the cassette completely out of the printer.
- a) Pull down the metal plate holding the green tab on the right inside of the printer.
- b) Slowly pull the paper out of the printer.
- Replace the cassette.
- Open and close the top cover to clear the paper jam message.
- General printing problems
- Poor print quality
- Cleaning LSU (Laser Scanning Unit)
- Chapter 6 For Macintosti User
- Appendix