Using a network cable, Setting up the printer – Panasonic KX-P7510 User Manual
Page 31
Attention! The text in this document has been recognized automatically. To view the original document, you can use the "Original mode".
Setting up the Printer
Push the clip at each end of the connector down into the notches
on the plug as shown.
Connect the other end of the parallel interface cable into the
appropriate parallel connector on your computer and tighten the
screw.
o
o
3
3
o
o
5'
(O
■a
3'
Q
N
ote
• The actual connector on the computer may differ depending on the manufacturer of the
computer.
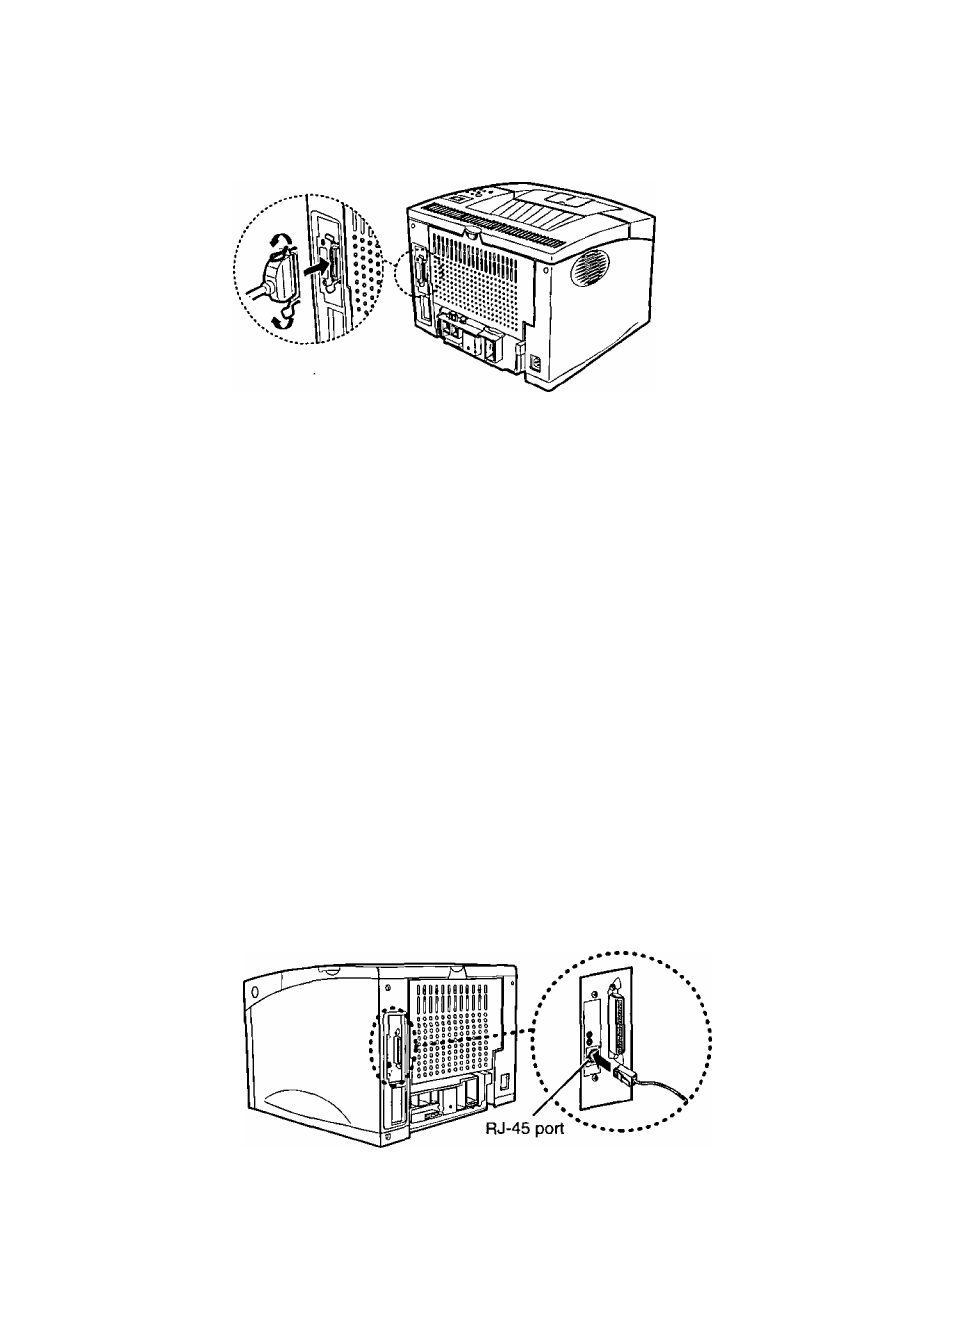
Using a network cable
If you use KX-P7510 or KX-P7500 with the installed optional network card KX-PNB2, you
can connect your printer to an Ethernet 10/100 Base-T network.
N
ote
• Use Category 5 shielded twisted pair cable with RJ-45 connector.
Make sure the printer and the computer are turned off.
1
2
Connect a shielded twisted pair network cable to the RJ-45 port on
the rear of the printer.
To setup the printer for the network, see the KX-PNB2 Network
card for Ethernet Quick Installation Guide.
31