Using style menu attributes – Casio CW-L300 User Manual
Page 54
E
52
5.
Use
and
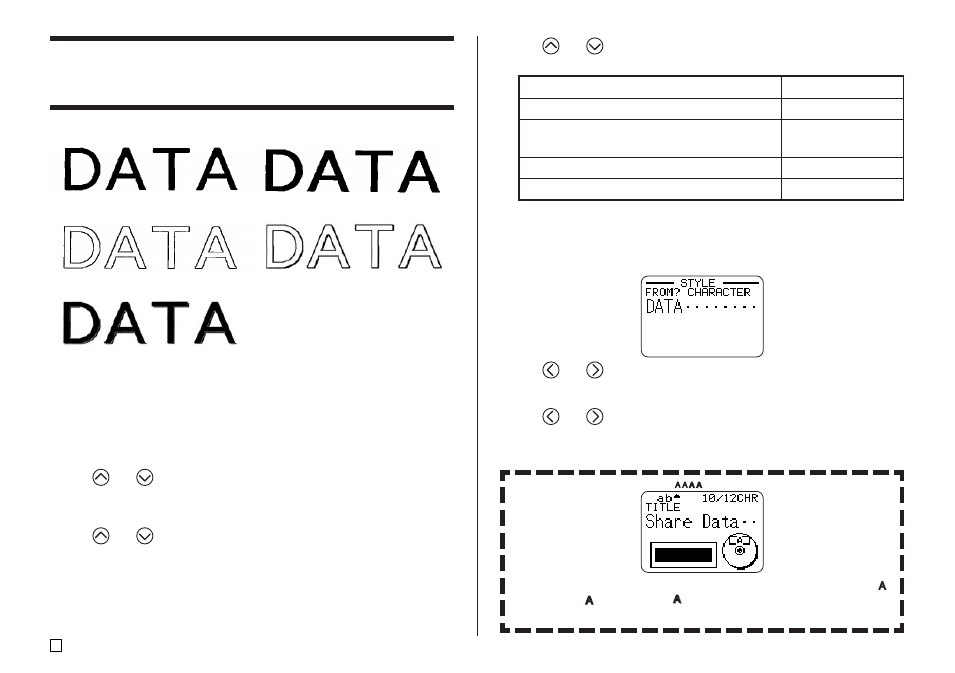
to select the range of text for the STYLE setting you want,
and then press SET.
• If you select ALL for Free Design Mode text, press SET. This will apply
the setting and return to the text input screen.
• Selecting any other setting in the Free Design Mode cause a range setting
screen like the one shown below to appear. Use steps 6 and 7 to specify
the range of text.
6.
Use
and
to move the cursor to the first character of the string of
text to which you want to apply the STYLE setting, and then press SET.
7.
Use
and
to move the cursor to the last character of the string of
text to which you want to apply the STYLE setting, and then press SET.
• This will apply the setting and return to the text input screen.
To apply the STYLE setting to this text:
All of the text in the label
All of the text in the current block (Free
Design Mode only)
All of the text in the current line
Specific characters (Free Design Mode only)
Select this option:
ALL
BLOCK
LINE
CHARACTER
A pointer appears to indicate the current STYLE setting: [A] (BOLD), [ ]
(OUTLINE), [ ] (SHADOW), [ ] (RAISED).
No pointer is shown when NORMAL is selected.
Using STYLE Menu Attributes
The STYLE menu lets you apply the following attributes to your text.
NORMAL
BOLD
OUTLINE
SHADOW
RAISED
• Note that STYLE menu text attributes cannot be applied to illustrations or
user characters.
■ To apply STYLE menu text attributes
1.
Input the text whose attributes you want to change.
2.
Press STYLE.
3.
Use
and
to select STYLE, and then press SET.
• If there is no EFFECT option on the screen that appears, jump directly
to step 4.
4.
Use
and
to select the STYLE setting you want, and then press
SET.
• Selecting NORMAL cancels the current STYLE menu setting.