Casio CW-L300 User Manual
Page 50
E
48
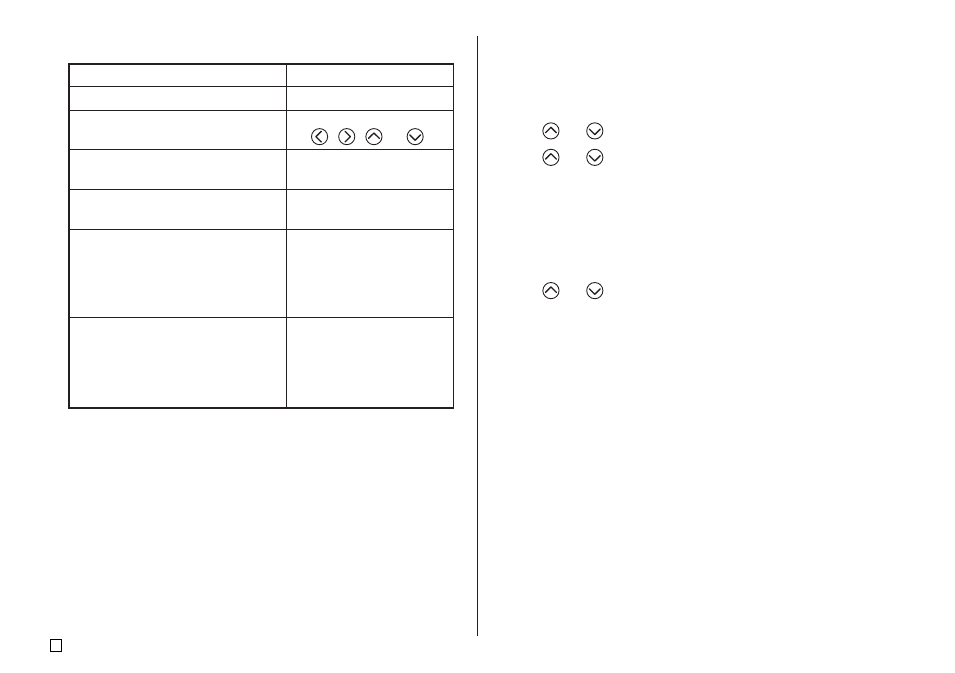
Do this:
Use the cursor keys.
Press FUNCTION followed
by
,
,
, or
.
Press 1 so BLACK is
highlighted on the display.
Press 2 so WHITE is
highlighted on the display.
Press 1 and 3 so BLACK
and CONTINUE are
highlighted on the display,
and then use the cursor
keys to move the cursor.
Press 2 and 3 so WHITE
and CONTINUE are
highlighted on the display,
and then use the cursor
keys to move the cursor.
4.
Use the following operations to draw the character you want.
■ To create a user character using an existing character
1.
Input the character or symbol you want to use as a basis for your new
character and locate the cursor under the character.
2.
Press FUNCTION and then USER CHR.
3.
Use
and
to select MAKE and then press SET.
4.
Use
and
to select USE INPUT CHAR and then press SET.
5.
Perform steps 4 through 7 under “To create a user character from scratch”
to create and save the new character.
■ To create a user character using user character you
created previously
1.
Press FUNCTION and then USER CHR.
2.
Use
and
to select EDIT and then press SET.
3.
Use the cursor keys to select the character you want to use as the basis for
your new character and then press SET.
4.
Perform steps 4 through 7 under “To create a user character from scratch”
to create and save the new character.
To do this:
Move the cursor
Make the cursor jump to the left, right,
top or bottom of the drawing screen
Draw a black dot
Draw a white dot
Draw a line of black dots
Draw a line of white dots
• Note that you can draw and delete straight lines only. You cannot draw
and delete diagonal lines. To create a diagonal line, you need to input
each of its dots, one-by-one.
• Each press of 3 while BLACK or WHITE is highlighted toggles the
CONTINUE setting on (highlighted) and off (unhighlighted).
5.
After you are finished drawing the character you want, press SET.
6.
Use the cursor keys to select the user character area where you want to
store the character, and then press SET.
7.
In response to the confirmation message that appears, press SET to store
the character.