Unpacking and checking contents, Tools needed, Unpacking – Craftsman 113.299210 User Manual
Page 10: U npacking and c hecking c ontents, Toois n eeded, U npacking
Attention! The text in this document has been recognized automatically. To view the original document, you can use the "Original mode".
Unpacking and Checking Contents
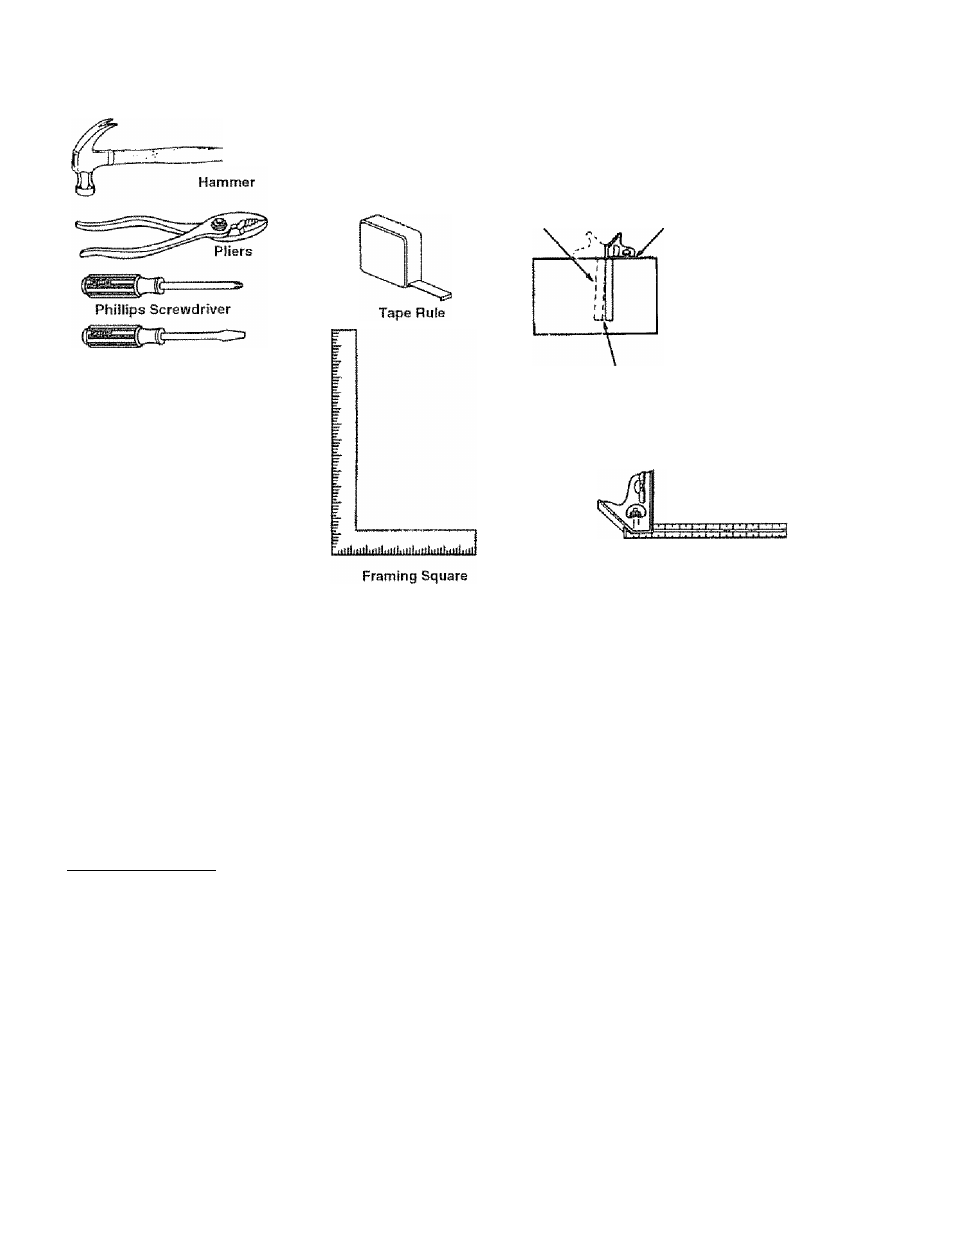
Tools Needed
Medium Screwdriver
Small Screwdriver
Combinailon Wrenches
3/8 In., 7/16 In.,
1/2
In., 9/16 In.
Hex "L" Wrenches
3/16 In., 1/8 In.,
Utility Knife
5
Combination Square must be true. Check it’s
accuracy as shown below.
Draw light line on
board along edge
Select the straight edge of
3/4" thick board. This edge
must be perfectiy straight.
NOTE; The square and
straight edge are used to
align the saw. They must
be accurate if the saw is
to be aligned properly.
Should be no gap or overlap here when square
is flipped over in dotted position.
Combination
Square
Unpacking
1
Separate saw and ail parts from packing m aierials and
check each one w ith the illustration and the "List of
Loose P arts" to m ake certain all item s are accounted
for, before discarding any packing m ateria!
WARNING: If any parts are missing, do not attempt
to assemble the table saw, plug in the power cord
or turn the switch on until the missing parts are
obtained and are installed correctly.
WARNING: The saw is heavy. To avoid back Injury,
get help to lift the saw. Hold the saw close to your
body. Bend your knees so you can lift with your
legs, not your back.________
WARNING; For your own safety, never connect
plug to power source outlet until all assembiy
steps are complete, and you have read and under
stand the safety and operating Instructions.
N O TE: Before beginning assem biy:
» C heck that ail parts are included if you are m issing any
part, do not assem ble the saw C ontact your S ears Ser
vice Center to get the m issing part.
<- Som etim es sm all parts can get lost in packaging m ate
ria!, Do not throw aw ay any packaging until saw is put
together.
C heck
packaging
for
m issing
parts
before
contacting S ears
• A com plete parts list {Repair Parts) is at the end of the
m anual U se this list to identify the part num ber of the
m issing part
10