Front-panel inserts, Hard drives, Configuring the boot drive – Dell PowerEdge SC 420 User Manual
Page 55: Removing a hard drive
SCSI Device Termination
SCSI logic requires that termination be enabled for the two drives at opposite ends of the SCSI chain and disabled for all drives in between. For internal SCSI
drives, termination is configured automatically. See the documentation provided with any optional SCSI drive you purchase for information on disabling
termination.
Configuring the Boot Drive
The drive or device from which the system boots is determined by the boot order specified in the System Setup program. See "Using the System Setup
Program" in your User's Guide. To boot the system from a hard drive or drive array, the drive(s) must be connected to the appropriate controller:
l
To boot from a SCSI hard drive, the drive must be connected to the optional SCSI controller card. See the documentation that accompanied the
controller card.
After you open and close the cover, the chassis intrusion detector, if enabled, causes the following message to appear on the screen at the next
computer start-up:
ALERT! Cover was previously removed.
l
Reset the chassis intrusion detector by changing Chassis Intrusion to Enabled or Enabled-Silent.
Front-Panel Inserts
If you are installing a new 5.25-inch drive, remove the front-panel inserts to allow external access to the drive. To gain access to the front-panel insert, you
might need to remove a device.
1.
Turn off the system and attached peripherals, and disconnect the system from the electrical outlet.
2.
Open the system. See "
Opening the System
" in "Troubleshooting Your System."
3.
If applicable, remove a device. See the appropriate removal procedure.
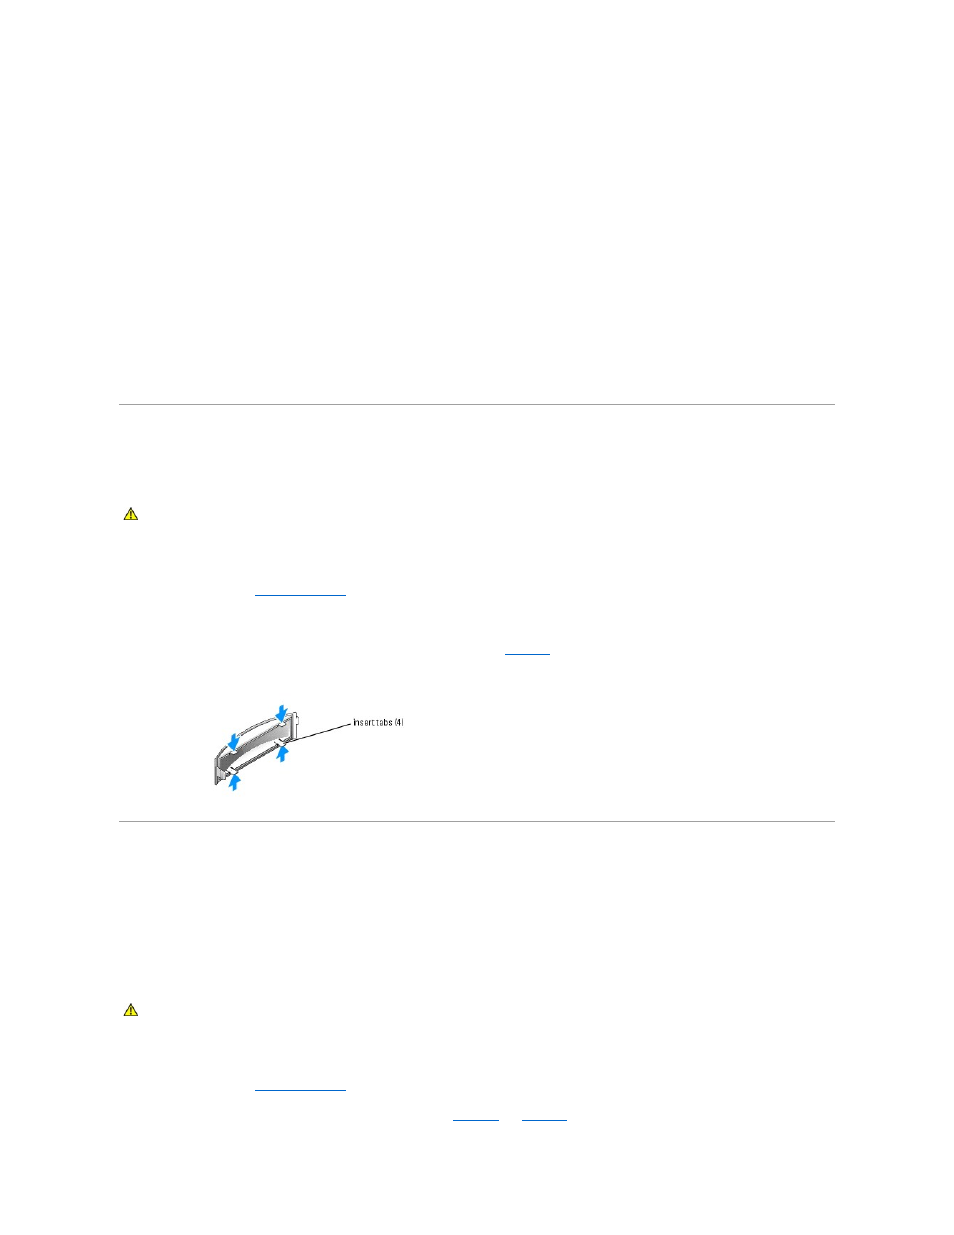
4.
Squeeze the insert tabs until the insert pops free of the front-panel cover. See
.
Figure 7-2. Removing Front-Panel Inserts
Hard Drives
Your system contains up to two SATA or SCSI non-hot-plug hard drives. The integrated SATA controller supports two SATA hard drives. If your system contains
SCSI hard drives, they must be connected to an optional SCSI controller card.
The steps for removing and installing SATA and SCSI hard drives are the same.
Removing a Hard Drive
1.
Turn off the system and attached peripherals, and disconnect the system from the electrical outlet.
2.
Open the system. See "
Opening the System
" in "Troubleshooting Your System."
3.
Disconnect the power and interface cables from the hard drive. See
and
.
CAUTION:
See your Product Information Guide for complete information about safety precautions, working inside the computer, and protecting
against electrostatic discharge.
CAUTION:
See your Product Information Guide for complete information about safety precautions, working inside the computer, and protecting
against electrostatic discharge.