Installing system components, Expansion cards, Installing an expansion card – Dell PowerEdge SC 420 User Manual
Page 45
Back to Contents Page
Installing System Components
Dell™ PowerEdge™ SC420 Systems Installation and Troubleshooting Guide
This section describes how to install the following system components:
l
Expansion cards
l
Power supply
l
Cooling fan
l
System memory
l
Processor
l
System battery
Expansion Cards
The system supports up to five half-length PCI expansion cards (three 32-bit, 33-MHz PCI, one 2.5-GHz PCI Express [x1], and one 2.5-GHz PCI Express [x8]).
See
Figure A
-3
for the location of the expansion card slots.
Installing an Expansion Card
1.
Turn off the system and attached peripherals, and disconnect the system from the electrical outlet.
2.
Open the system. See "
Opening the System
" in "Troubleshooting Your System."
3.
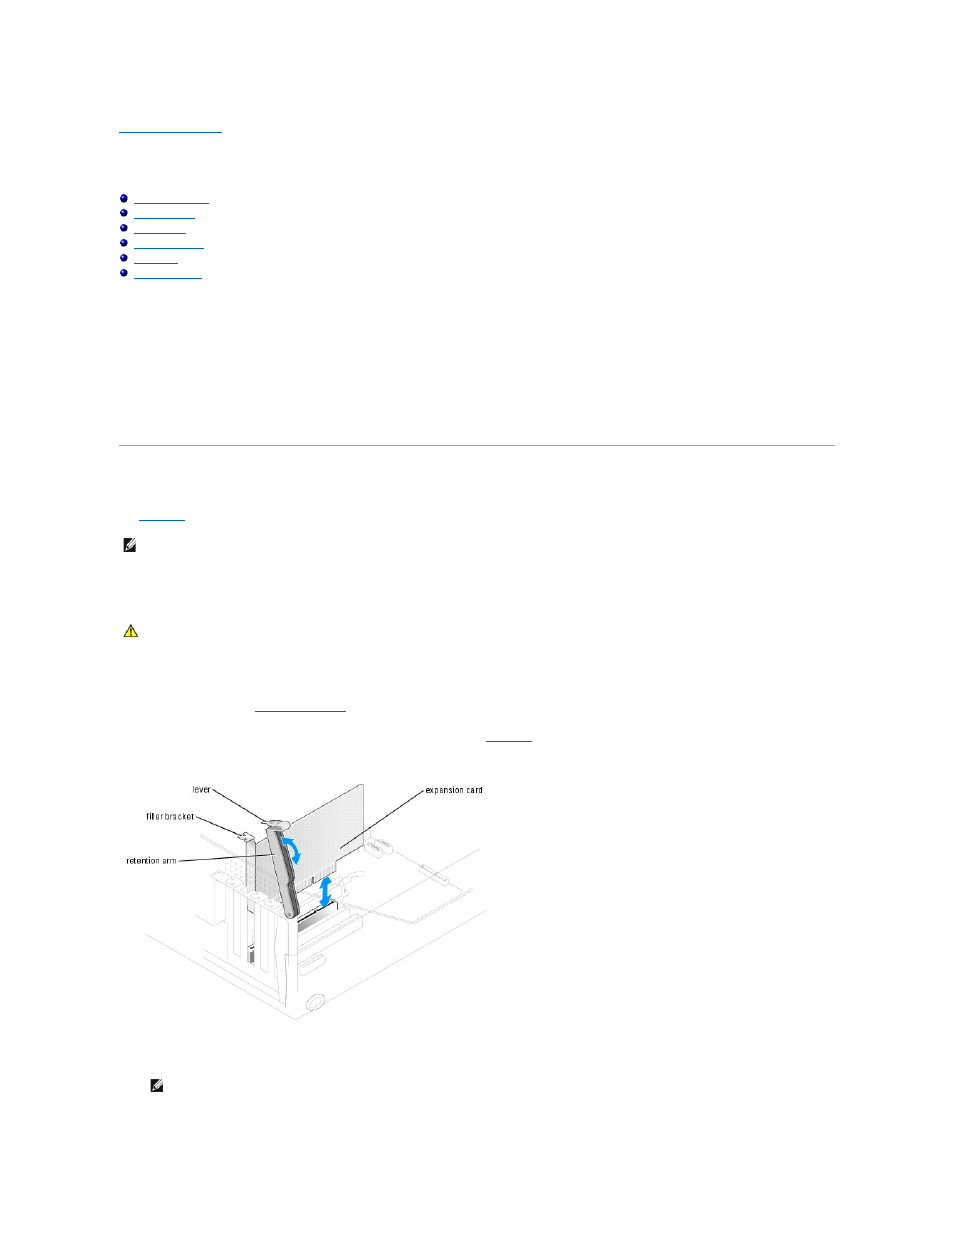
Press the lever on the card retention arm and raise the retention arm. See
Figure 6-1. Installing an Expansion Card
4.
If you are installing a new card, remove the filler bracket.
NOTE:
The PCI slots do not support 3.3-V expansion cards. Only 5-V PCI expansion cards are supported.
CAUTION:
See your Product Information Guide for complete information about safety precautions, working inside the computer, and protecting
against electrostatic discharge.
NOTE:
Keep this bracket in case you need to remove the expansion card. Filler brackets must be installed over empty expansion-card slots to
maintain Federal Communications Commission (FCC) certification of the system. The brackets also keep dust and dirt out of the system and aid in
proper cooling and airflow inside the system.